tcpMDT
Inserting images - MDT25
18.1 Inserting images
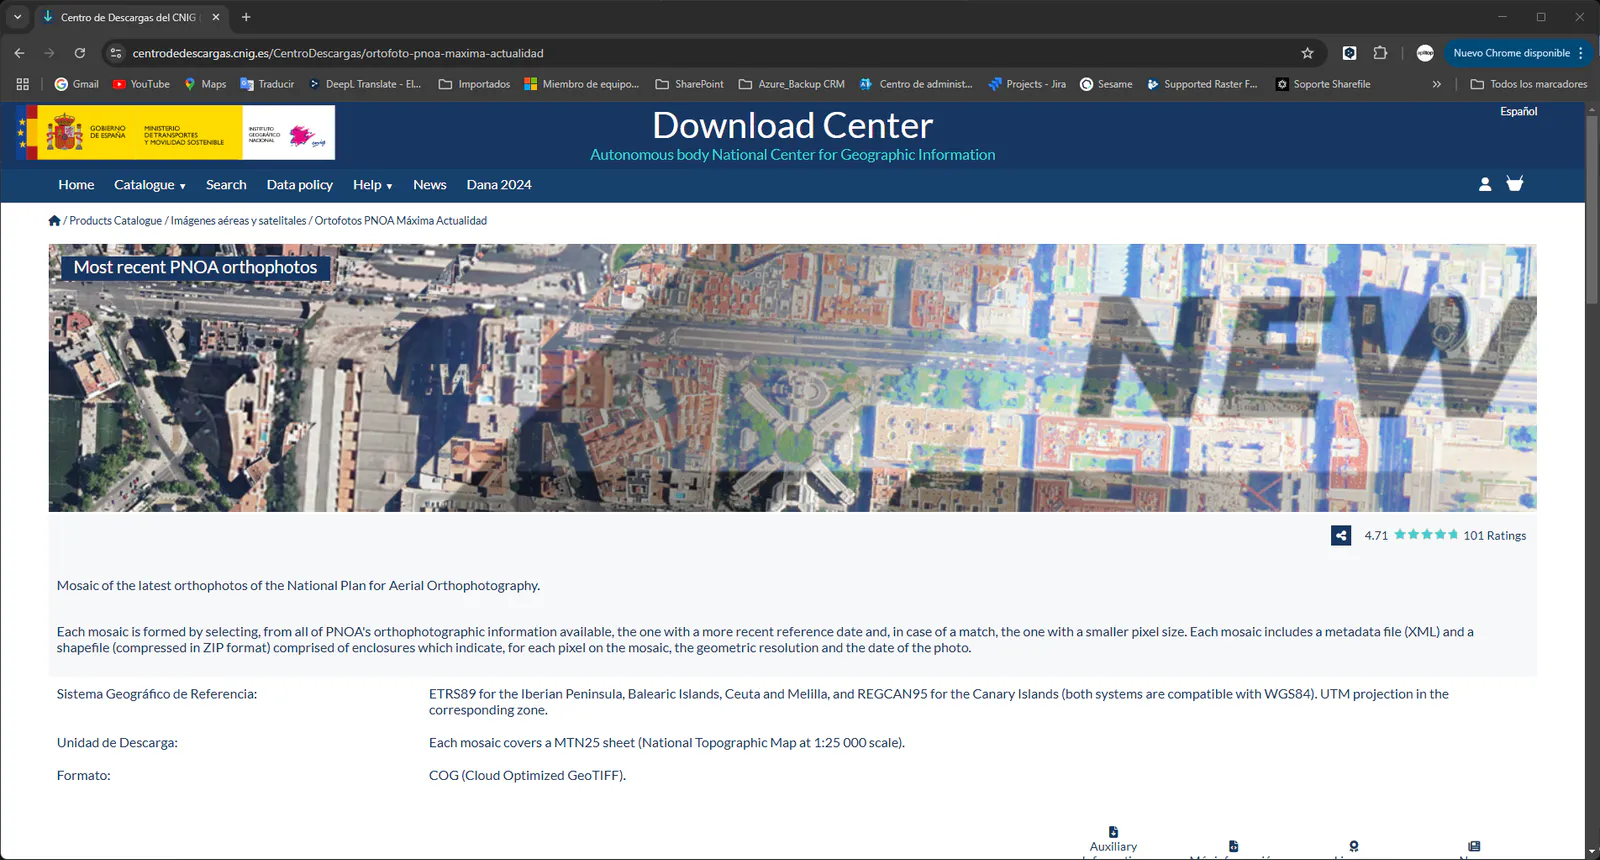
For this exercise we are going to use the Download Center of the CNIG (National Center for Geographic Information) to download aerial and satellite images of the PNOA of maximum relevance (National Plan of Aerial Orthophotography), which aims to obtain digital aerial orthophotographs of the entire Spanish territory, being a cooperative project and co-financed between the General Administration of the State and the Autonomous Communities.
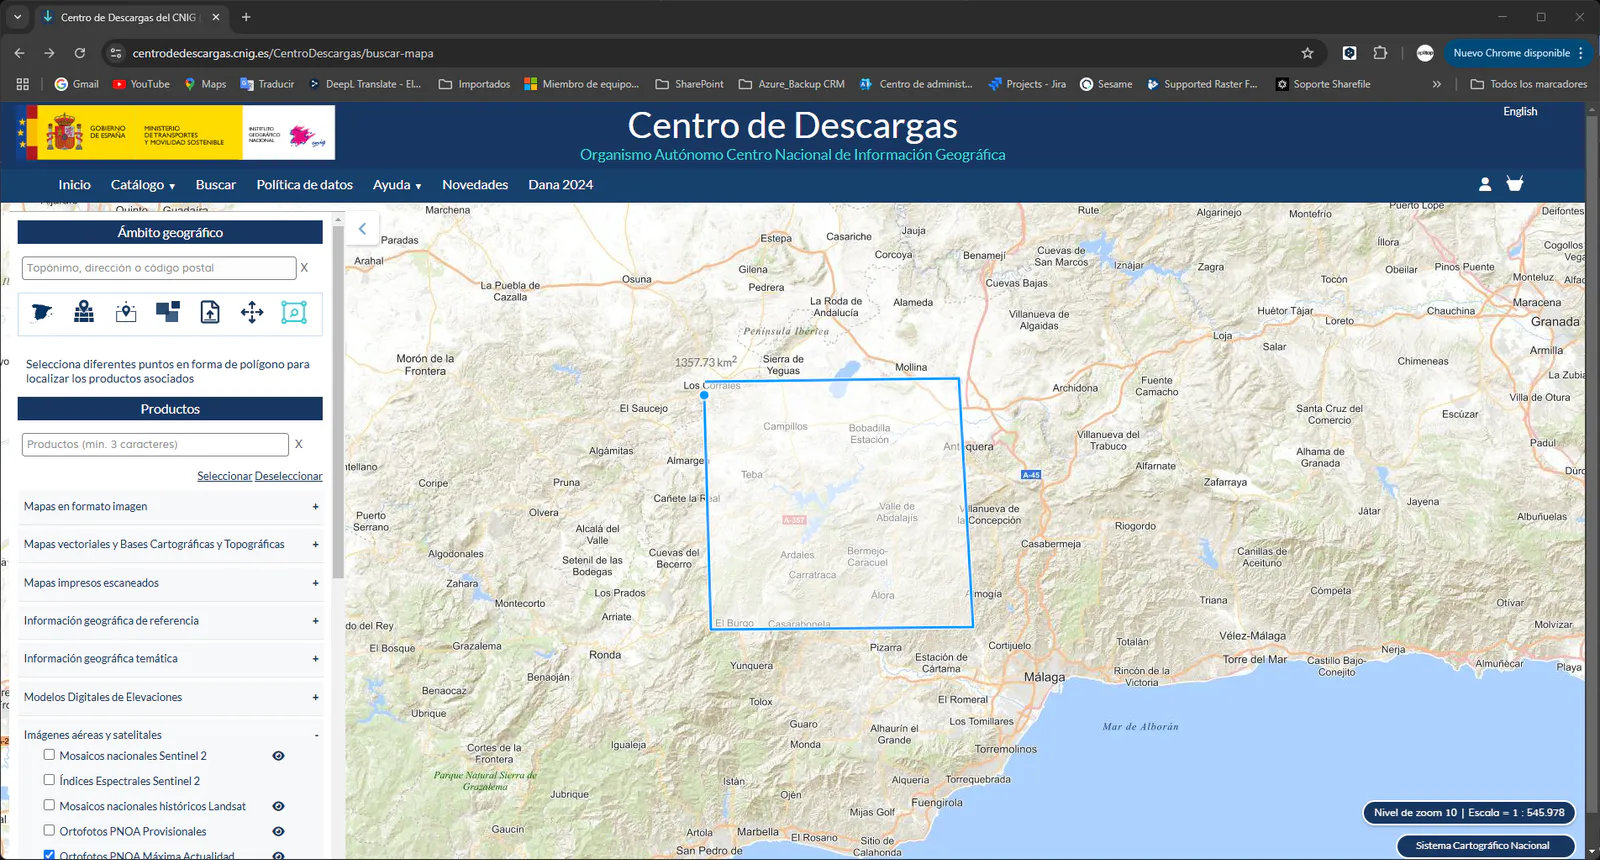
We do a search by map and by polygon, selecting any part of the map:
As a result it shows us a list with all the MTN25 sheets (National Topographic Map 1:25,000) that are in the selected area, from the list we download two consecutive sheets in COG (Cloud Optimized GeoTiff) format.
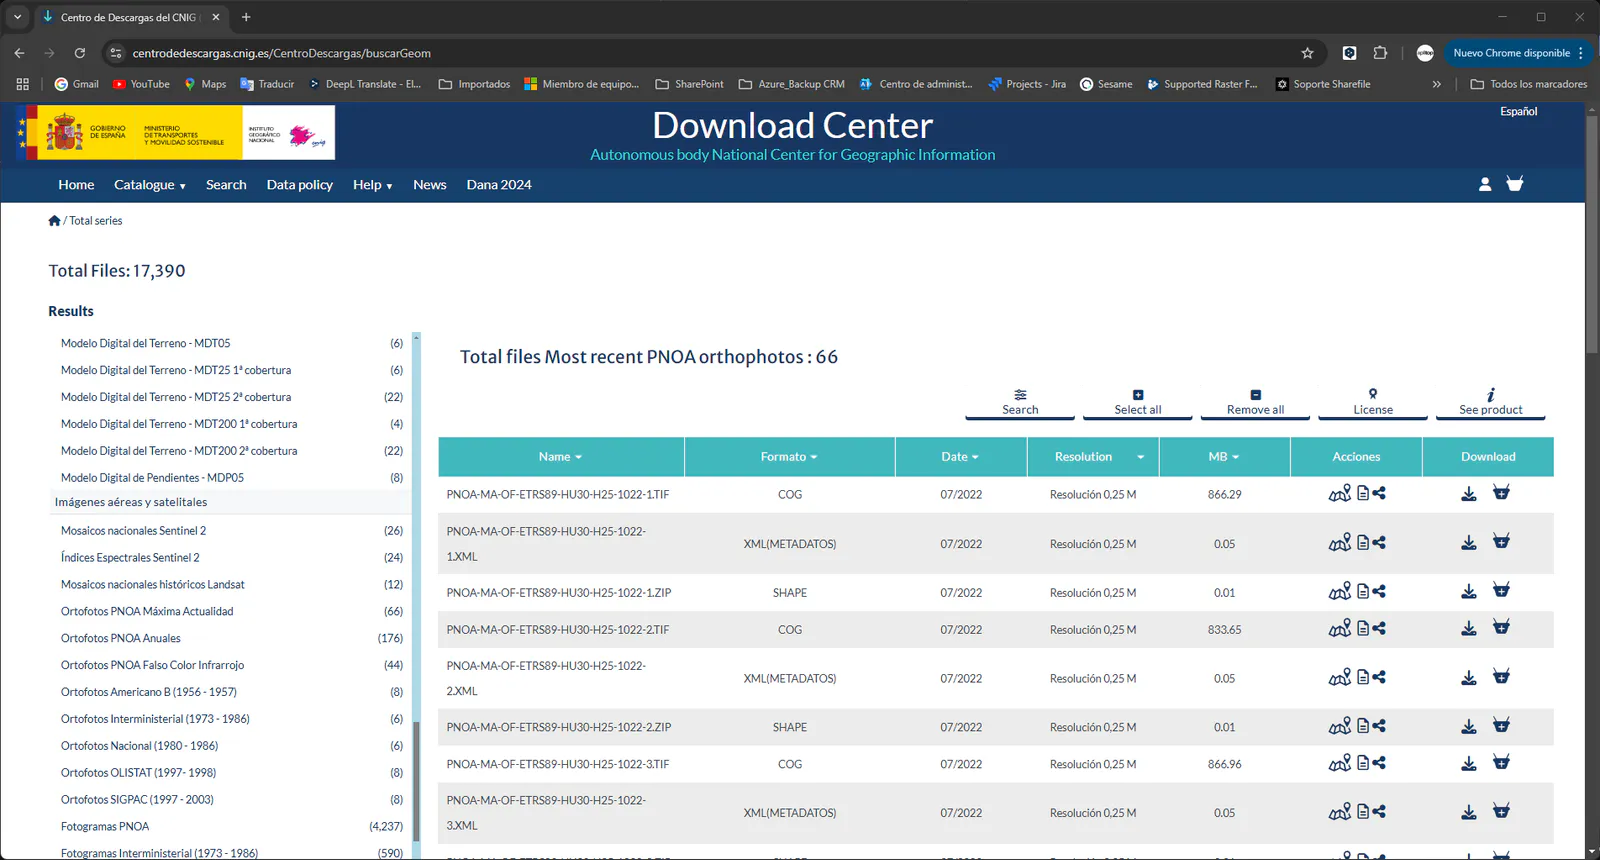
Our downloaded images are as follows:
-
PNOA_MA_OF_ETRS89_HU30_h25_1022_2.tif
-
PNOA_MA_OF_ETRS89_HU30_h25_1022_1.tif
When inserting images we have to take into account whether or not we want to create a layer with each inserted image, for this in Utilities>Configuration>Images and click the box "Create layer with image name when inserting".
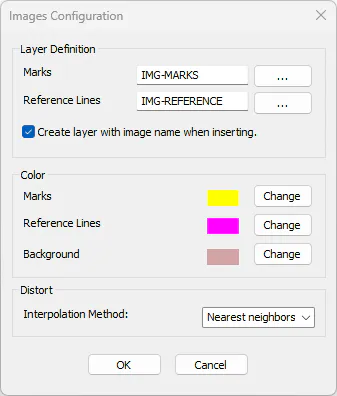
We must take into account the CAD we are going to use, since AutoCAD does not support COG images, and the rest of the CAD does.
For our example we are going to use AutoCAD 2025, so it will be necessary to convert the format beforehand, for the rest of CAD the insertion of this type of images is totally transparent to the user because it does not need any conversion.
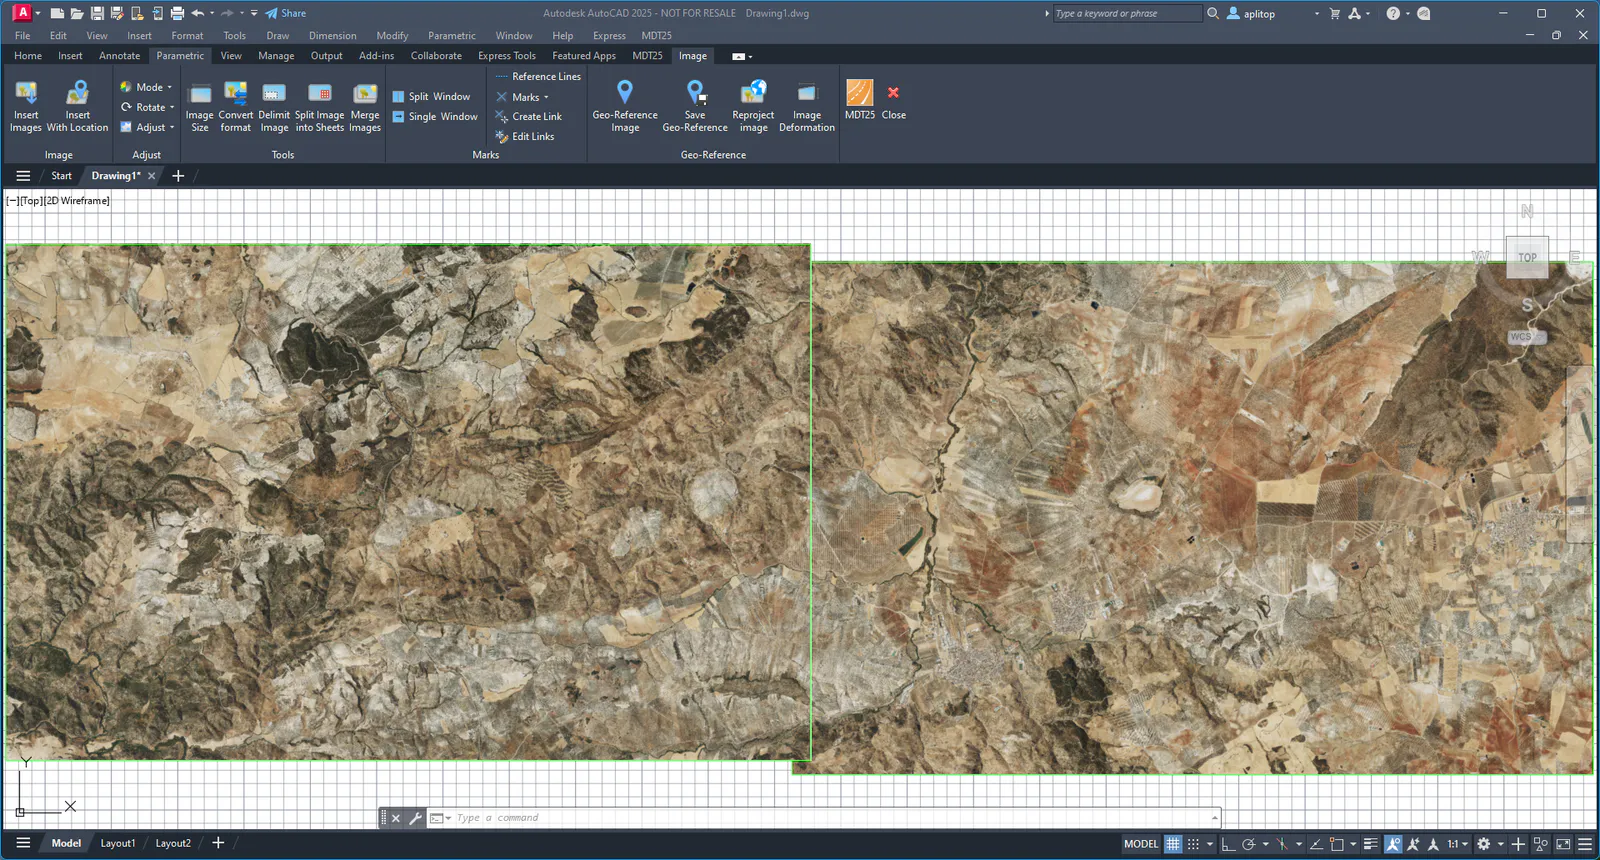
We run the command Images>Insert images, and select both images, then it shows us the following message:
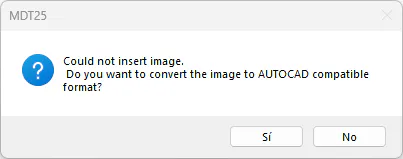
We answer affirmatively to the question and it shows us the following message "Insert image rescaling percentage", in this case depending on the disk size of the original image we must put one value or another, that is, we must take into account that the type of COG image is a format with a high compression factor, so uncompressed would take up much more space, for AutoCAD to allow us to insert the image we have to convert it to TIFF, a format with much less compression and with a maximum storage of 4Gb, therefore we will not always be able to rescale the image to 100%, because the TIFF format may not be able to accommodate the complete image, so if it warns us that the conversion could not be made, we should try a lower upscaling value, as in this example, 75%.

Use the same rescaling factor for the two images: