tcpMDT
Merge and delimiting images - MDT25
18.2 Merge and Delimiting Images
Next, we are going to delimit an area shared between the two images. To do this, we draw a closed polyline in red.
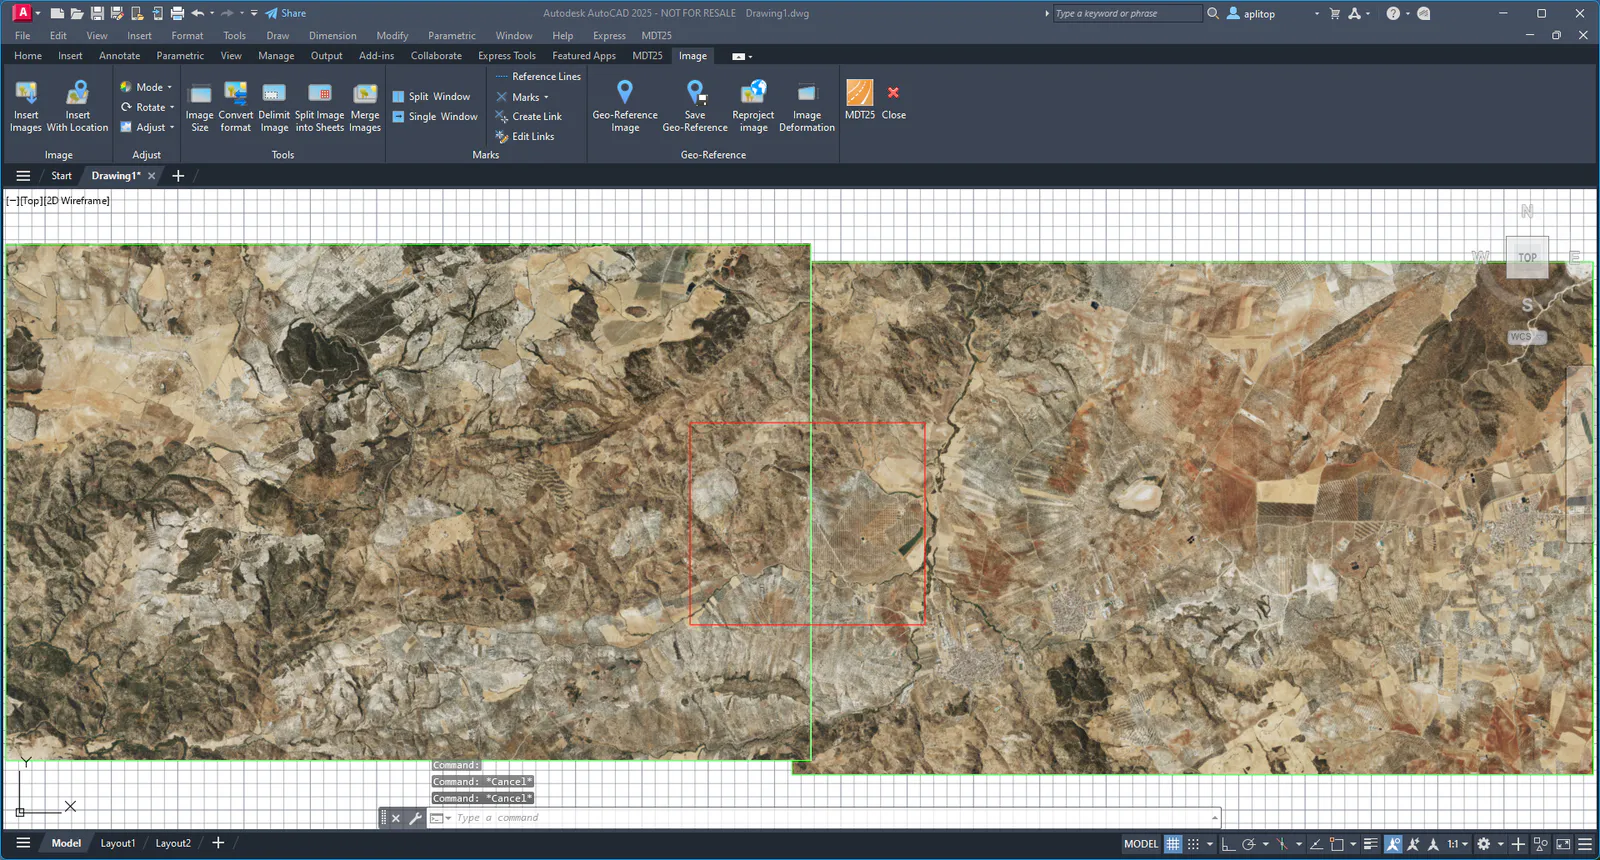
We run the command Images > Delimit image, select one of the images and the drawn polyline and assign the name that offers us by default PNOA_MA_OF_ETRS89_HU30_h25_1022_1_1.tif.
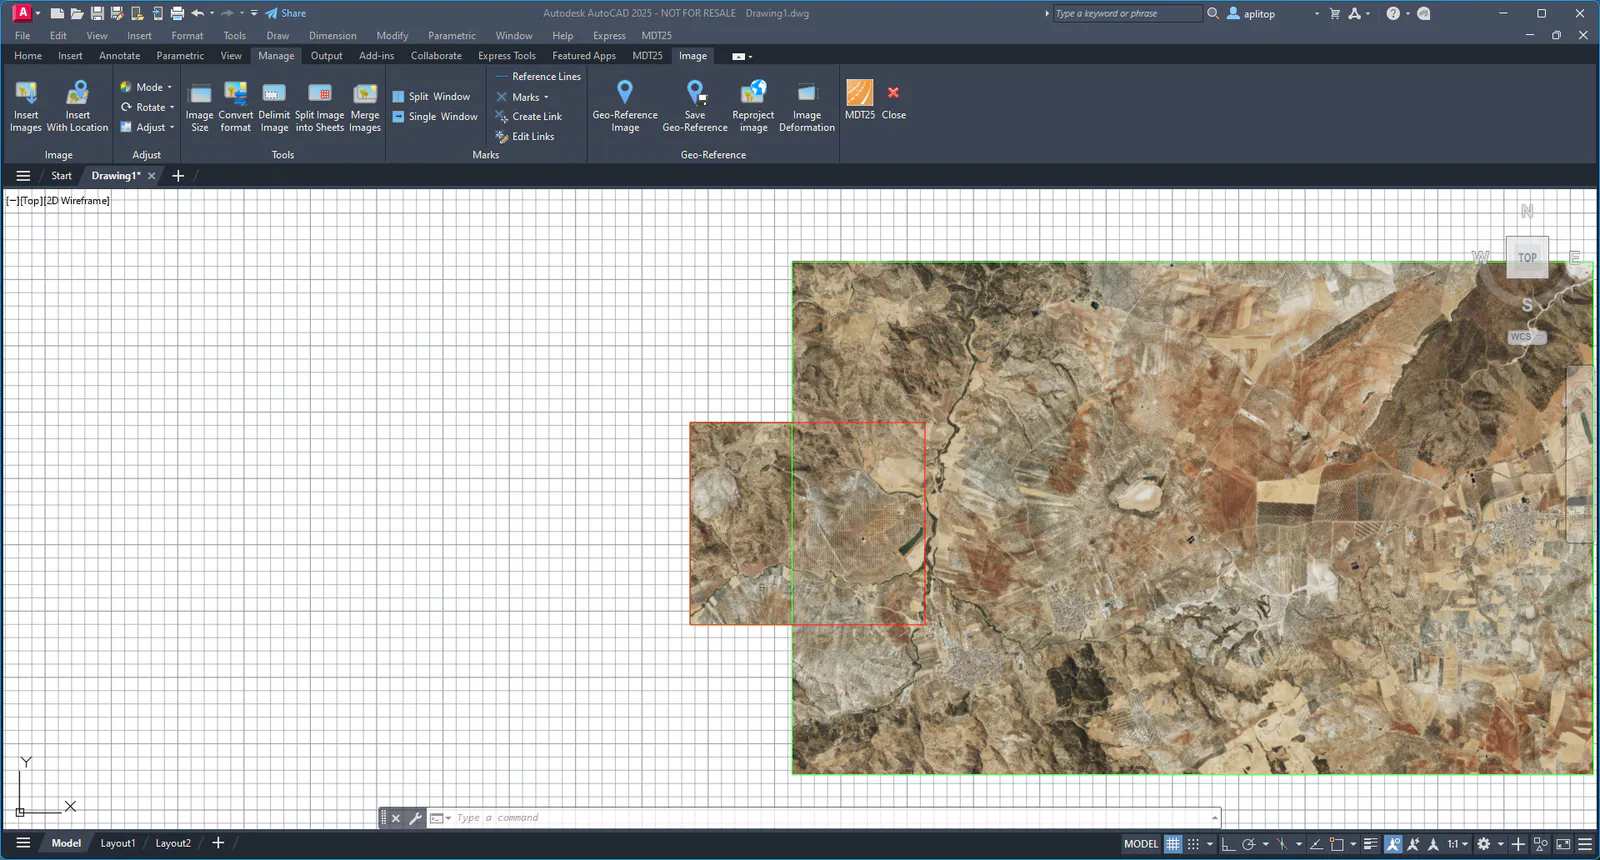
We repeat the same process by selecting the other image and the same polyline and assign the default name PNOA_MA_OF_ETRS89_HU30_h25_1022_2_1.tif.
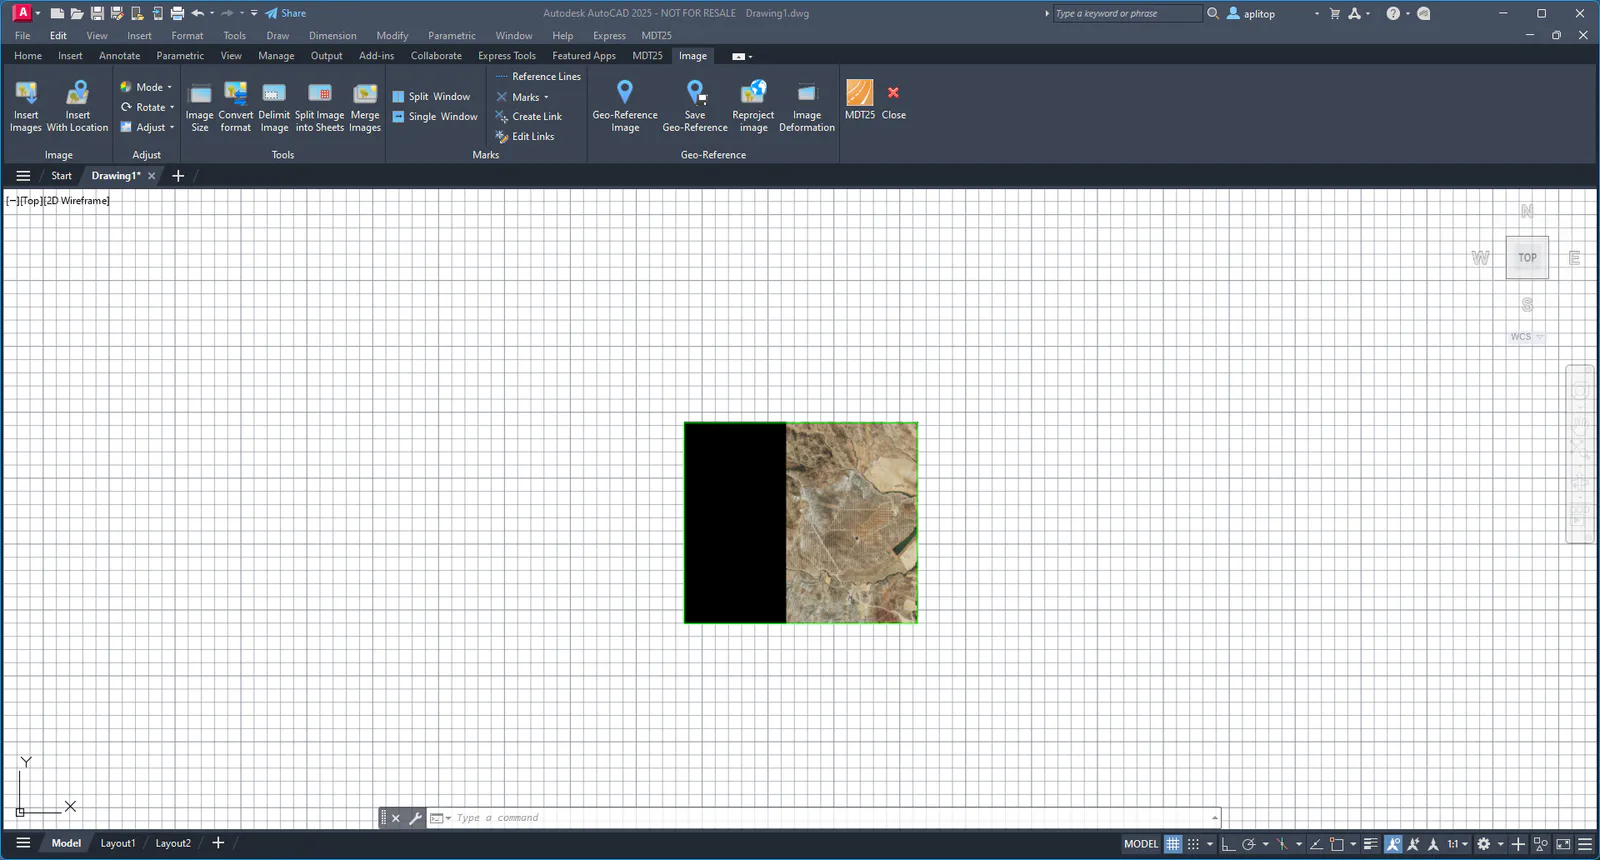
The two overlapping images appear, to see one or the other we change the order of the objects with the AutoCAD commands.
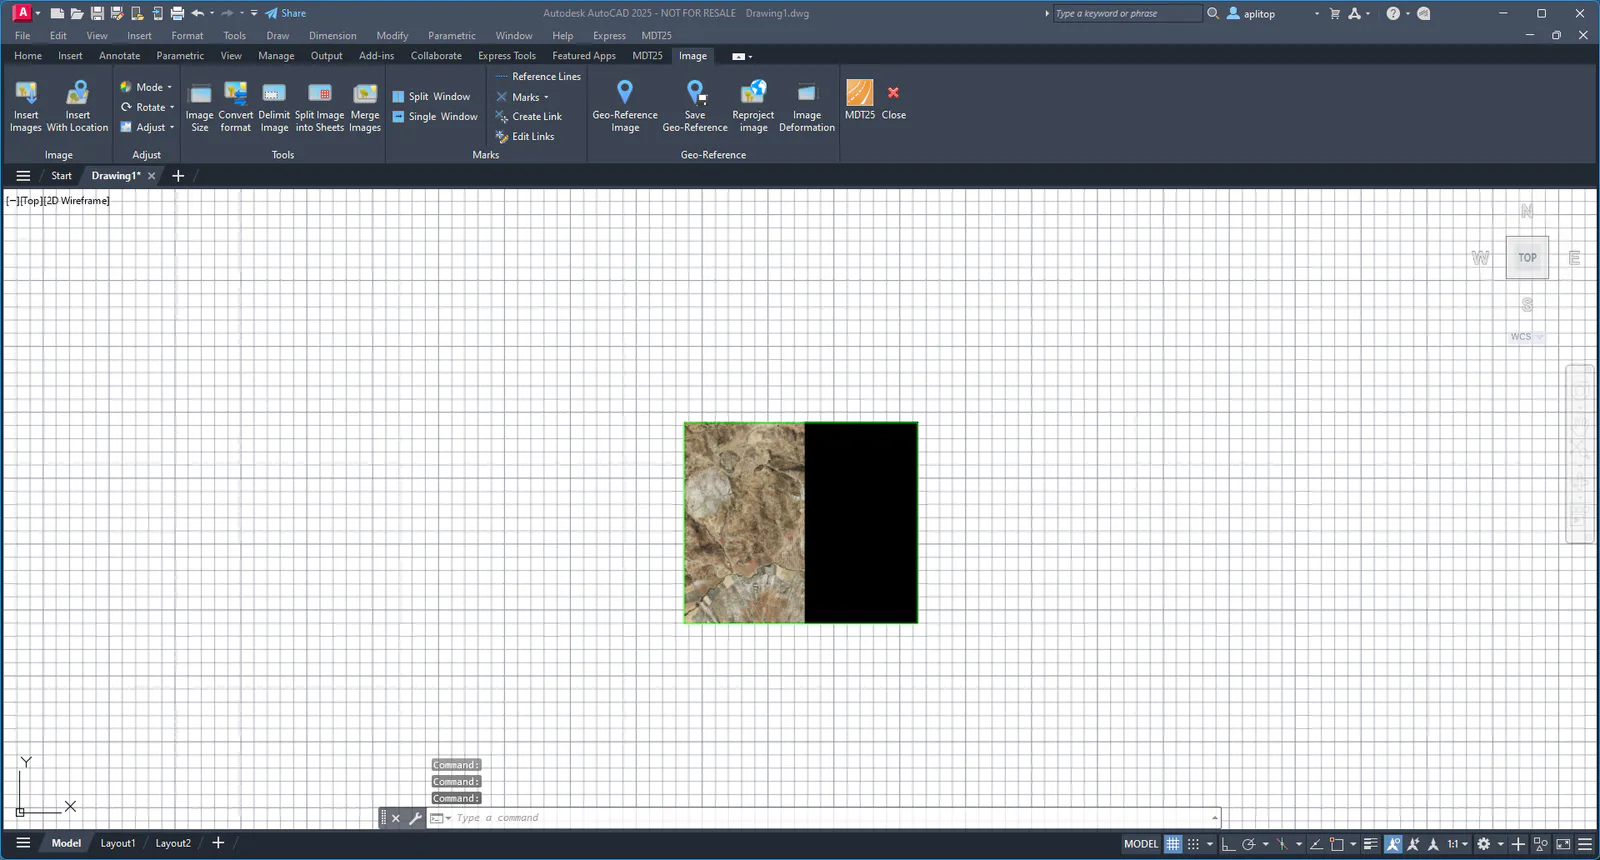
Once we have the images, we\'re going to paste them into one. Disable the polyline layer and run the Images command > Paste Images. We select the 2 images and choose the name and location for the new image, for example Result_merge.jpg, located in the same folder as the current project.