tcpMDT
Georeferencing image - MDT26
17.3 Georeferencing Image
Finally, we will georeference the image Tutorial18.jpeg that we can find in folder C:\MDT26_Projects\Tutorial17, and that corresponds to a registered plot. Open the drawing Tutorial18.dwg and run the Images command > Insert Images.
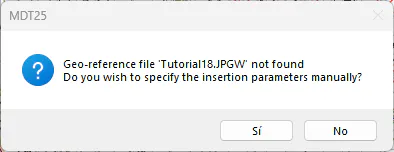
As there is no georeference, a warning is displayed, and we answer Yes to the question about manually specifying the insert parameters. We give some insertion point in a clear zone of the drawing and accept the default scale.
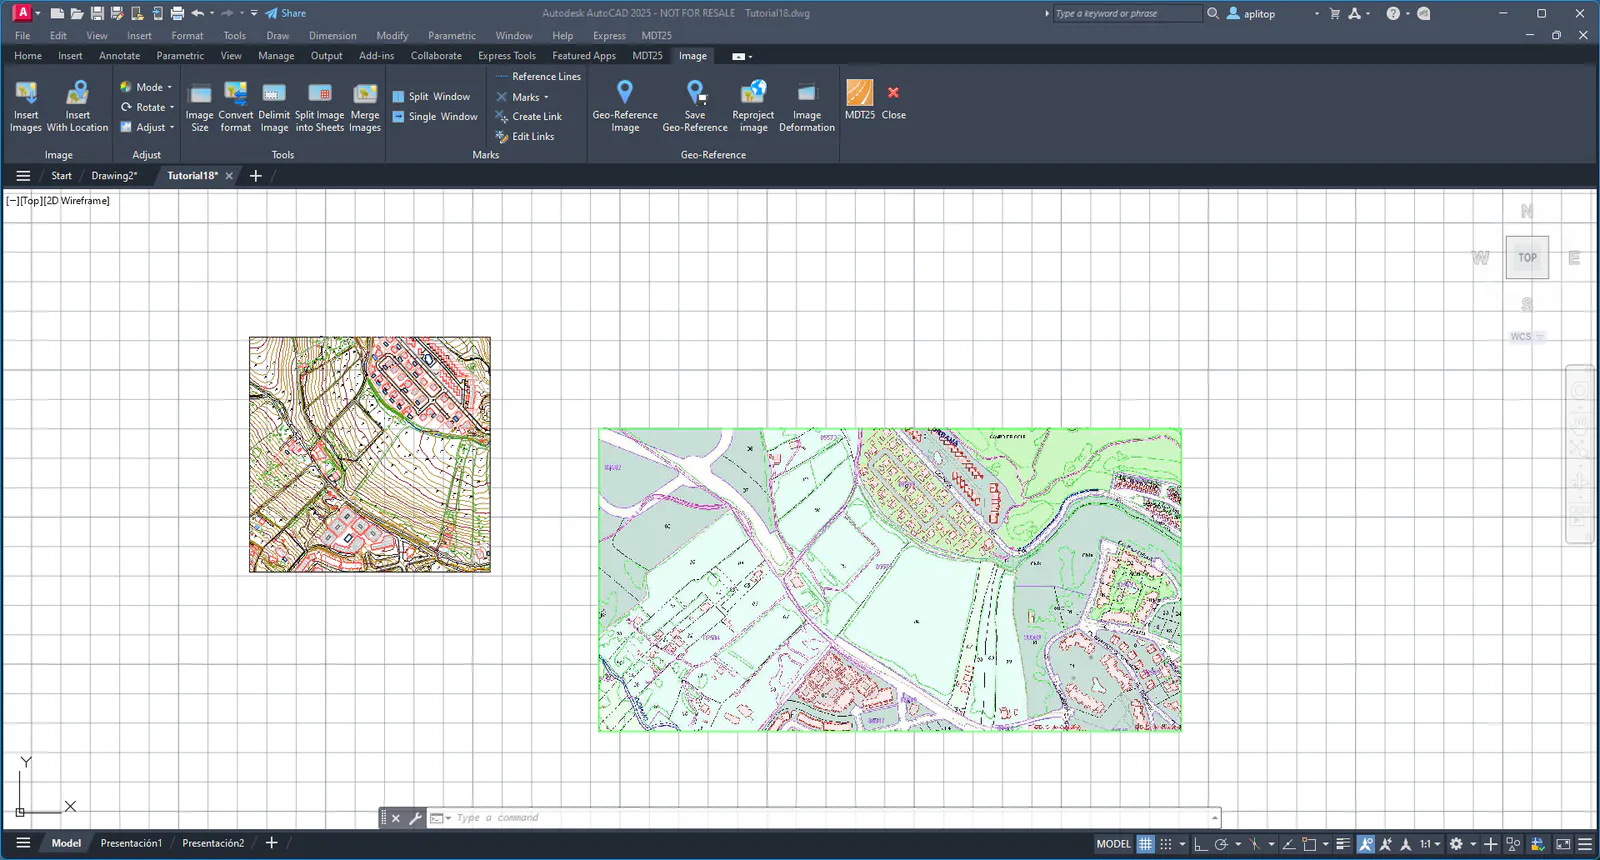
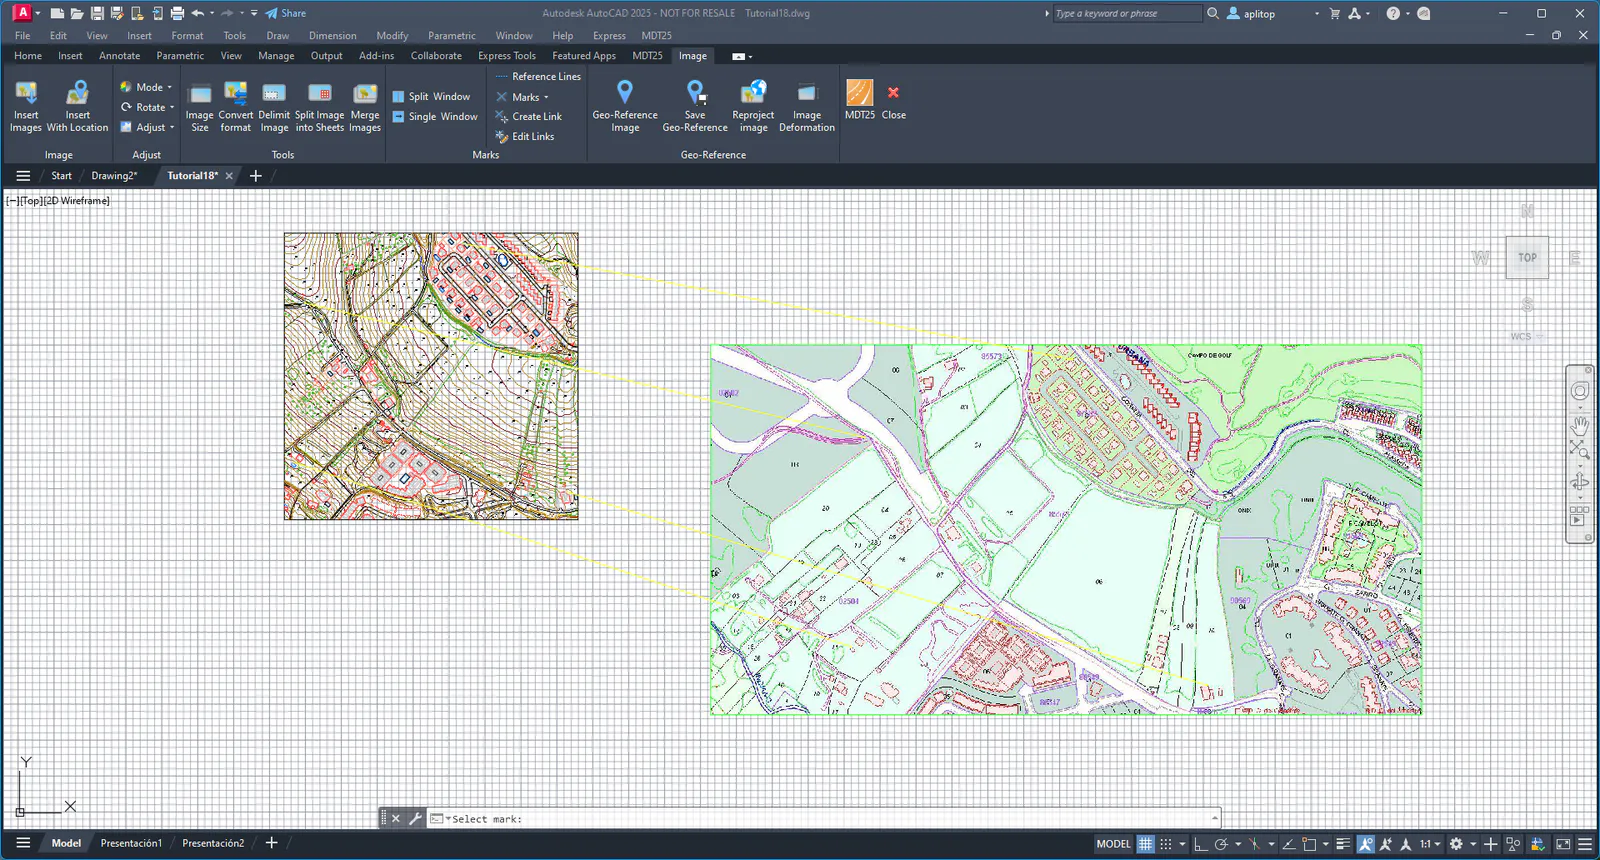
To insert the marks and points that will be part of the georeferencing, use this as reference:
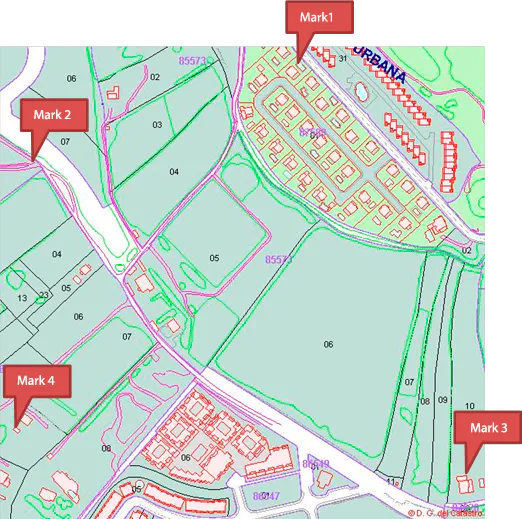
To insert the Marks we use the command Images> Marks> Create marks (or Image> Marks> Create marks), and we insert the different marks over the image. Accept the proposed text height and scale.
The points with the same number as the corresponding marks are already inserted in the drawing. Otherwise, the command Points> Insert should be used.
Once we have established the marks and points we use the command Images> Marks> Link from Marks to Points (or Image> Marks> Create Link) , and we are asked to indicate a mark and then we point to the corresponding point, until we get all the links that will be part of the georeferencing.
Then, run the command Images > Georeference Image (or Image> Geo-Reference> Geo-Reference image) and select the image. The following dialog box is shown, which allows us to decide the least squares transformation method. In this case, we choose an Affine transformation.
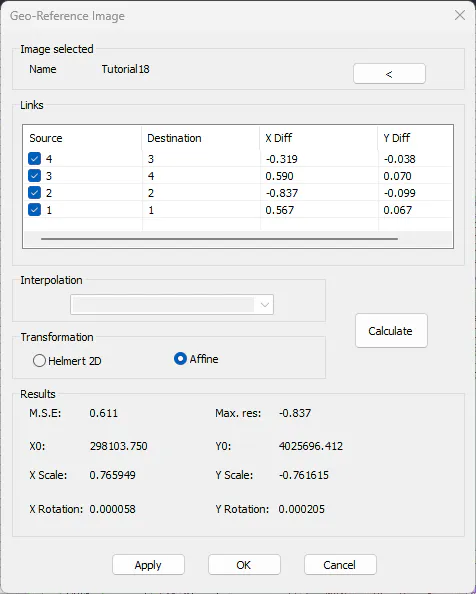
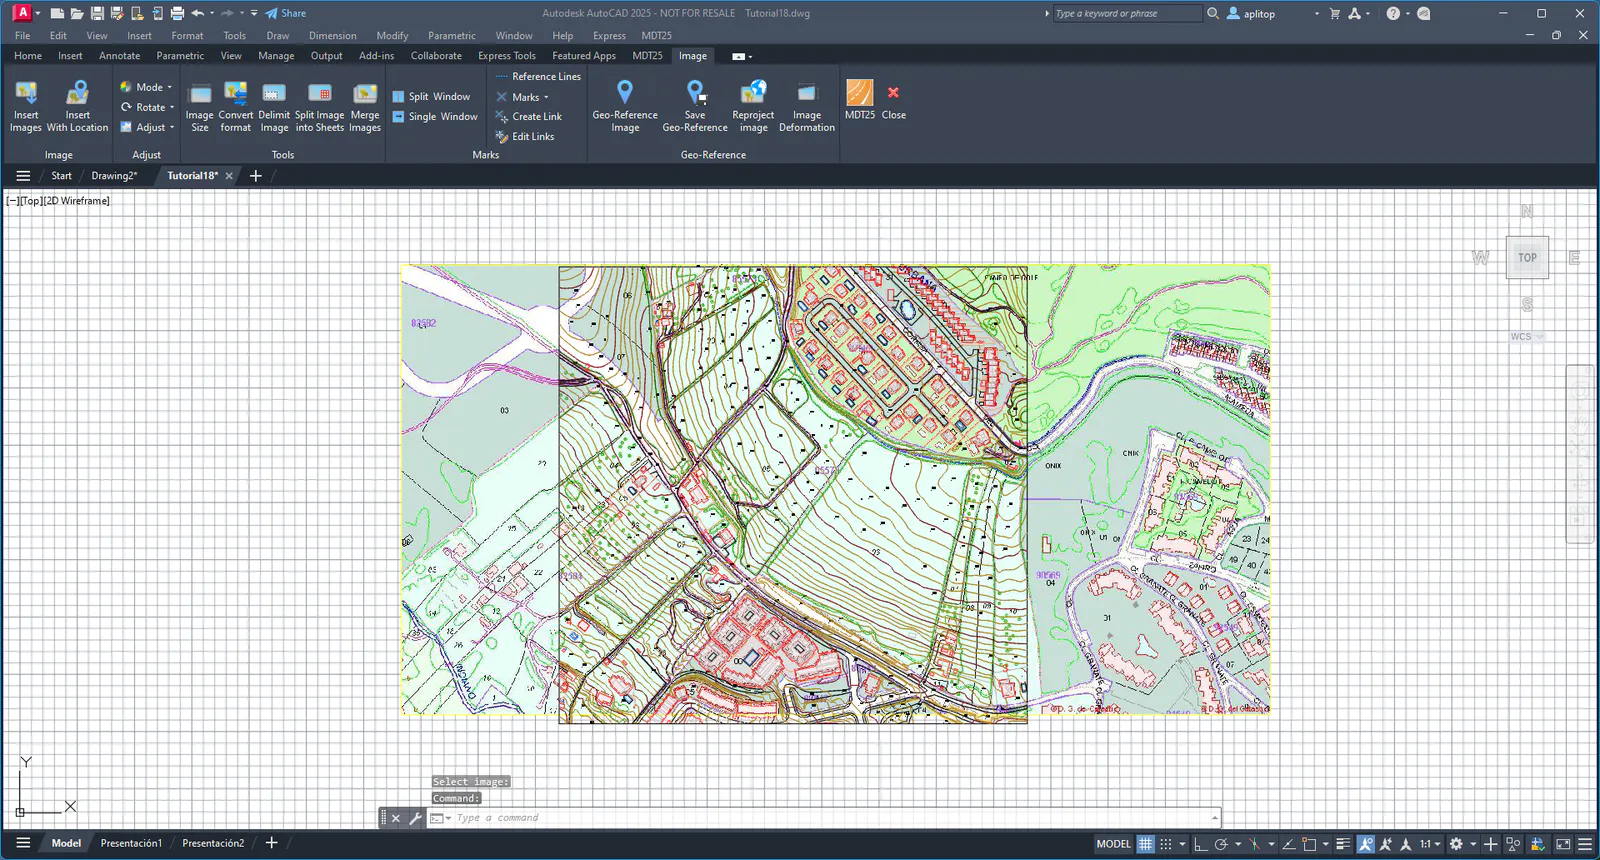
Press OK if the error is acceptable, and the application asks for the georeferencing file name of the new image. We validate the proposal and press OK, and the calculated transformation will be applied to the image, fitting it onto the cartography.