
tcpMDT Photovoltaic
Automatic layout - PV25
3.2 Automatic Layout
This tool allows you to insert a set of trackers in a specific zone, maximizing the power that can be generated. The algorithms used are designed for zones that initially does not have any trackers.
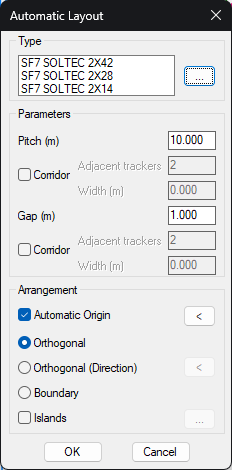
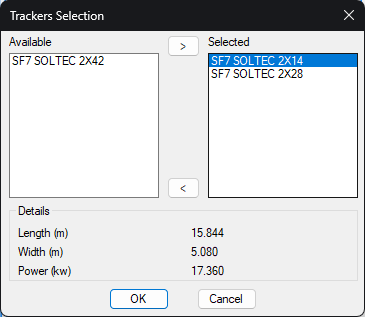
First, you have to select the Type of trackers to be inserted, by pressing the ... button. A window will appear with two lists: available and selected trackers for the zone. At the bottom, you can see the dimensions and power of the selected tracker.
Once the trackers to be used in the area have been selected, the transverse and longitudinal separation between them must be specified. Optionally, you can include both horizontal and vertical corridors between the trackers, by entering how many trackers there are between the corridors, and width of the corridor, which must be greater than the transverse or longitudinal separation.
Finally, about the position of trackers, the Automatic Origin option makes the application look for a coordinate that maximizes the total power of the area. If disabled, you can manually designate a coordinate from which trackers will be placed. The distribution of the trackers can be done orthogonally or aligned with the coordinate axes, using an arbitrary direction for the X axis, or adapting to the outline of the area. With Islands option, you can also specify CAD layers in which the drawn polylines represent buildings or areas where you do not intend to place tracker.
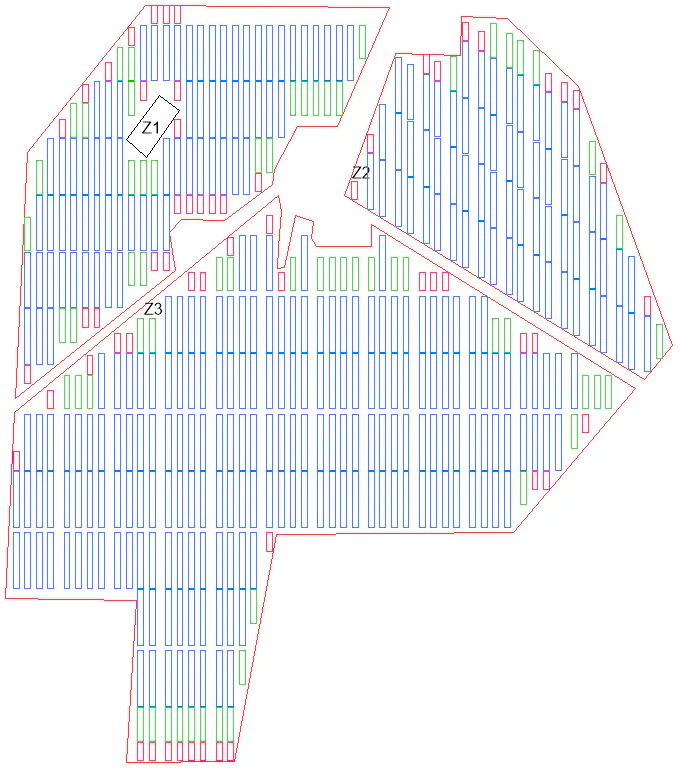
Z1 has an orthogonal arrangement, with an island.
Z2 has a boundary arrangement, with vertical corridors every two trackers.
Z3 has an orthogonal arrangement, with vertical corridors every four trackers and horizontal corridor every two trackers.