
tcpScancyr
Horizontal alignment - TNSB3
4.1 Horizontal Alignment
The application allows files in the alignment format MDT (*.EJE), as well as permitting files to be imported in other formats using the "File -> Import" option.
You may also key in the alignment data in the main window, activating the "Horizontal Alignment" tab.
The alignment editing window is divided into two parts - in the upper area there is a toolbar whose use will be explained later. A table showing access data appears at the bottom of the window.
To add an alignment, the data must be entered from left to right. An alignment will only be inserted or modified after entering the "Length" field.
If you key insert or click on new, the previous alignment will split in two, respecting the same parameters of the azimuth, parameter and radius so that the alignment is not affected. If you click on the first line you will not be able to insert a new alignment.
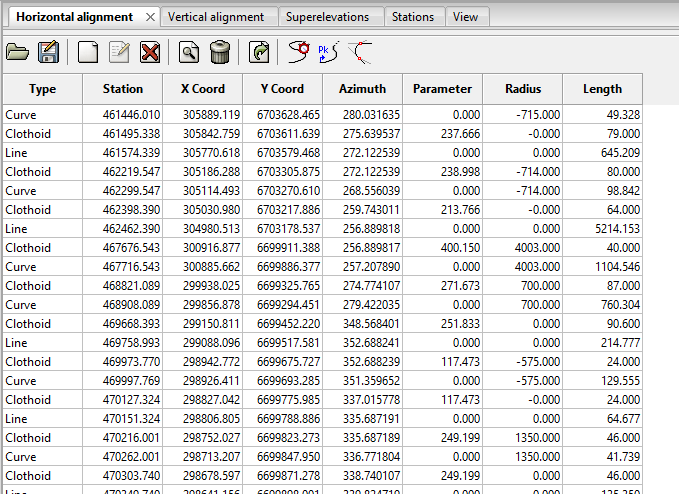
Figure 4 - Horizontal Alignment
On the toolbar there are three extra icons, the first optimizes the alignment joining consecutive straight sections with the same azimuth. With the second one you can edit starting station. The next icon displays a list of tangency errors at each individual point.
If you click on the vision tab you will see a graphic representation of the horizontal alignment.
When you move the cursor the application will analyze coordinates and show information from the analysis on the status bar.
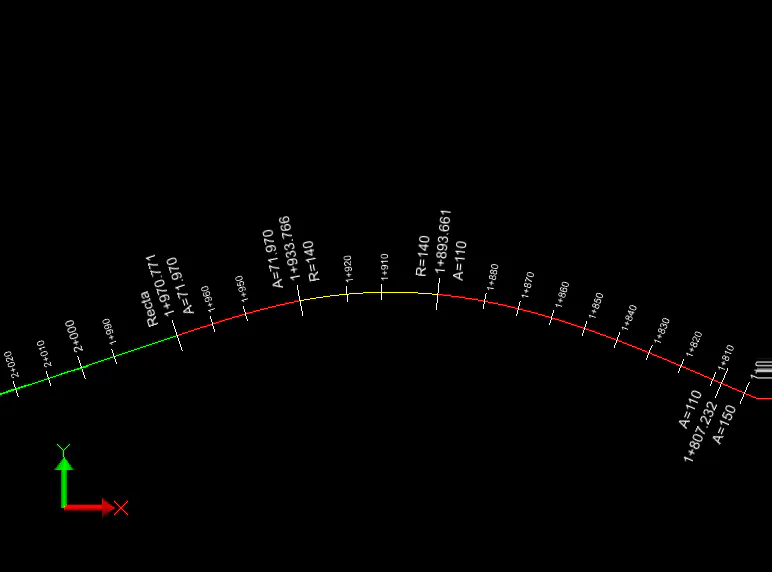
Figure 5 - Horizontal alignment