
tcpTunnel CAD
CAD viewer - TNC3
15.6 CAD Viewer
In the CAD viewer, the superelevation is drawn as two polylines: one for the left superelevation and one for the right superelevation, both along the station axis.
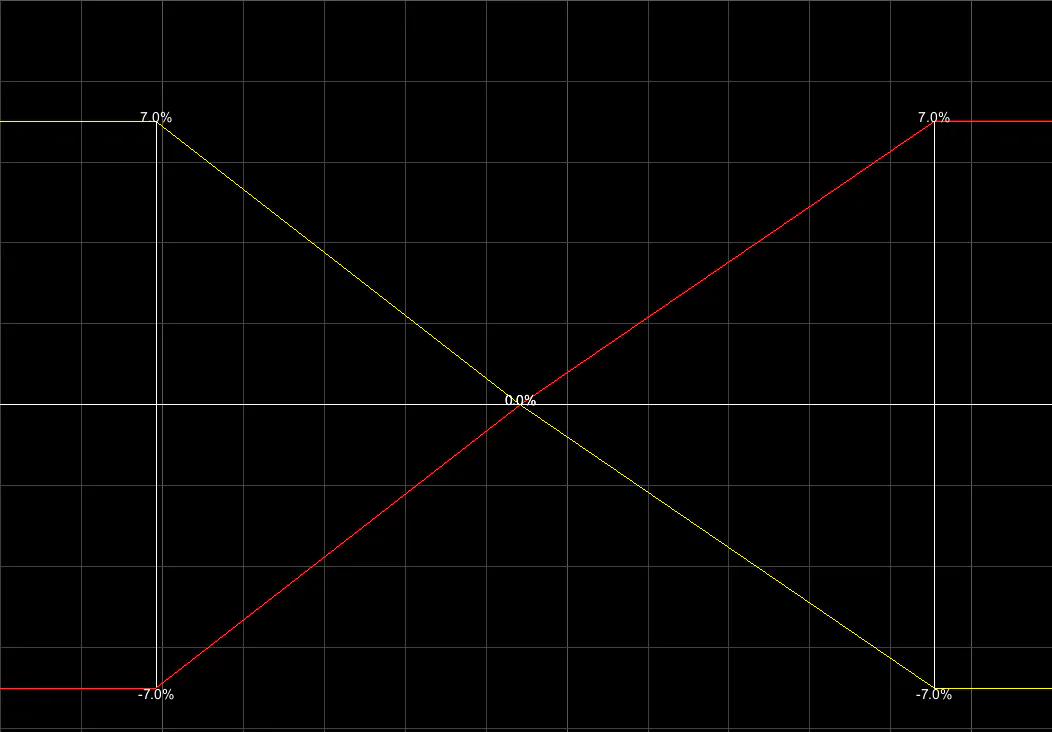
If one of the superelevation polylines is clicked, it will be highlighted graphically in the CAD viewer and in the superelevation panel. When selected, the polyline is displayed as a dashed line with greater thickness, the polyline vertices are shown, and the polyline color is inverted.
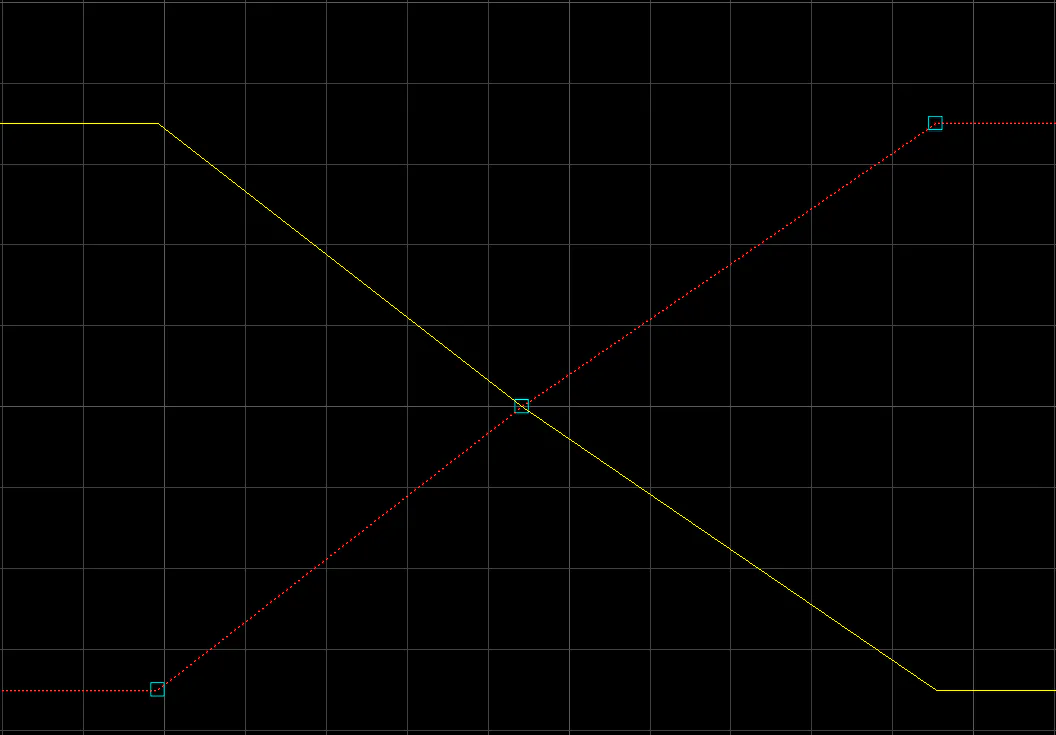
At this point, if the cursor is placed over one of the vertices it will be highlighted and the radial context menu will appear.
Radial Context Menu
When the cursor is placed over a vertex of the selected superelevation polyline, the radial menu appears with the available editing options:
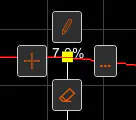
Edit: Displays a dialog to edit the station, left and right superelevation values of the selected node.
Insert: Inserts a new node adjacent to the selected vertex.
Delete: Removes the node. It can also be deleted, once highlighted, by pressing the Delete key.
More options: Shows the context menu.
Context Menu
At any time when right-clicking on the CAD viewer, the application context menu appears:
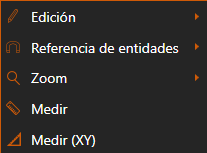
The measurement and entity deletion operations are the same as in the Measurement and Delete Menu of the toolbar.
Likewise, in the Entity Reference and Zoom submenus, the commands from the menus of the same name in the toolbar are found.
If the application is in a command and the context menu is opened by right-clicking in the CAD viewer, additional options will be given to end the command via Enter or Escape.