tcpMDT
Creating a mesh from lidar files - MDT26
In this section we are going to learn the possibilities of working with point clouds offered by MDT.
7.1 Creating a Mesh from LiDAR Files
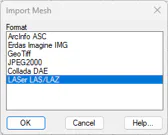
Create an empty drawing and run Meshes > Import Mesh. Select the LASer LAS/LAZ format and press OK.
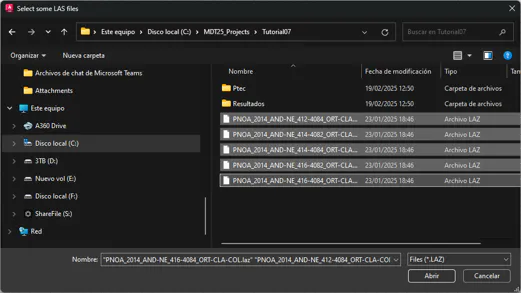
In the file selection dialog, choose the LAZ extension and select all *.LAZ files from the folder C:/MDT26_Projects/Tutorial07. LiDAR data from the National Aerial Orthophotography Plan (PNOA) provided by © National Geographic Institute of Spain will be used.
The information of the processed files is then displayed, with about 14 million points.
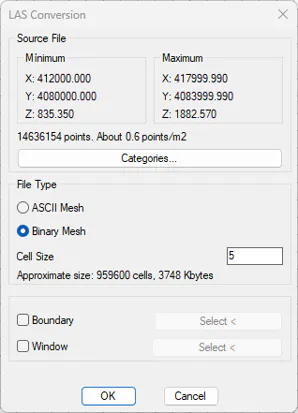
To generate the mesh we are only interested in the points belonging to the terrain. To do this, press the Categories button. In the corresponding dialog, deselect all except category (2) Ground and press OK.
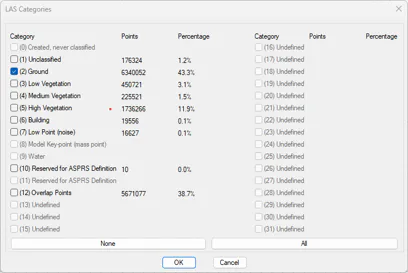
About 6 million points will be used to generate the mesh. In the Cell Size field, set a size of 5 metres and press OK.
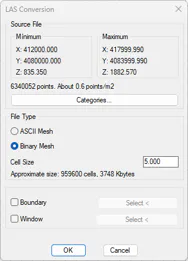
Once the process is complete, a file name will be requested to save the mesh. Type PNOA.mde and save it in the previously mentioned folder.
Now run Surfaces > Set Current Surface and choose the file just created. Under Representation, choose the Full option and under Entities the Image option and press OK. Accept PNOA.tif as the proposed name.
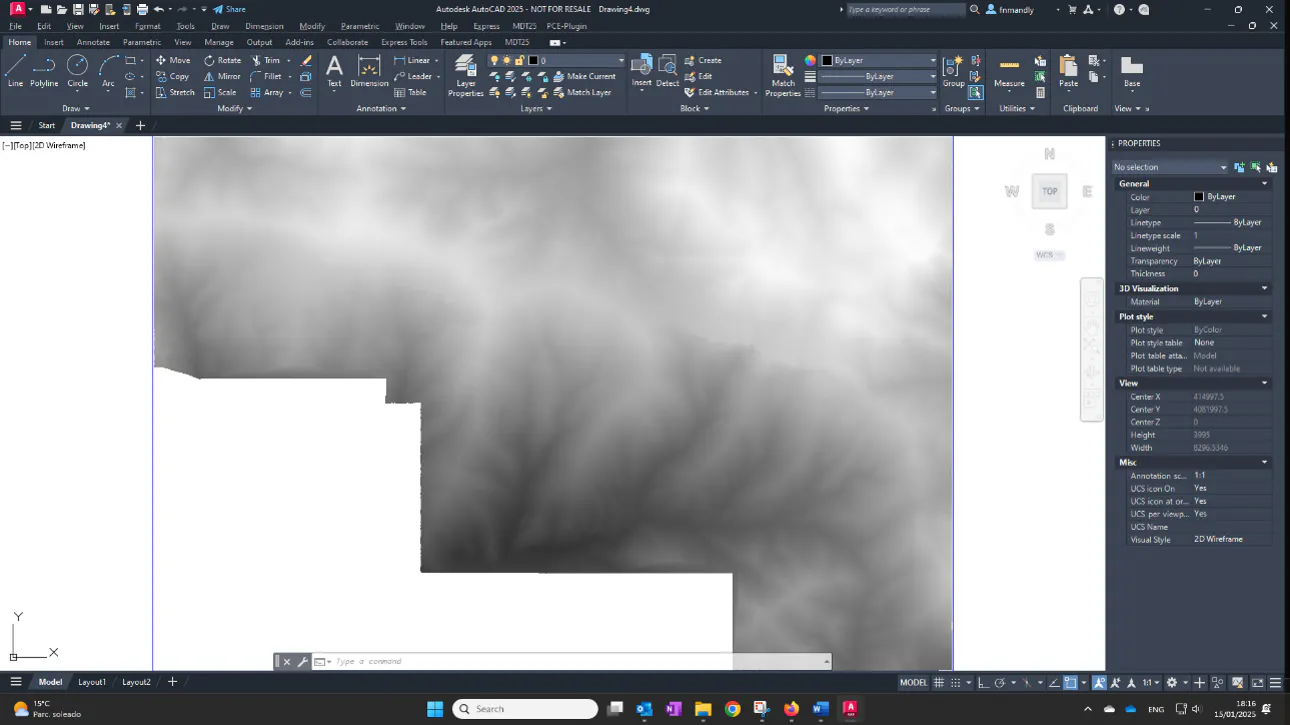
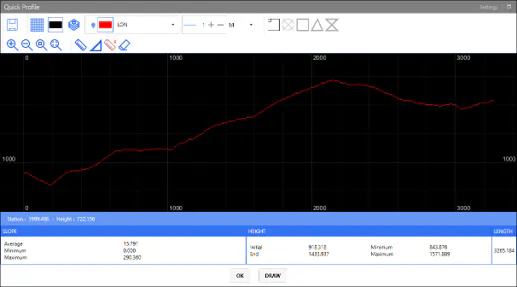
Confirm that the conversion was successful by running Quick Profile, for example from South to North.