
tcpMDT
Creating a surface from a point cloud - MDT26
7.3 Creating a Surface from a Point Cloud
Next we will create a surface from a selection of the points in the previously inserted point cloud. Run Surfaces > Create Surface and create a new file PNOA.sup in the folder mentioned above.
In the dialog, activate the Point Cloud checkbox as well as the Maximum Length checkbox, where we will set a value of 50. In the Render options, choose the Outline option to avoid overloading the drawing.
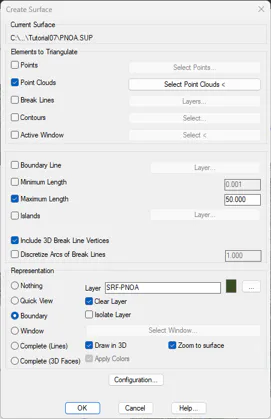
Press the Select Point Clouds button and designate the recently inserted cloud.
In the dialog, press the Check number of points button and verify that there are about 14 million.
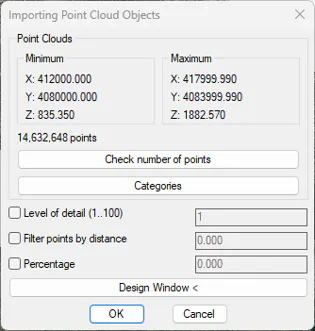
Press the Categories button and, as shown above, select only category 2-Ground and press OK.
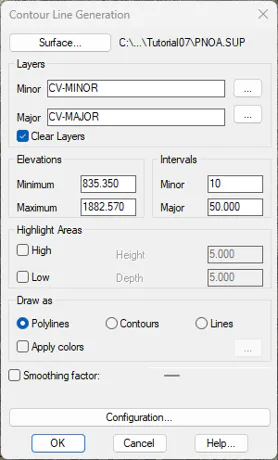
Set plan view and run Contour Lines/Mapping > Create Contour Lines.., with contour intervals Minor every 10 metres and MAJOR every 50 metres.
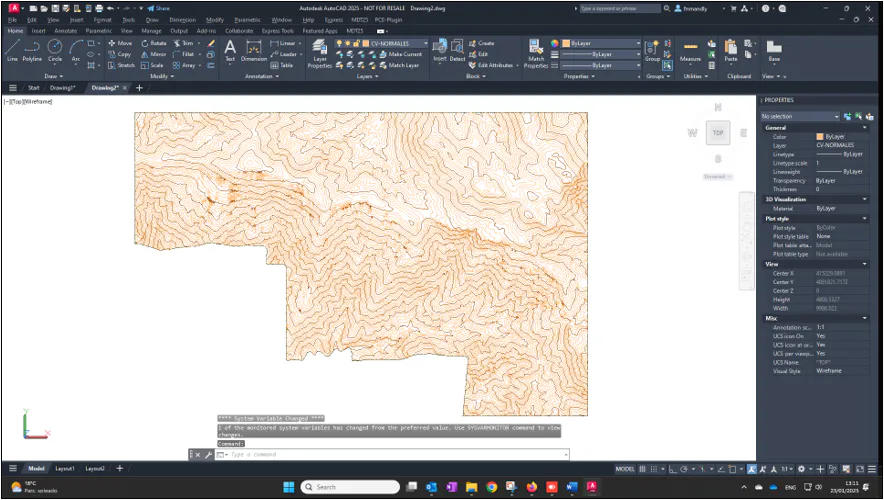
Save the drawing as PNOA.dwg in the project folder.