tcpMDT
Slopes - MDT26
In this exercise we are going to show you how to create different maps with MDT.
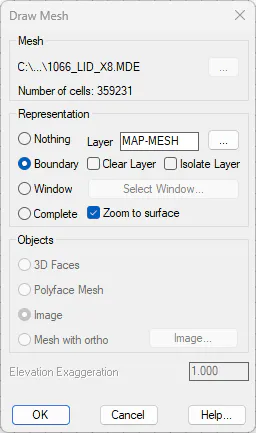
Create a blank drawing and run Surfaces > Set Current Surface. Choose the 1066_LID_X8 file. MDE file that we can find in folder C:\MDT25_Projects\Tutorial04. In the dialog, choose the Boundary option and press OK.
Record the drawing as Maps.dwg in the mentioned folder.
4.1 Slopes
Run Maps > Draw Slope Map. Within the Orientation frame, leave the default option Maximum Slope. Also leave in 3D Faces mode the drawing mode.
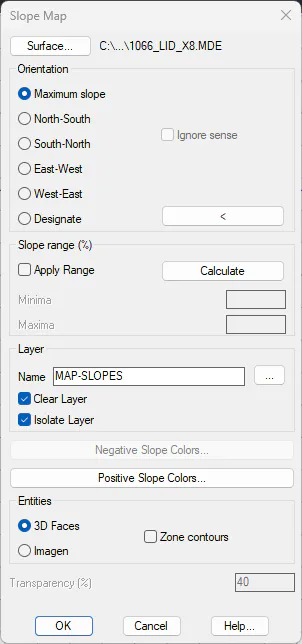
To examine the color palette to use, click the Positive Slope Colors button.
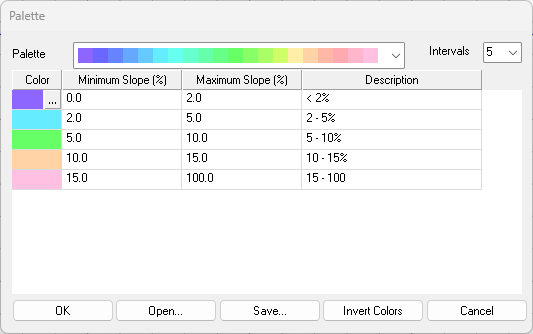
Edit the ranges by setting 7 Intervals and setting the preferred colors. Alternatively, press the Open button and choose the slope.plm file in the same mentioned folder.
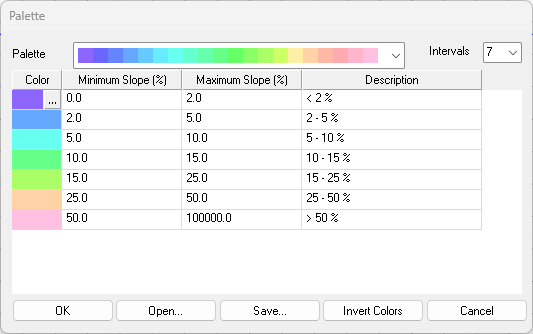
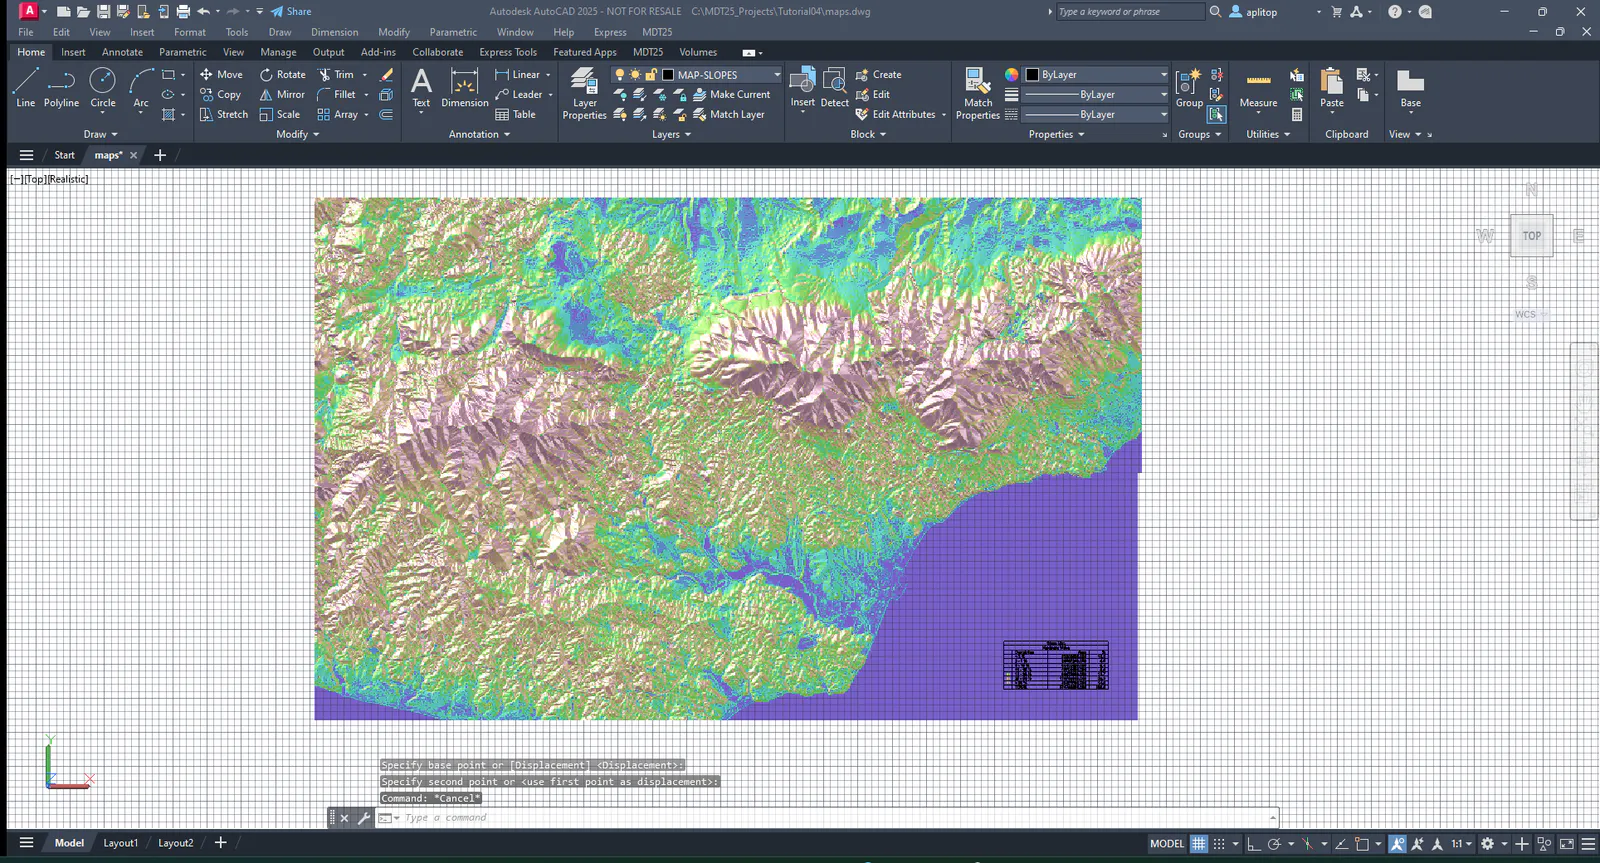
Click OK the main dialog. Set the text height by pressing H and entering 100 and designate a position for the legend outside the map.
/Height: H
Text Height: <1.0000>: 100
/Height:
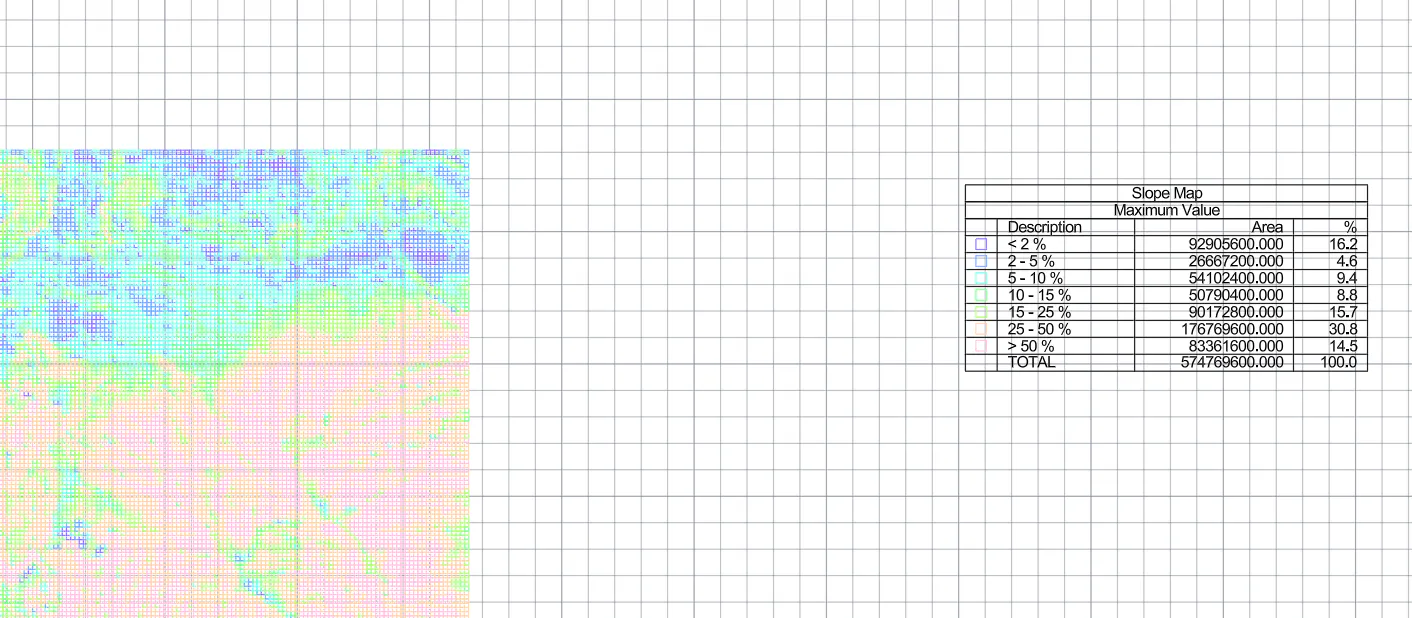
If desired, use the CAD commands to set Realistic Visual Style to enhance the presentation.