tcpMDT
Proposed terrain. introduction - MDT26
To perform this exercise, you must have MDT Professional Version.
Open the solera.dwg drawing inside folder C:\MDT26_Projects\Tutorial11.
first, we are going to assign horizontal signage to the road, for this, we execute the option Templates > Create / Edit and select the solera.seg file.
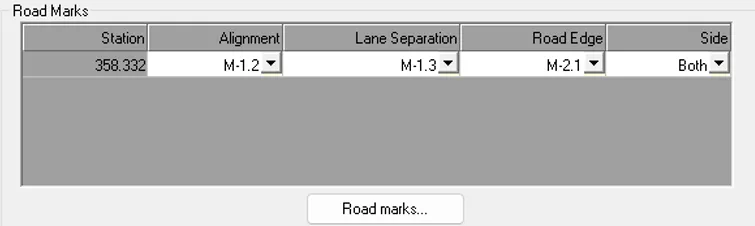
We activated the Road Marks tab, we press the Insert button and set the assignment according to the following capture. Next, we press the OK button to save the information.
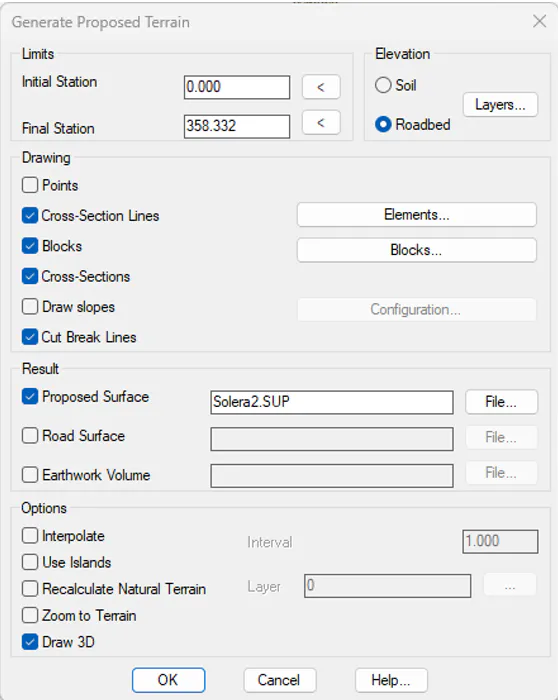
Now run the command Surfaces > Generate Proposed Terrain (or on the Surfaces > Grading > Proposed Terrain ribbon), type F and select the SOLERA.SEG file. In the dialog activate the Proposed Surface option, so that the new surface will be saved in the file solera2.sup, leaving the original surface intact.
Activate the option to Draw 3D, in this way at the end of the calculation, the surface will automatically be shown in 3D with the textures of the vial applied.
Leave the rest of the boxes as they appear in the figure.
Finally, press the OK button and after finishing the calculation process the result would be as follows:
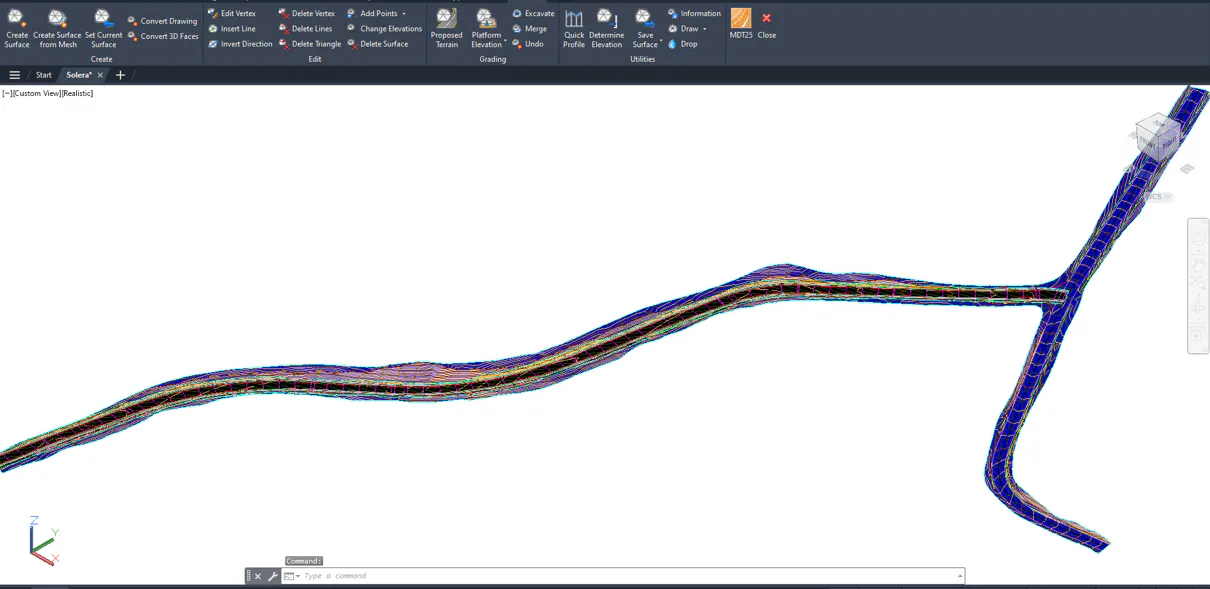
The original terrain is automatically modified by inserting the defined road and modifying the surface.
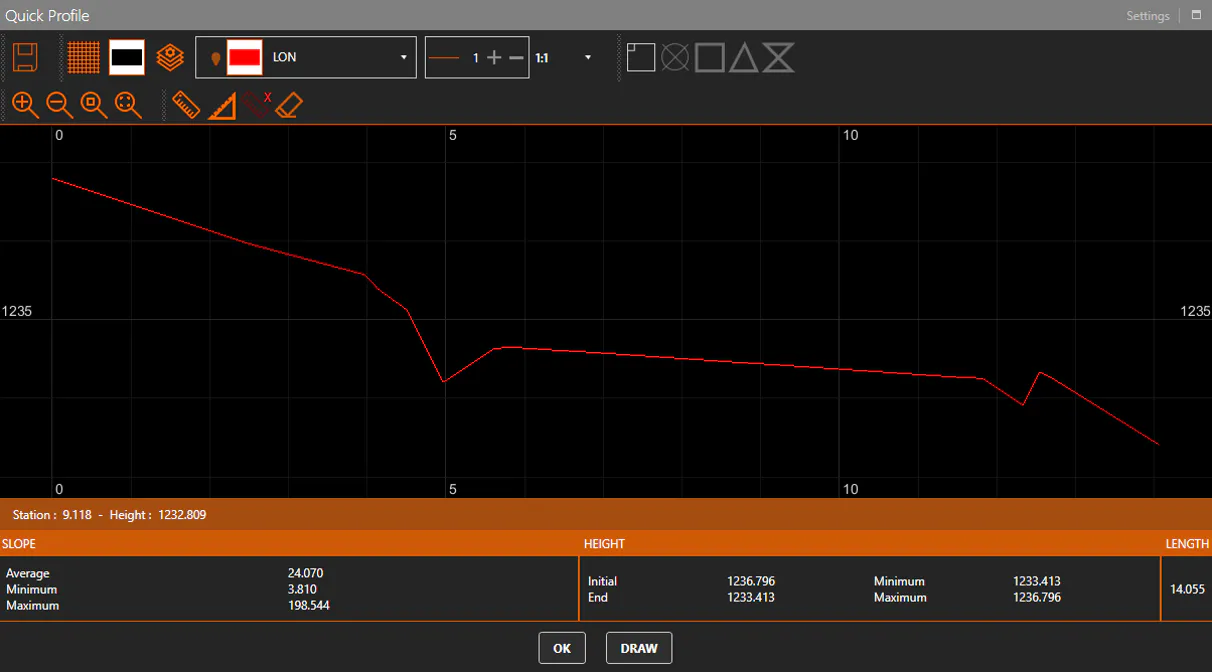
Now we make a plan view of the drawing and execute the Quick Profile option, you can view the modifications made to the model.
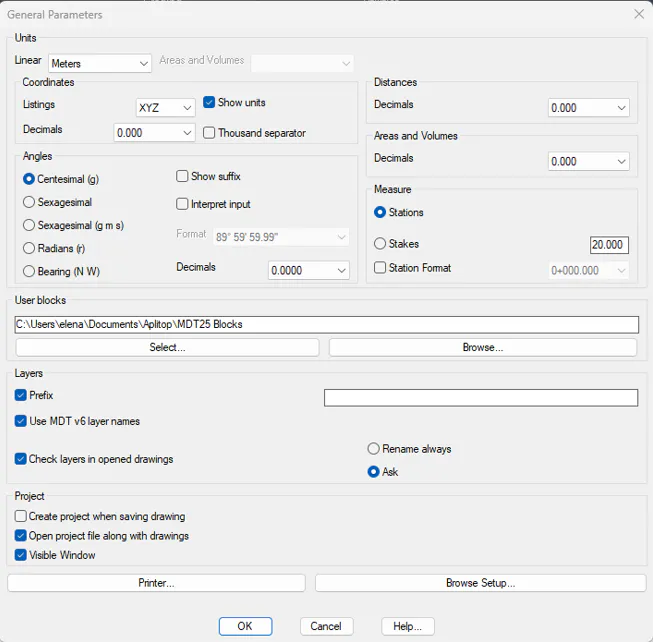
Now we are going to proceed to generate different types of reports, so that in these lists the corresponding units appear, we execute the option of Utilities > Configuration > General, select as a Linear unit the "Meters" and activate the box of "Show Units".