tcp PointCloud Editor
Point clouds and E57 imagery - PCE
3.10 Point Clouds and E57 Imagery
- Create a new project named E57.pce
-
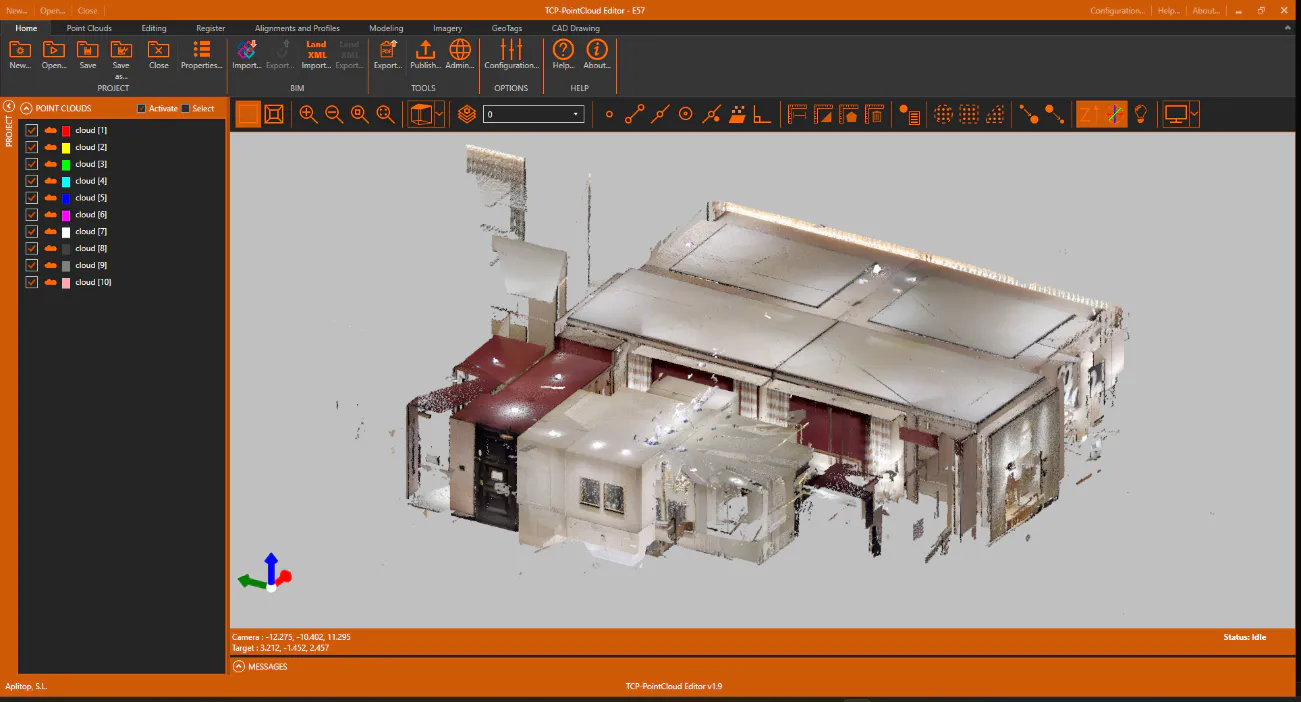
Import the 2-SCANNER\cloud.e57 file. You will notice that the 10 scans it contains are imported, being shown in the table of contents.
-
Next, activate the Imagery ribbon, and within the IMAGES group click the Import E57 Images icon. Choose the same file again.
-
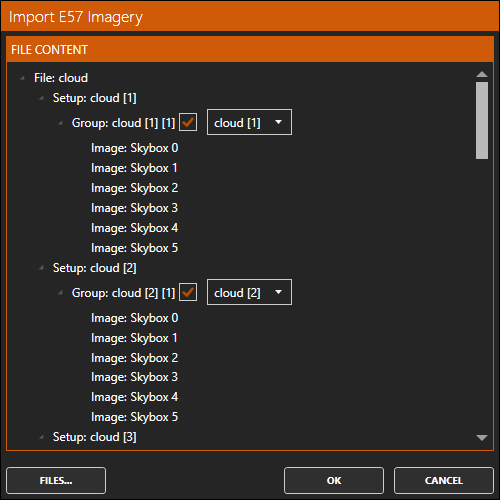
A list of the images it contains will be displayed. Press OK.
-
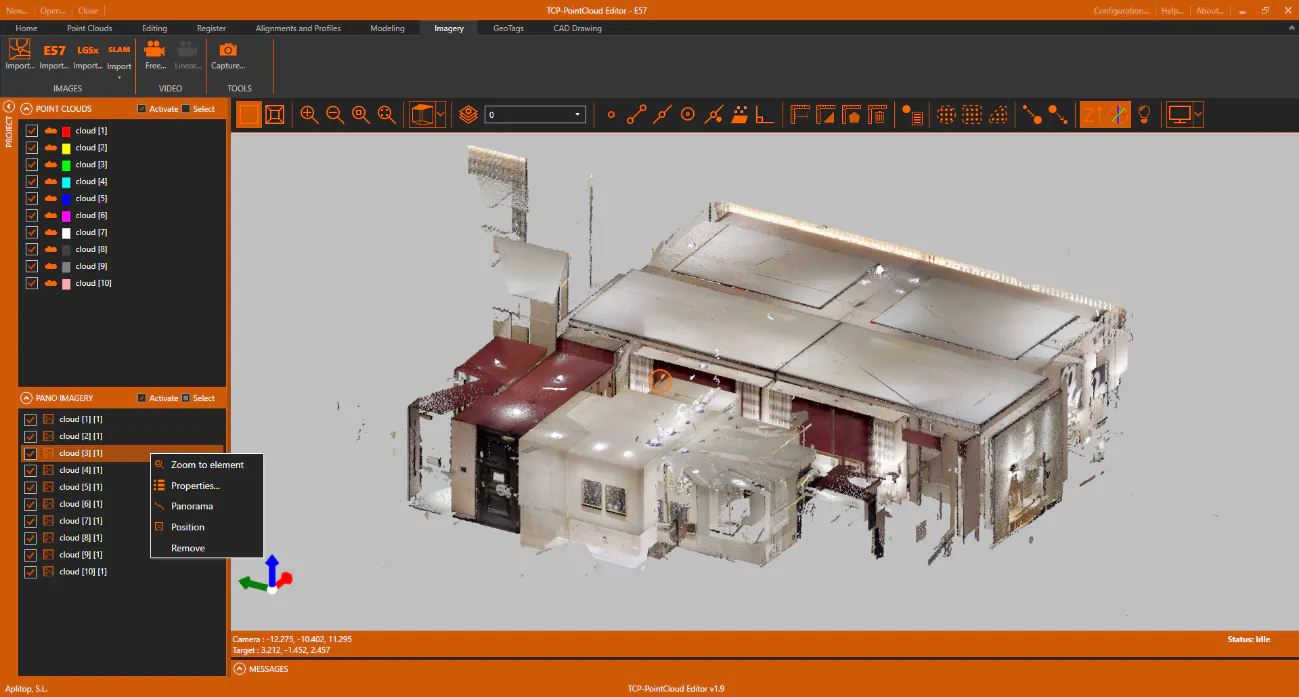
A new PANO IMAGERY section now appears in the content tab, which contains the images.
-
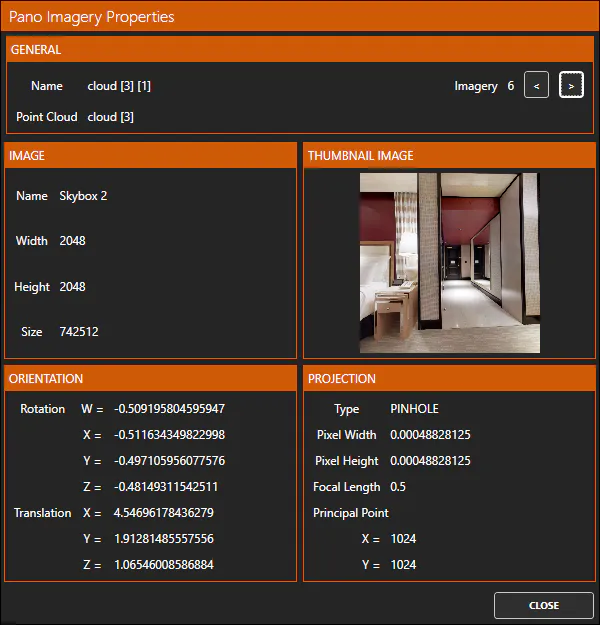
Select one of the images from the list, right-click and Properties. Browse with the < buttons and > the 6 associated images.
-
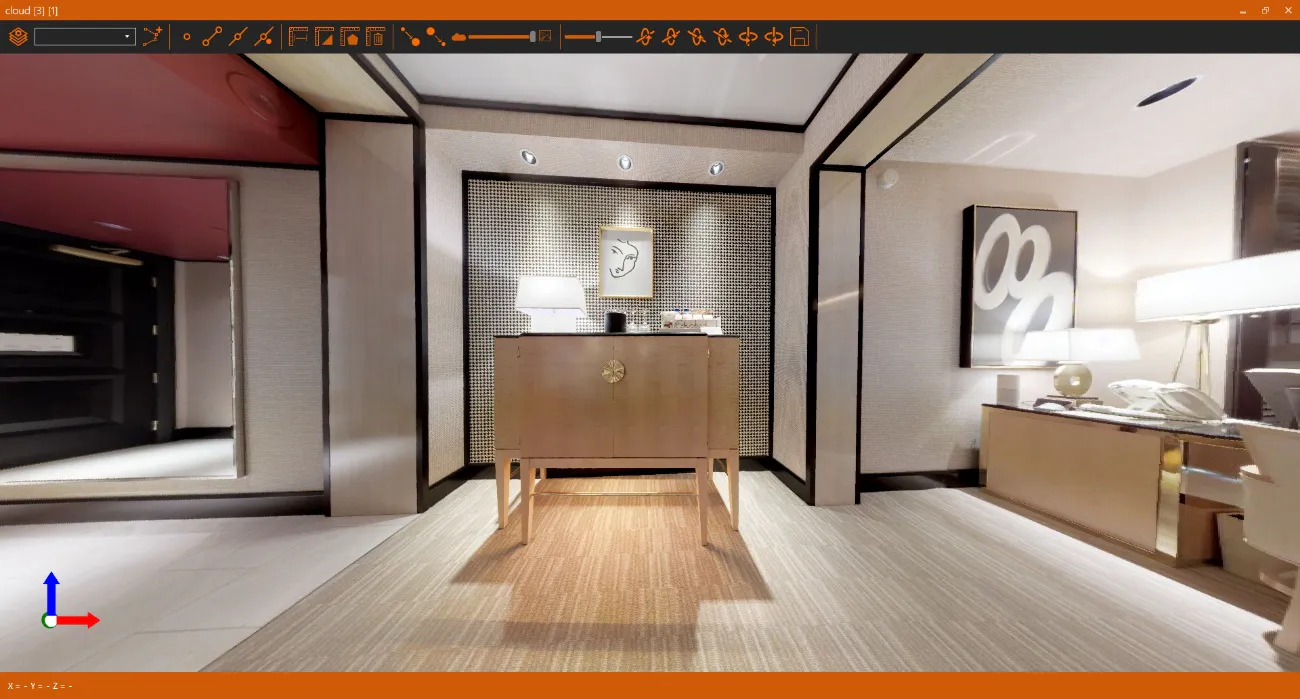
Right-click on the same image again and choose the Panorama option. Maximize the window and zoom in so that it is full. Experiment by orbiting over the image by holding down the left mouse button and moving it in all directions. The right button pressed allows us to change the zoom level.
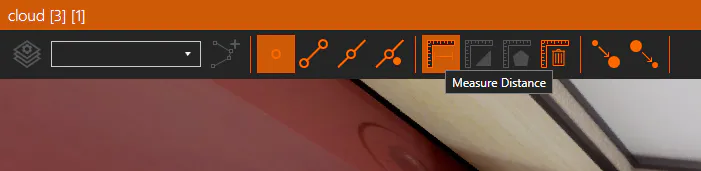
- In the toolbar, activate the Point Reference and click the Measure Distance icon.
-
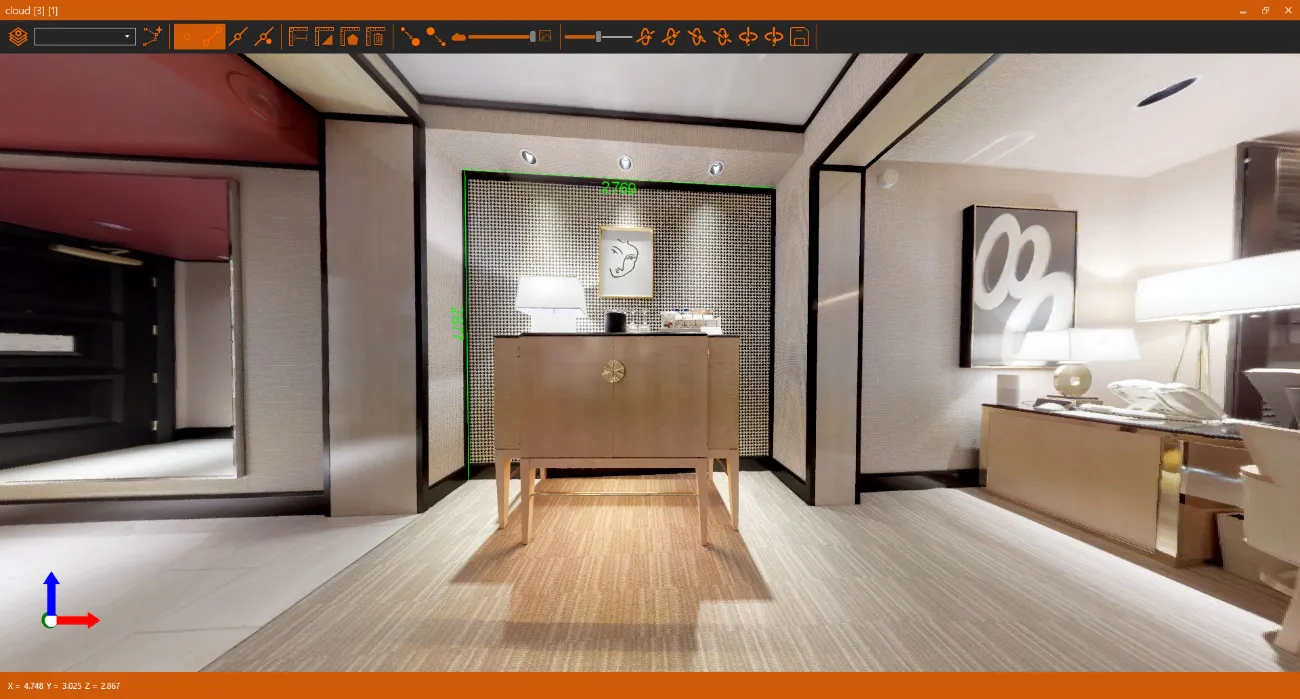
Take some measurements on the image and close the viewer.
-
As you can see, when you return, the point clouds of all scans except for the selected image have been hidden, and the rendering mode has been set to perspective. In addition, a sphere is displayed for each panoramic image.
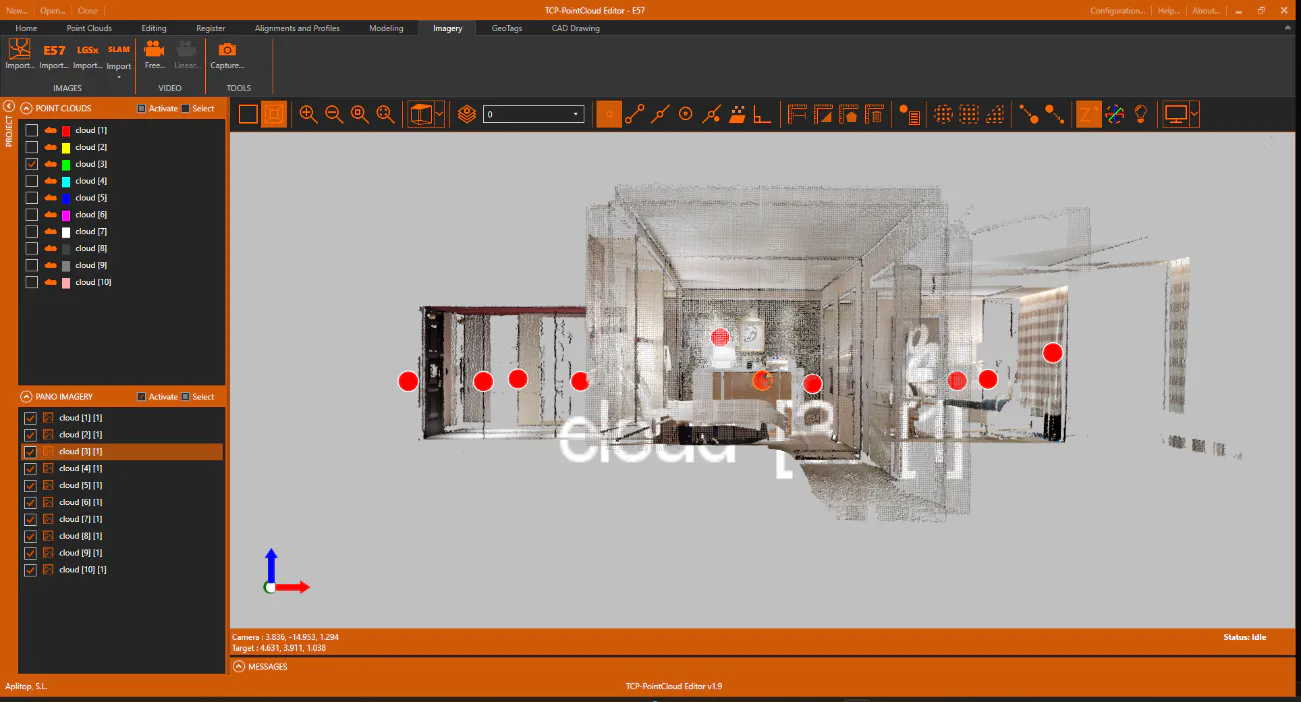
-
Clicking on each sphere displays a preview of one of the images, which is selected in the table of contents.
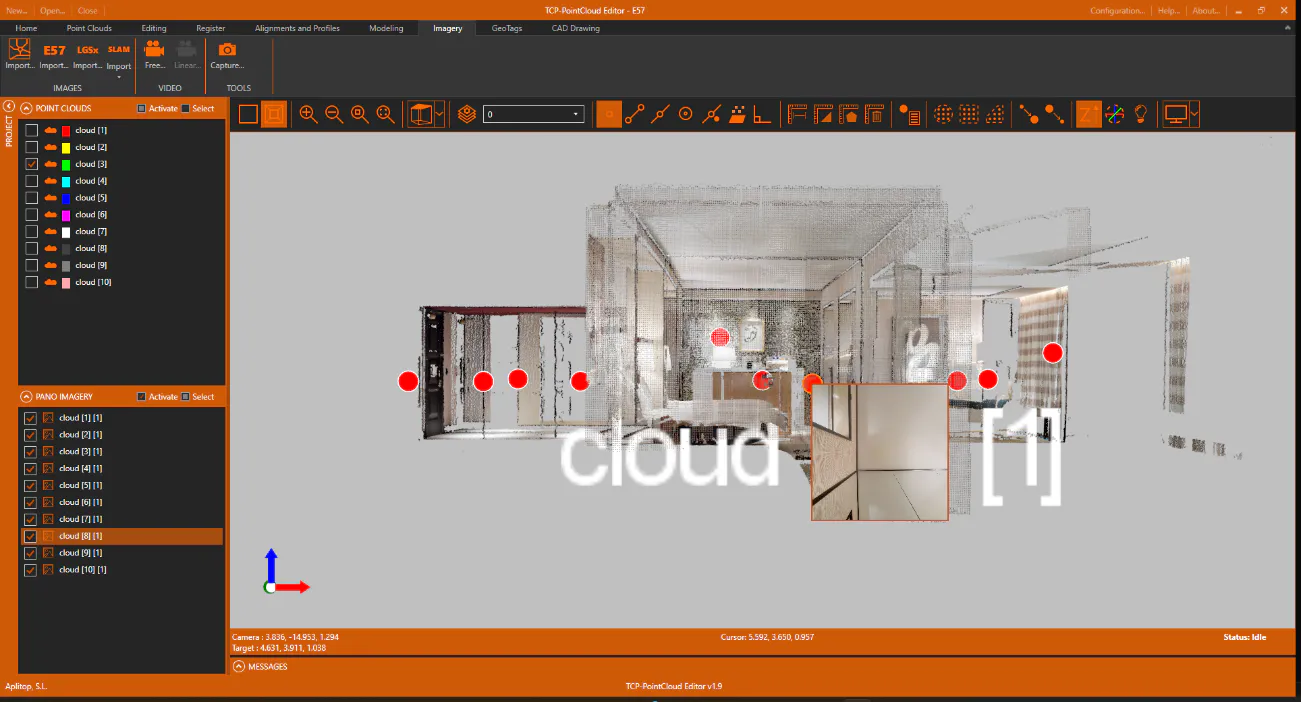
-
Open another of the panoramic images, for instance cloud [2][1]. Tap the Layers icon and ADD a new layer. Choose appropriate color and thickness and press OK.
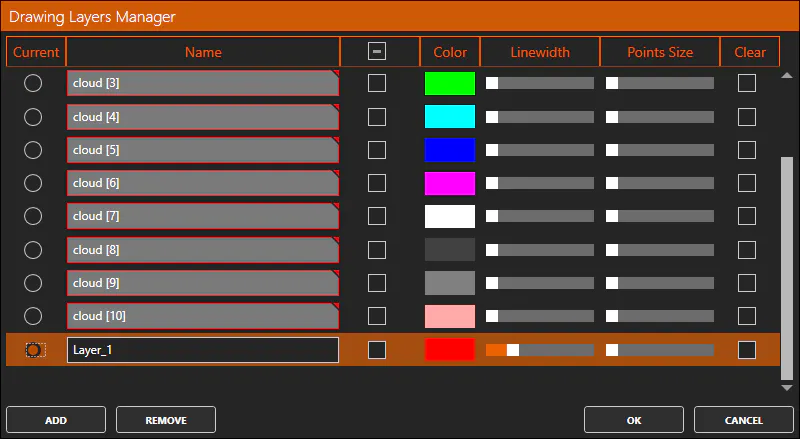
-
Now activate the Point Reference and press the 3D Polyline icon. Draw the desired polylines on the point cloud. Close after completion.
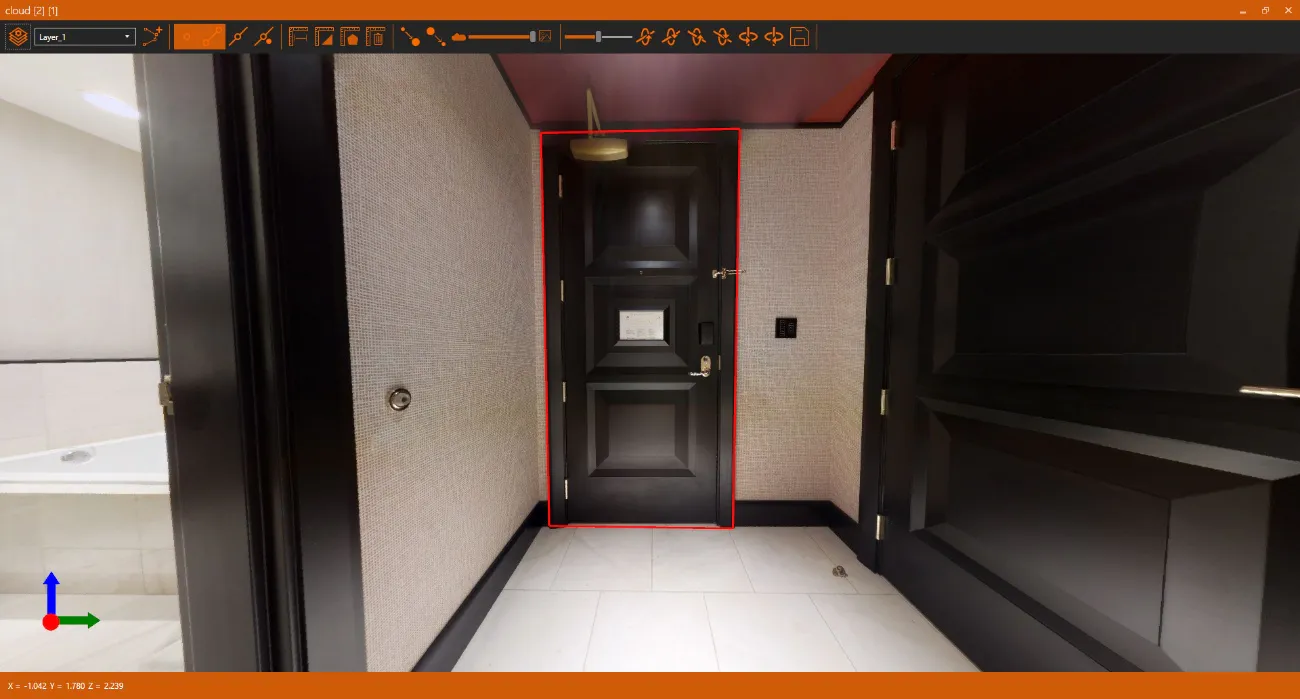
-
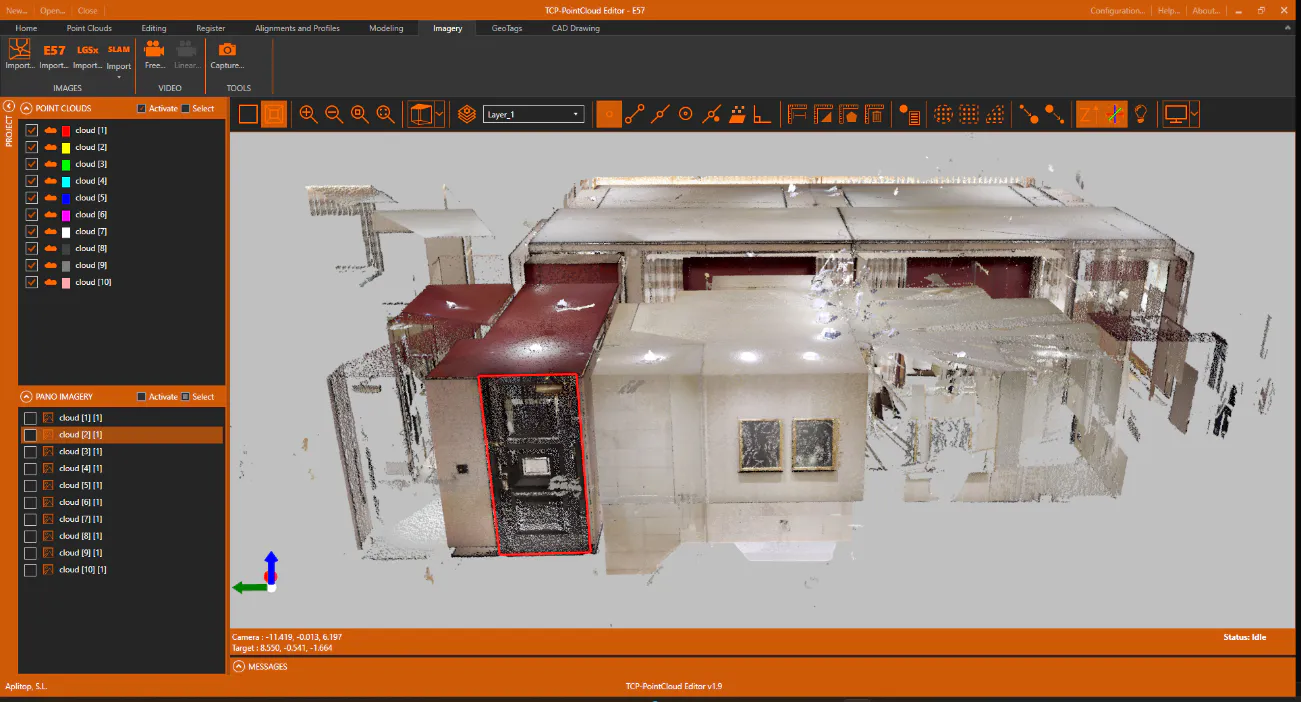
When we return to the point cloud viewer, we verify that the 3D polyline has been drawn in its correct position and on the set layer.
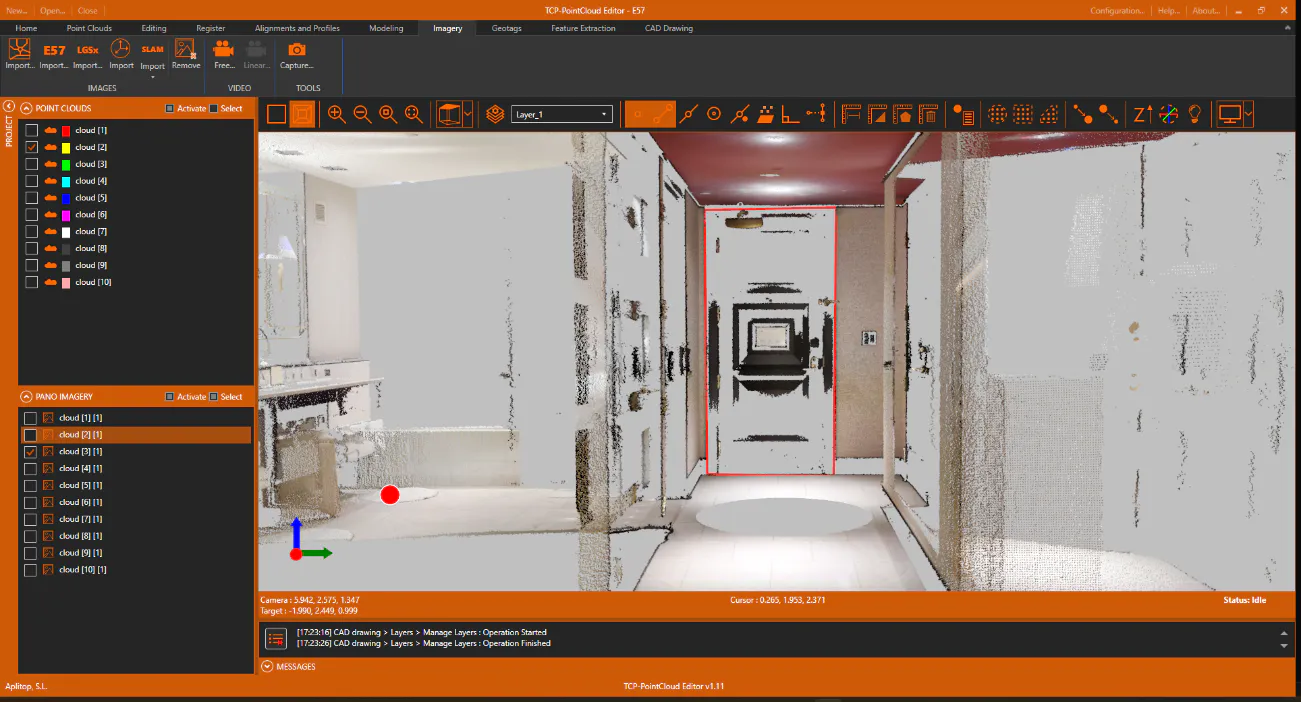
-
In the table of contents, turn off all panoramas and turn on all point clouds. Activate the Camera Orbit Mode icon to set the conventional mode again to explore point clouds.
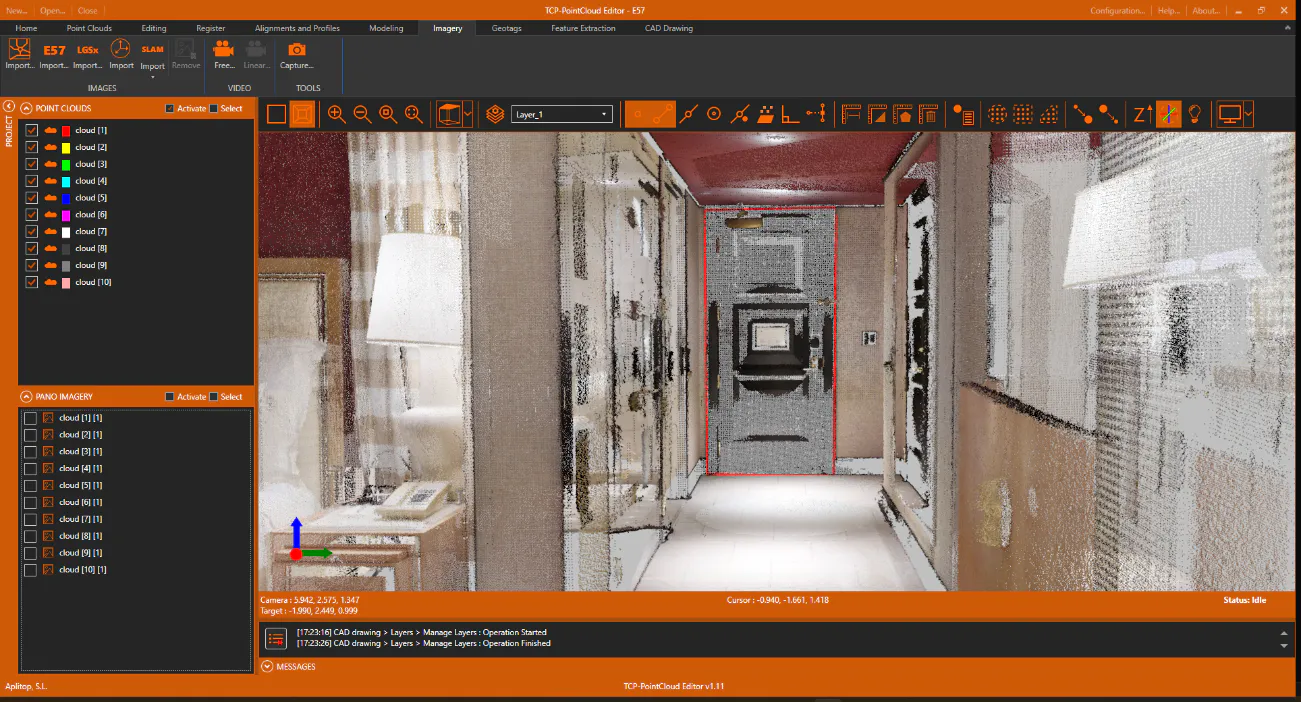
-
Zoom in and verify that the 3D polyline has been drawn in its correct position.