
tcpMDT
Creating a surface - MDT25
2.1 Creating a Surface
Select Surfaces > Create Surface (or Surfaces > Creation > Create Surface), or in the project window, right-click on Surfaces and Create Surface from the context menu. Select DEMO2.SUP to create surface file, in the drawing directory. Activate Points, Break Lines and Boundary Line boxes. As for the representation, choose Complete.
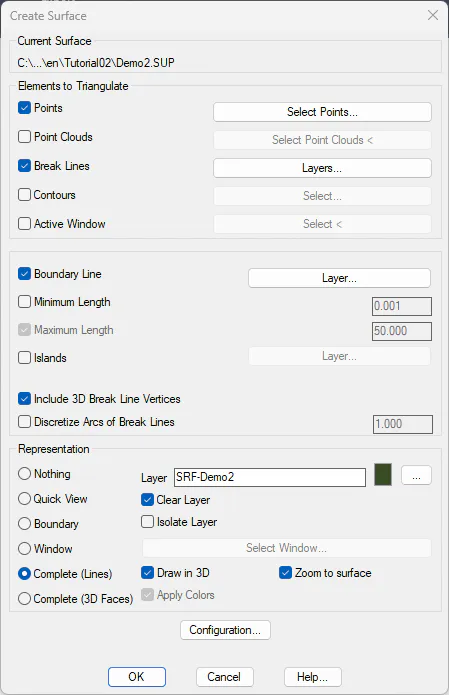
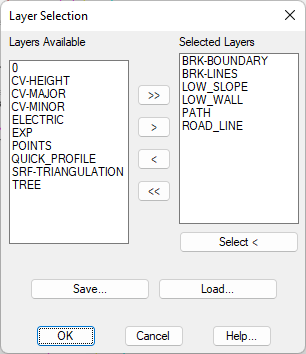
To define the list of layers containing break lines, click on Layers button to the right of the Break Lines box. To select a previously recorded list of layers press the Load button and select file DEMO2.CAP or manually name the layers that appear in the next image with button >.
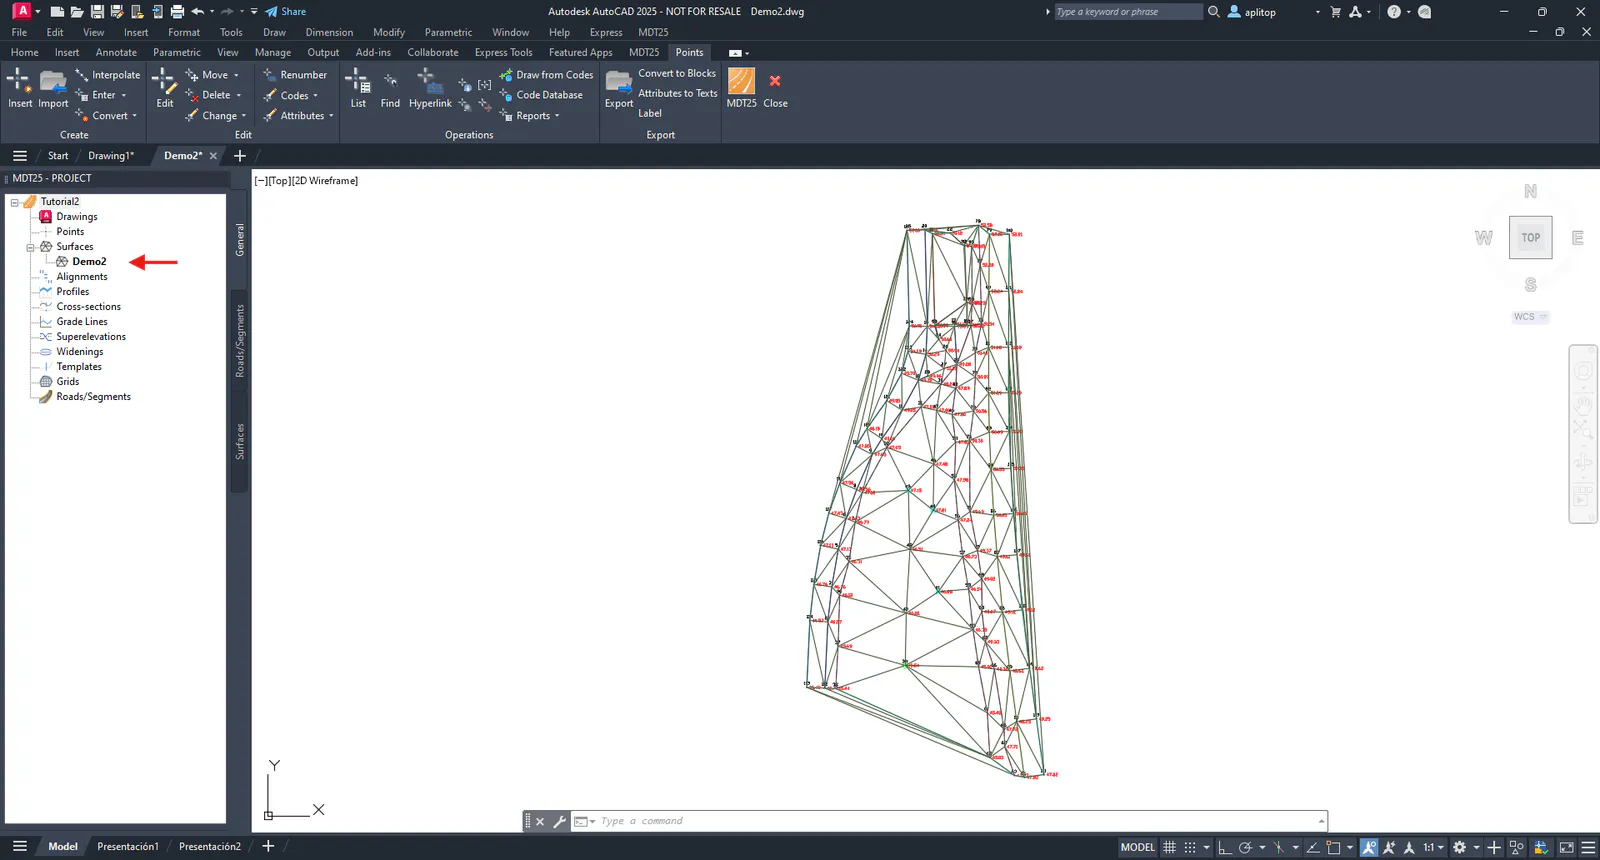
Press OK and the program begins the triangulation process, by respecting all the correctly defined break lines. In the project window, you can check that a surface file is added.
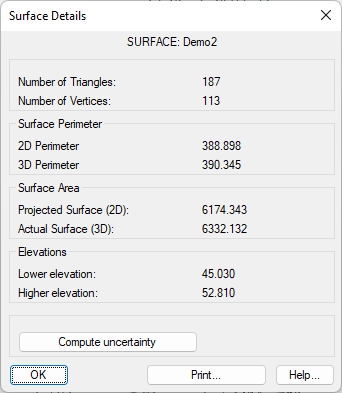
Once the surface is created, we can obtain all the information associated therewith, for example, 2D and 3D surface and perimeter, number of triangles ..., for this we execute the command of Surfaces > Information (or Surfaces >Utilities >Information) and the following window will pop up:
Press OK to close the dialog box.