
tcpMDT
Labeling contour lines - MDT25
2.5 Labeling Contour Lines
If due to the resulting contour we can have a good estimate, we can finish the drawing with the contour line labels, smoothing and status of dimensions. First, we hide the triangulation layer (SRF-TRIANGULATION), choosing layer 0 as current, or by executing the MDT > View command. Then, run the command Contour Lines/Mapping > Label Contour Lines (or Contour Lines > Drawing > Label). The following dialog box is displayed:
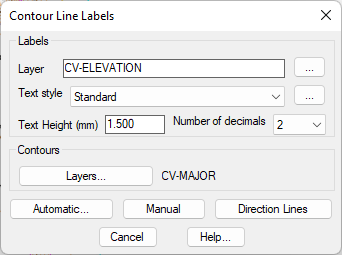
As the contour is generated every 0.50 mts, it will be convenient to select 2 decimals in the Number of decimals box, and in Text Height write 1.5. Press the Automatic button. Zoom in by extension.
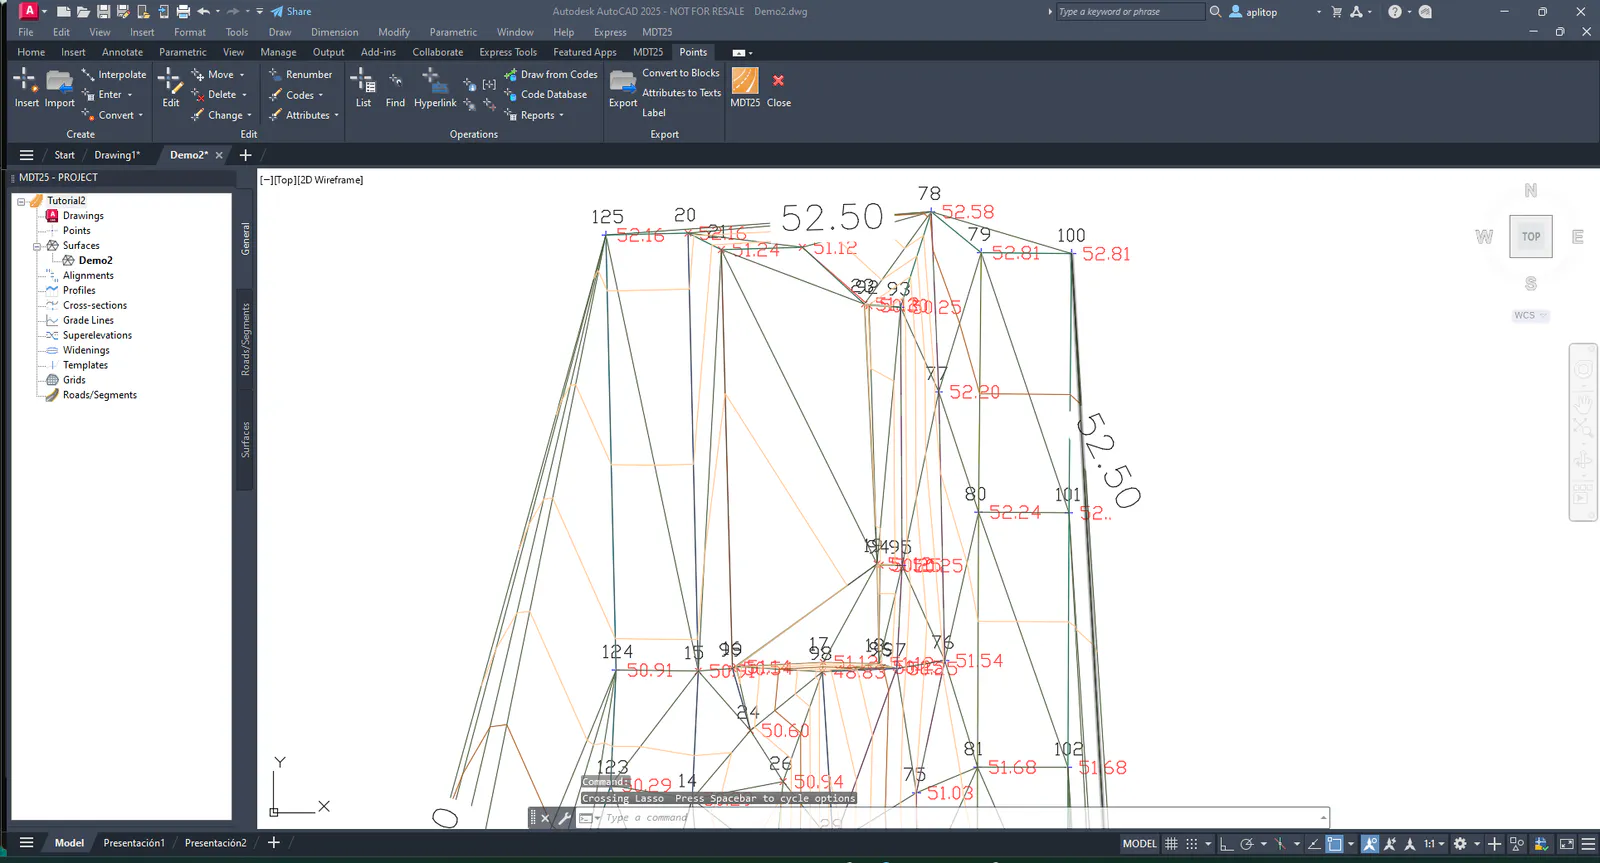
We can also draw other labels at the desired points. As an example, select Contour Lines/Mapping > Label Contour Lines (or Contour Lines > Drawing > Label), press the Manual button and select the last contour level to the South of the plot. The program will write the value 45.50 by just clicking on any point in the contour.
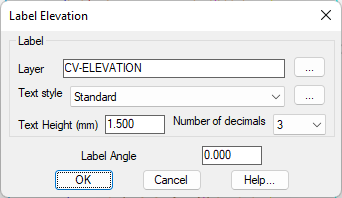
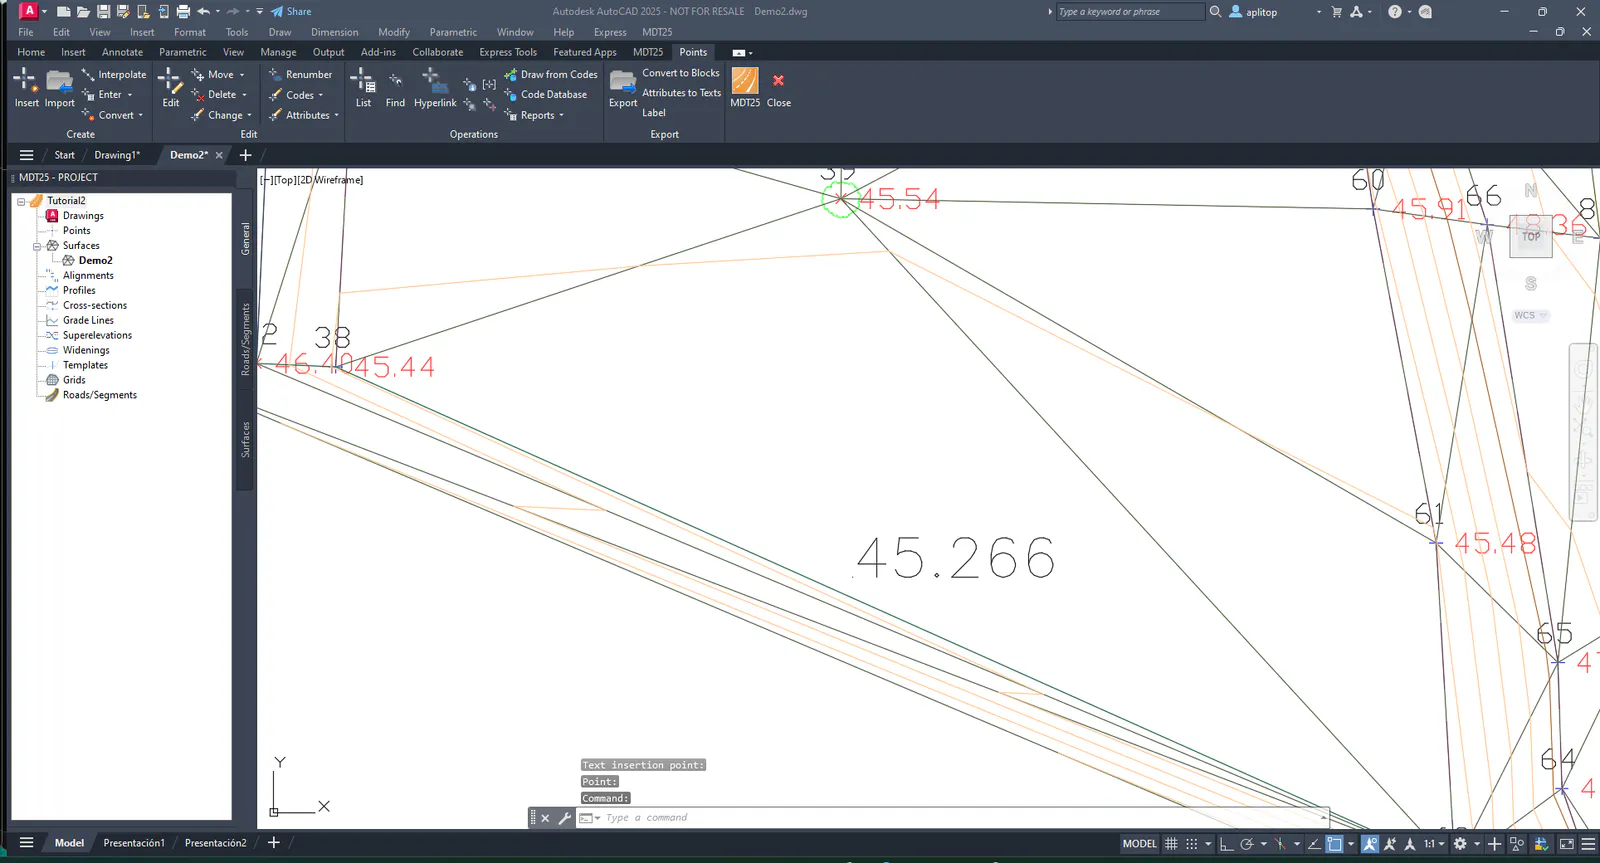
In order to project in plane avoiding data massification, we will place a series of significant dimensions in singular points. To do this, select the command Contour Lines/Mapping > Place Elevation Labels (or Contour Lines > Drawing > Label Elevations), set 3 as the Number of decimals, 1.5 in the Text Height and Label Angle of label 0. Press OK and you will be prompted for the points in the command area.
Point: 279.71,238.32
Height <45.280>:
Text insertion point:
Point:
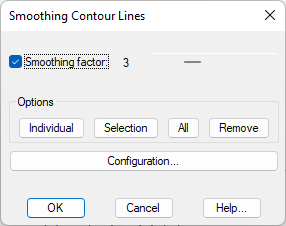
Finally, we can smooth contour lines with Contour Lines/Mapping> Smoothing (or Contour Lines> Edit> Smoothing) by specifying Factor 3 and pressing the All button. Once finished, press OK.
Save drawing again on File > Save.