
tcpGPS
Map surveying screen - GPS v2
10.1 Map surveying screen
This is the first screen that appears for the user when they enter the application. Two modes are available: map mode (Map surveying screen) and numerical mode (Numerical surveying screen). For switching between both modes, these buttons 
 can be used. In Landscape/Horizontal screen orientation, they will be both visible.
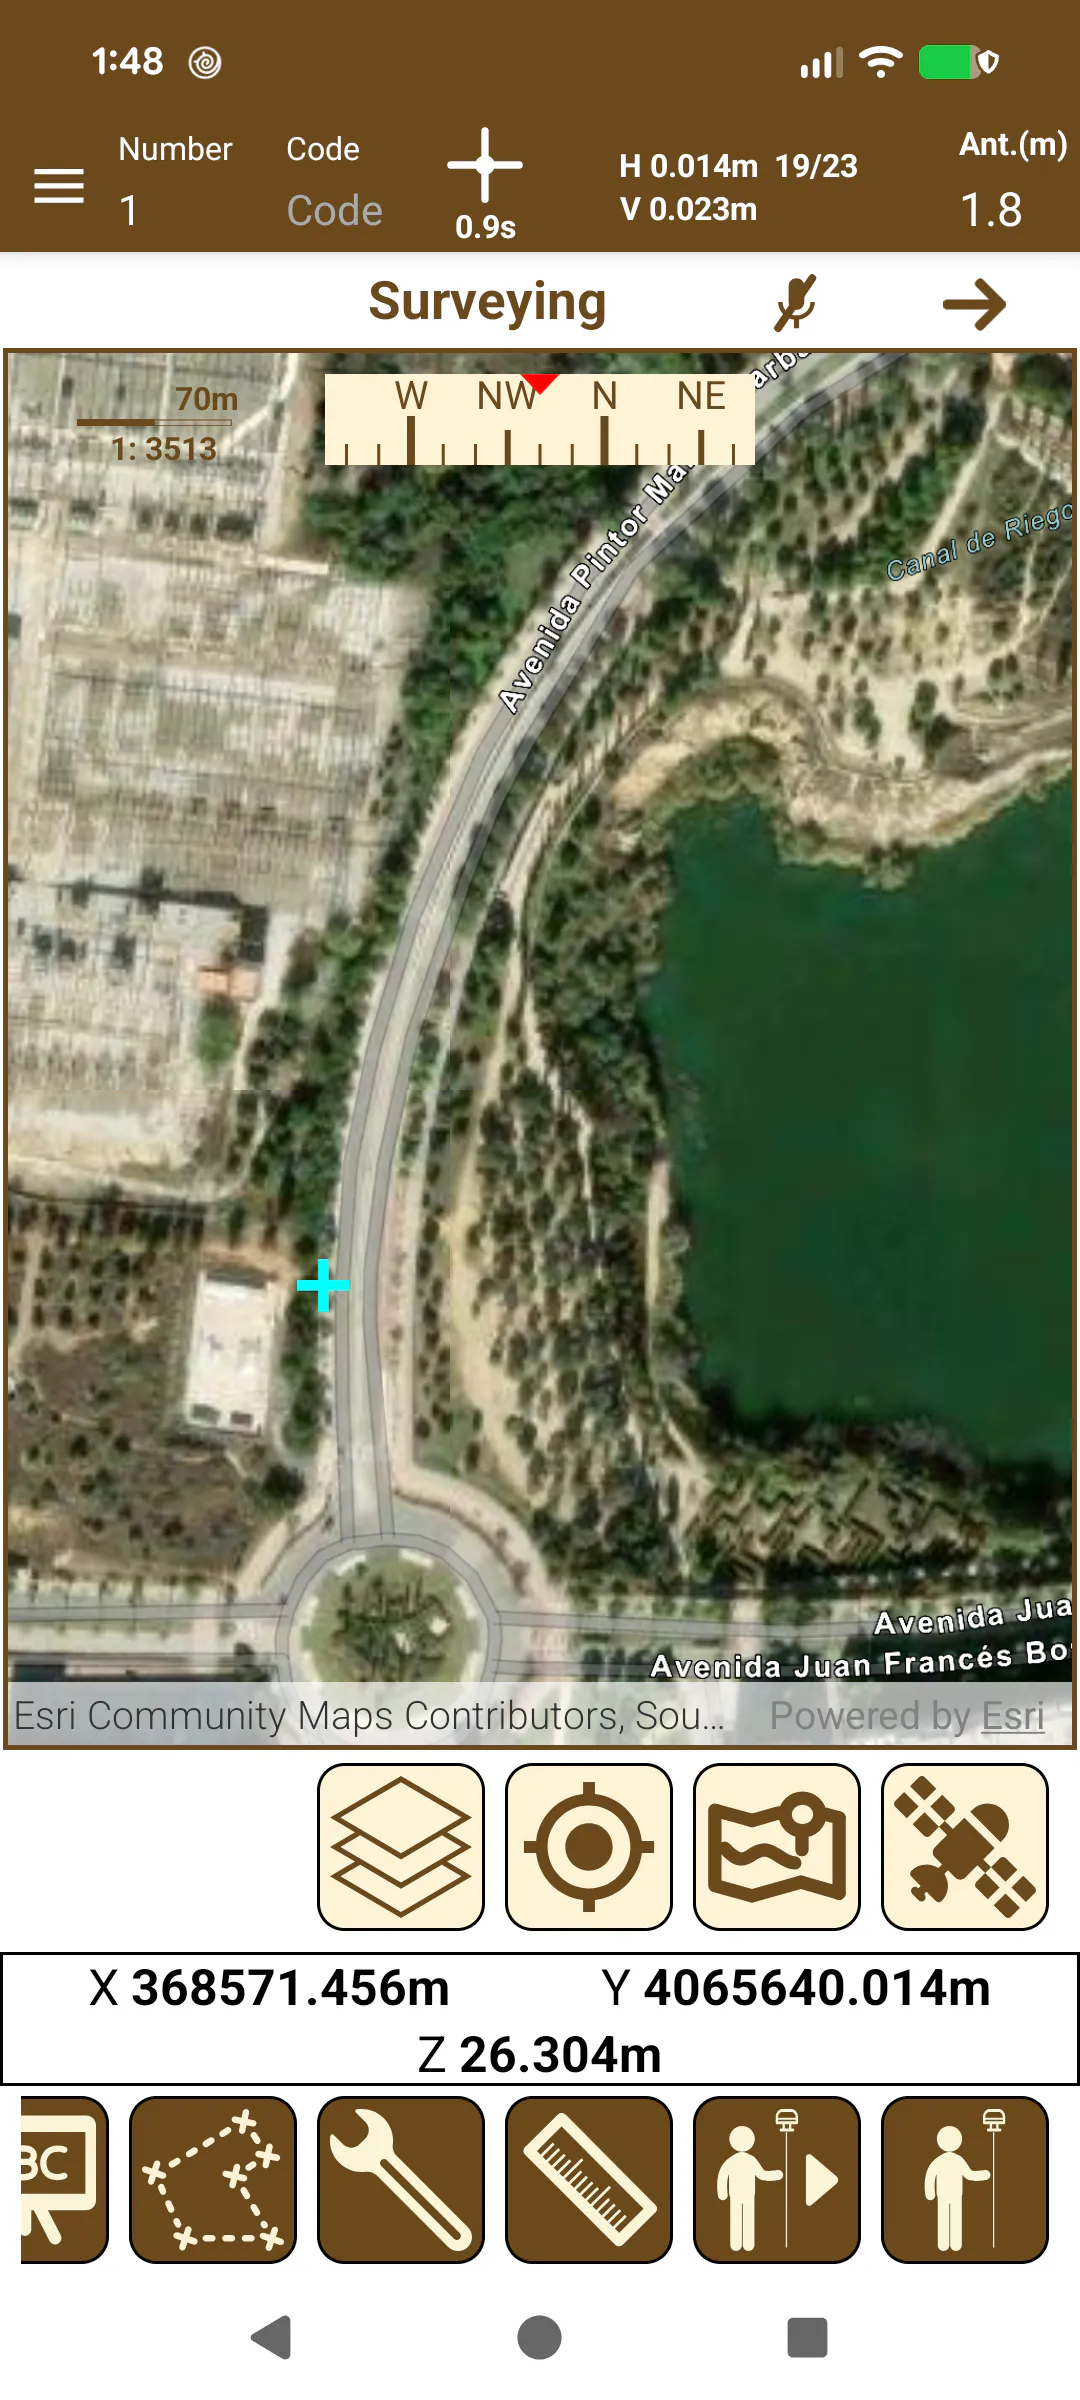
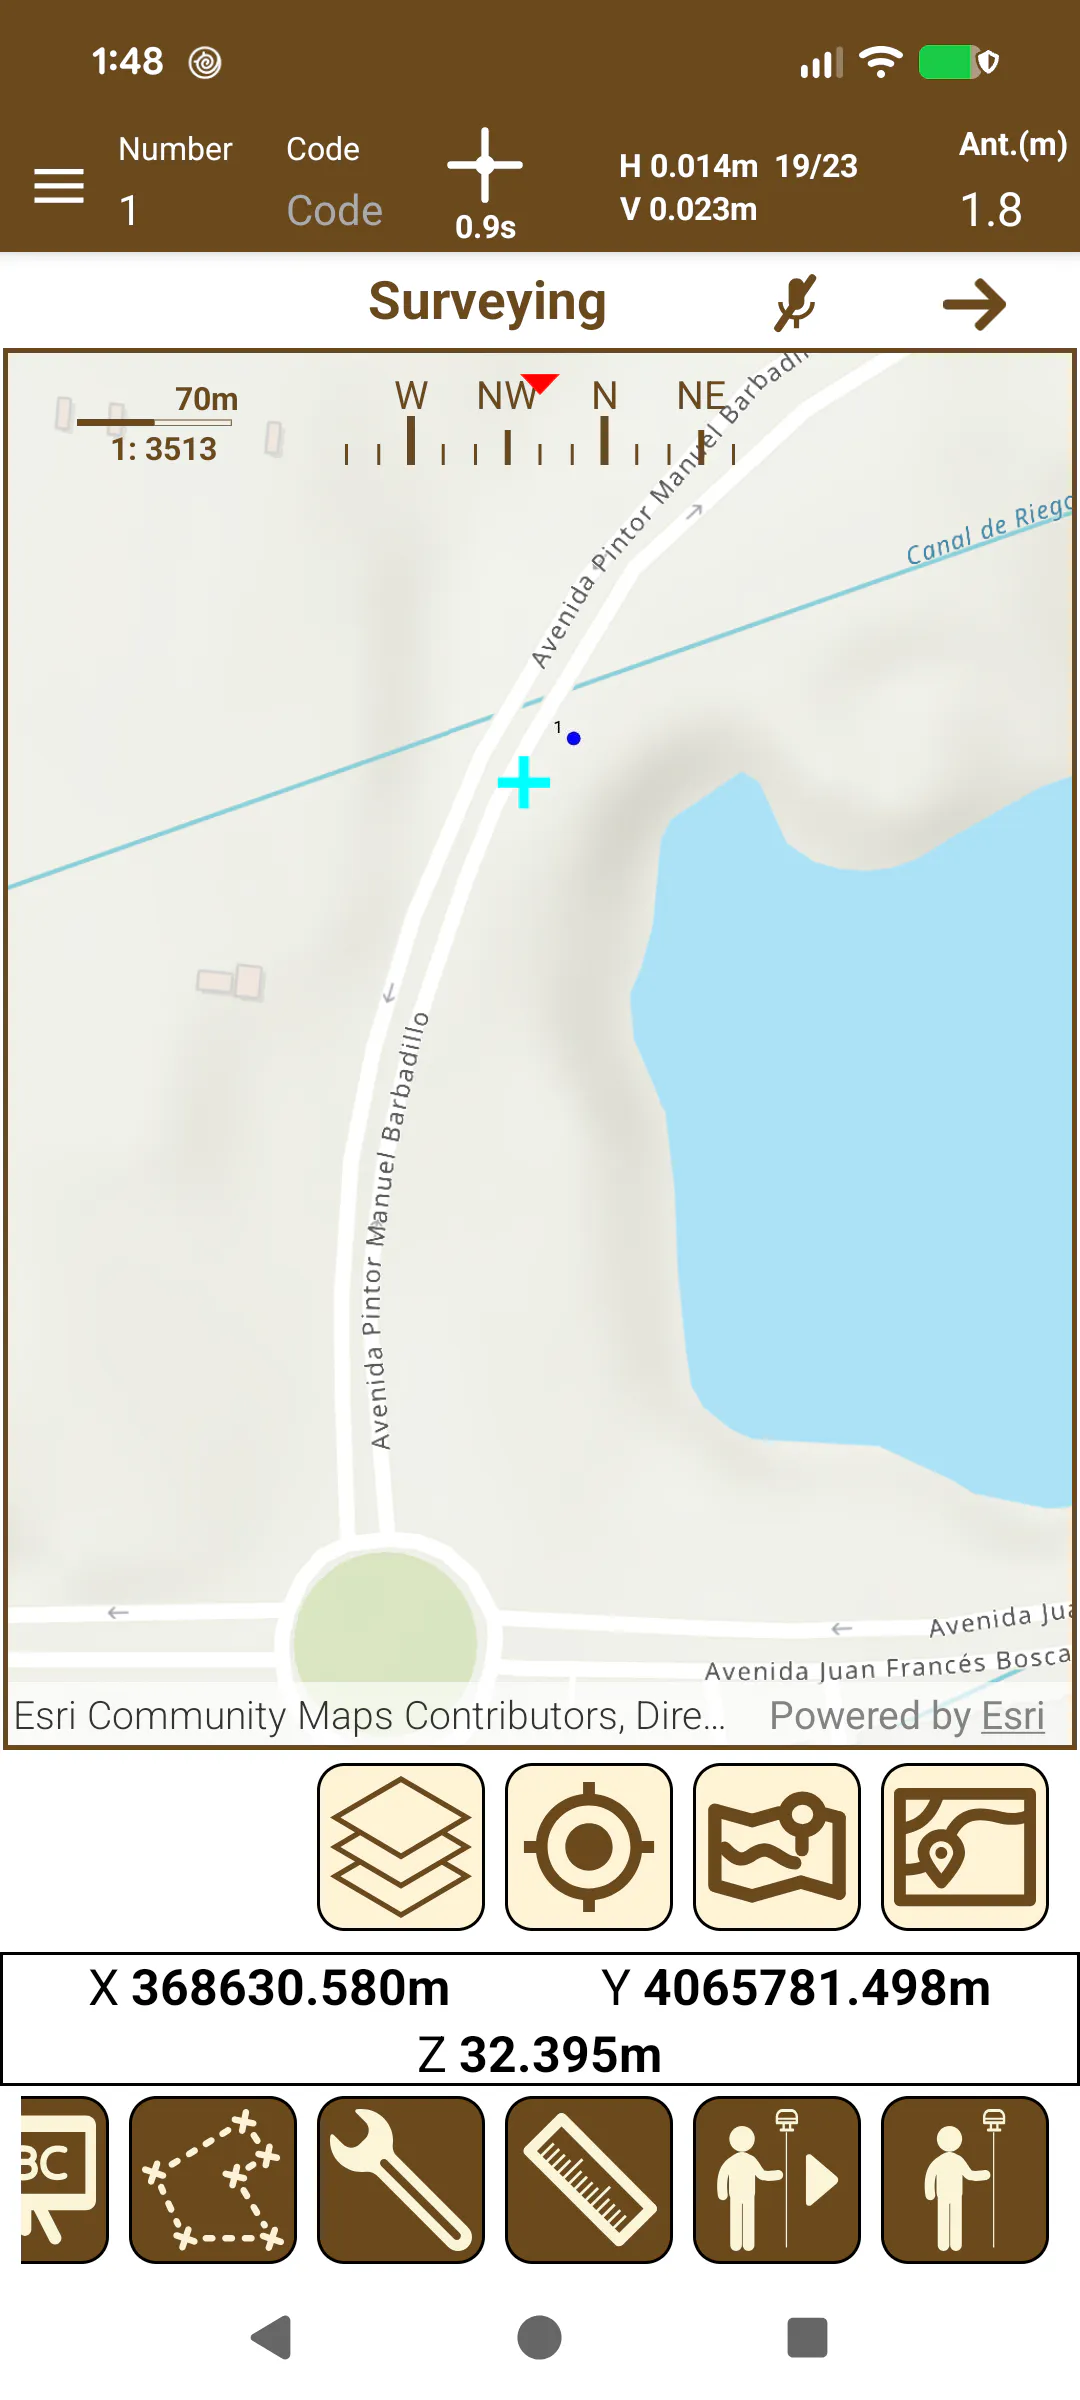
In the survey screen map mode are shown the points, cartographies and roads that compound the project.
 |  |
|---|---|
Figure 62. Surveying map mode | Figure 63. Example of point with its basic data |
Figure 63 shows an example of a measured point with its basic information displayed around it:
At top left of the point is shown the number.
At right of the point is shown the height.
At bottom right of the point is shown the code.
The floating menu below the map contains certain functions for interacting with the map. See Map menu - GPS v2 section for detailed information about each option.
When you pick on a point, the information box will update with the information of the point, at the bottom. By clicking on the buttons, two actions can be done.
 | Accesses the detailed information of the selected entity (see Editing points list - GPS v2 ) |
 | Allows the download of the text in the information box. |