
tcpMDT
Exporting the road with pavement layers - MDT26
19.7 Exporting the Road with Pavement Layers
Next, we will export to an IFC format file a surface and a road, to which we have previously defined a series of pavement layers.
To do this, we open the file Solera.dwg which can be found in the folder C:/MDT26_Projects/Tutorial 19.
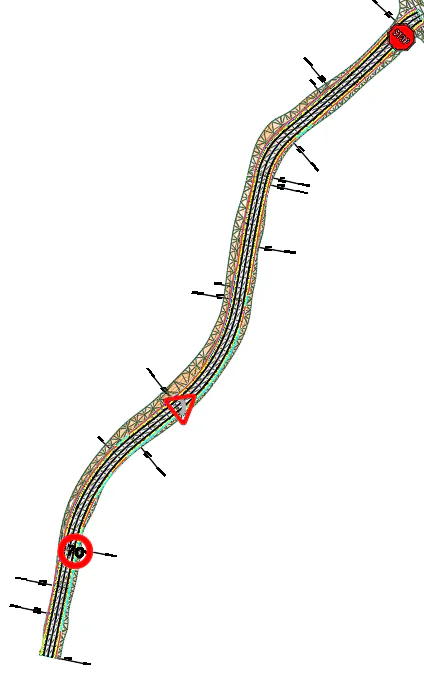
It can be seen that the drawing already has three vertical signs inserted along the road. The procedure for inserting vertical signs is described in detail in Tutorial 11.
Step 1: activate the same systems: AplitopClass and Uniclass 2015. The road segment will receive the codes MDT.03.01 and SL_80_35_13 (Carriageways) respectively. The roadbeds will receive MDT.04 according to their type and Ss_30_14_05 (Asphalt road and paving systems).
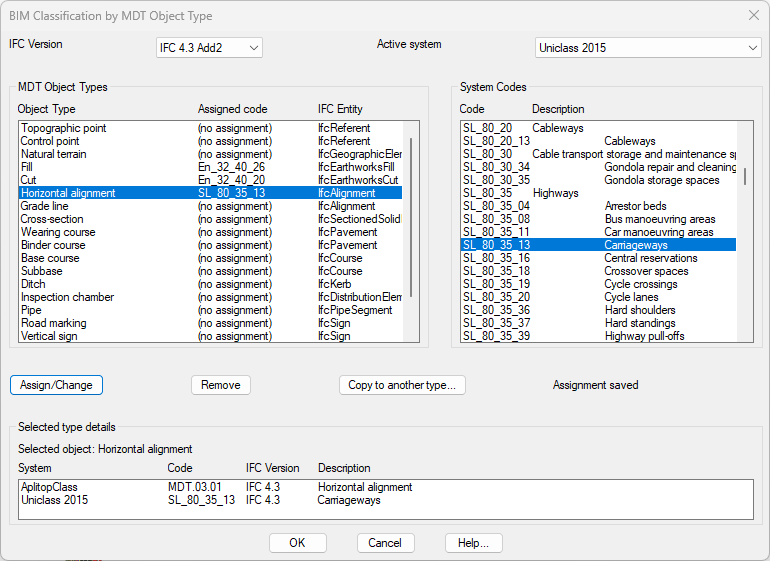
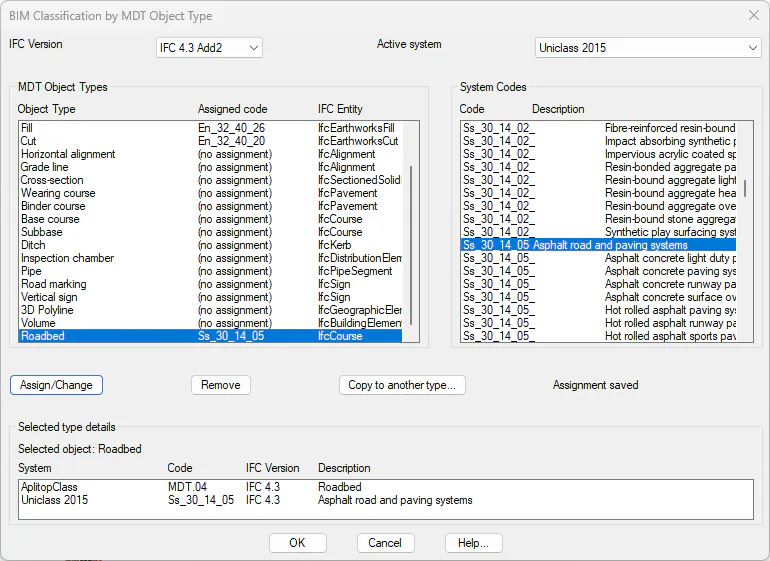
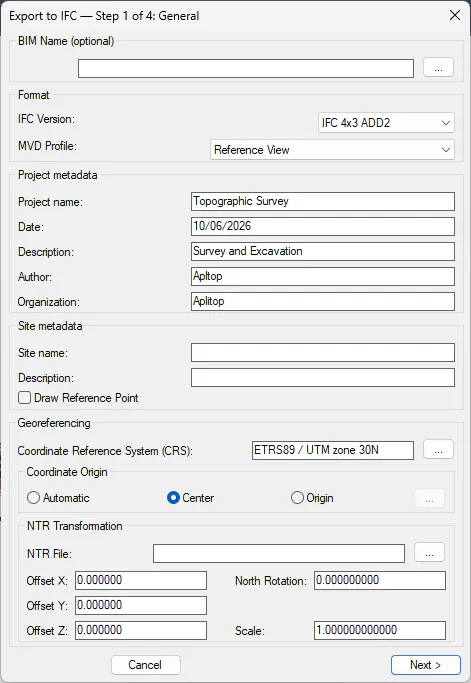
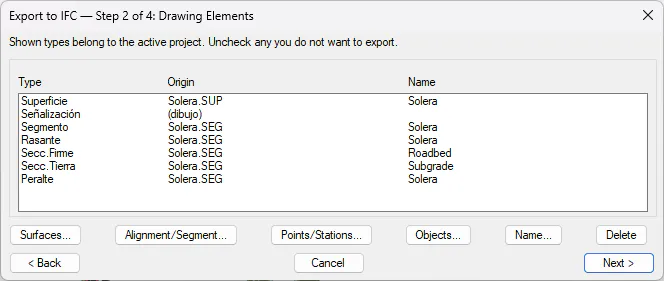
● Step 2: Now we are going to export the information to the BIM model, that is, in this case to the IFC file. To do this, we execute the command BIM > Export IFC, and configure the wizard. Select IFC 4.3 ADD2 as IFC version and SRC EPSG:25830.
● Step 3: press Alignment/Segment… and select Solera.seg.
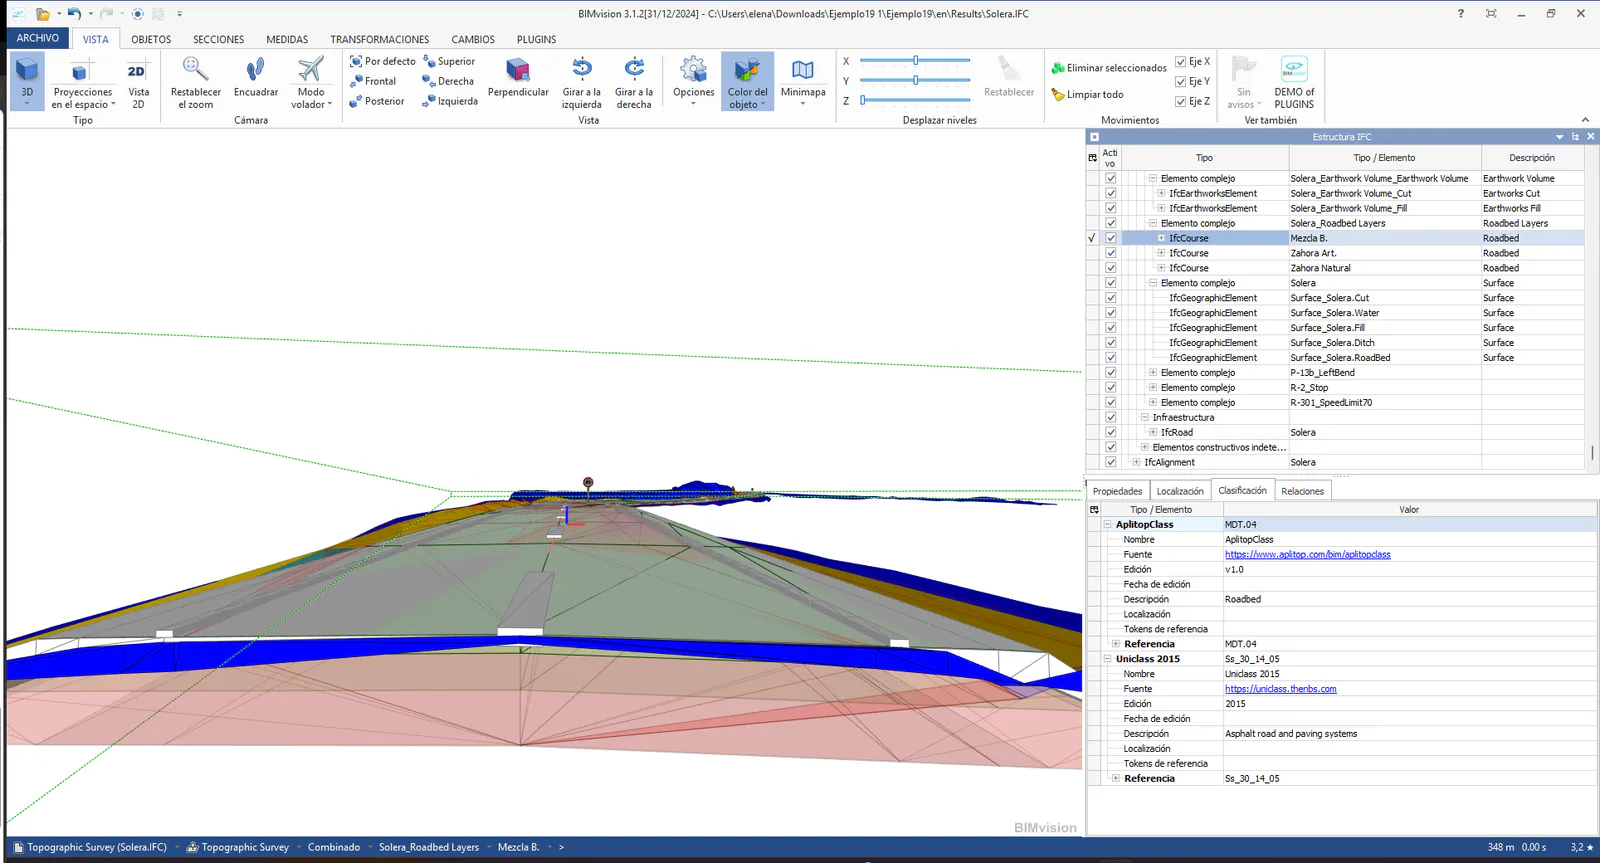
● Step 4: Save as Solera.ifc and open with BIM Vision.
You can observe the terrain, the roadbed, and the road sign. The roadbed are exported as IfcCourse in IFC 4.3 ADD2.
The horizontal signage was already defined in the segment previously, which can be configured from the section of Longitudinal Road Markings in the Section definition (MDT26 > Sections > Define - Edit).