
tcpMDT
In This Menu We Can Select the Way to Control the Camera - MDT26
In This Menu We Can Select the Way to Control the Camera.
 In this mode, the camera moves relative to a target point.
The target point will be highlighted in yellow when the camera is moving.
Controls:
Left Click: While pressed, moving the mouse orbits the camera around the target. This movement can also be done with the keyboard cursors.
Right Click: While pressed, moving the mouse moves the camera closer/farther from the target (it can also be done with PageUp/PageDown).
Mouse wheel: If it is kept pressed, moving the mouse controls the horizontal/vertical position of the camera, "panning" (it can also be done with the numeric pad cursors: 8,4,6,2). The movement of the wheel increases/decreases the zoom level.
Double Click: Sets the clicked coordinates as the camera target (there must be something other than the background at the designated point).
 In this mode the camera moves freely, without relation to a target point.
Controls:
WASD (or cursors): WS (or cursor up/down) move the camera forward or backward. AD (or cursor left/right) move the camera left or right. These directions are relative to the direction you are facing.
Hold any mouse button: Moving the mouse changes its orientation.
Mouse Wheel: Controls the zoom level.
 In this mode the camera moves relative to an alignment (only activated if invoked from Road Tour).
In this mode, a floating window appears that allows us to control the view numerically. We can exit the tour simply by closing this window:

 Speed at which the alignment is traversed
 and

Actual Station.
 Runs the alignment in the reverse direction, at the established speed.
 Stop alignment travel.
 It traverses the alignment in a direct direction, at the established speed.
 Shows the Record Tour dialog, to capture a video of the tour.
 Height of the camera with respect to the elevation of the grade.
 XY distance from camera to aligment.
 The horizontal orientation of the camera is always increased by this azimuth.
 The vertical orientation of the camera always increases this angle.
Controls:
Left Click: While pressed, moving the mouse changes the azimuth and tilt (orients the camera)
Right Click: While pressed, moving the mouse increases/decreases the current station.
Mouse Wheel: If held down, moving the mouse controls the horizontal/vertical position of the camera (Height and Distance). The movement of the wheel increases/decreases the height.
WASD (or cursors): WS (cursor up/down) increment/decrement the current station. AD (cursor left/right) increase/decrease the offset.
Lighting Menu
General
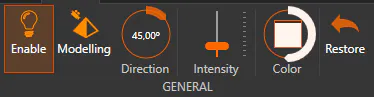
Controls general lighting parameters.
 It allows to activate/deactivate the lighting in real time.
 If active, the scene is illuminated with a modeling light (the camera is the light source)
 Scene light source direction.
 Scene light source intensity.
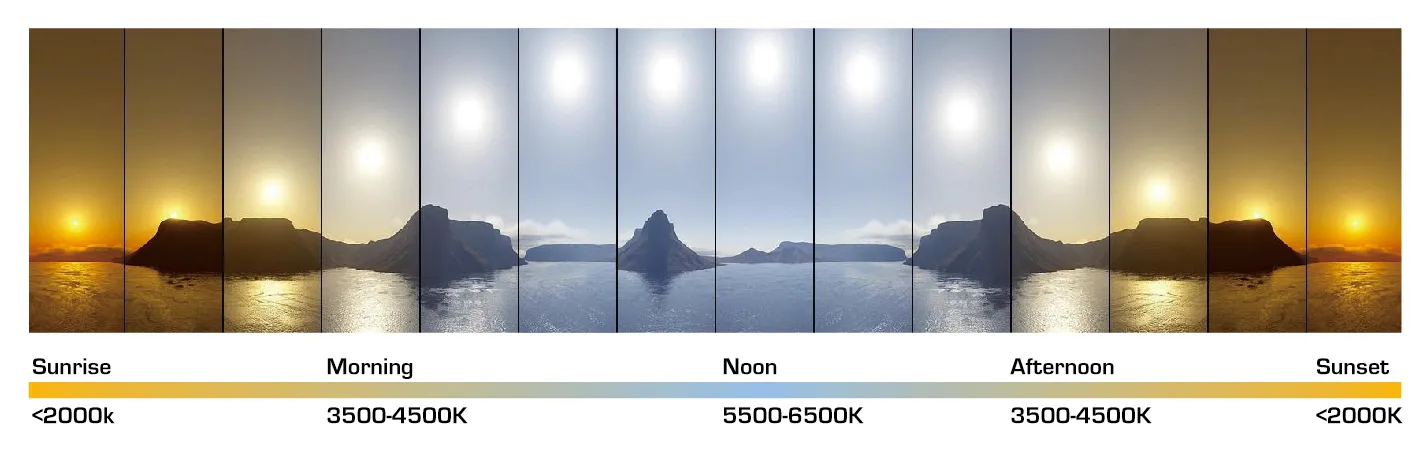
 Set the color of the light source. By clicking on the square, a color can be selected. Clicking on the circle sets the temperature of the light source in degrees Kelvin. In this graph you can see the relationship of color and temperature for the interval 2000-4500 Kelvin:
 Restores the default values of the general lighting.
Environmental
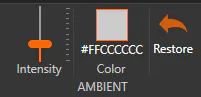
Set ambient light parameters.
 Ambient light intensity.
 Ambient light color.
 Reset Ambient Light Parameters.
Shades
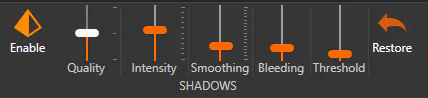
Allows you to set the parameters of shadow generation in real time.
 Enable/disable shadows in real time.
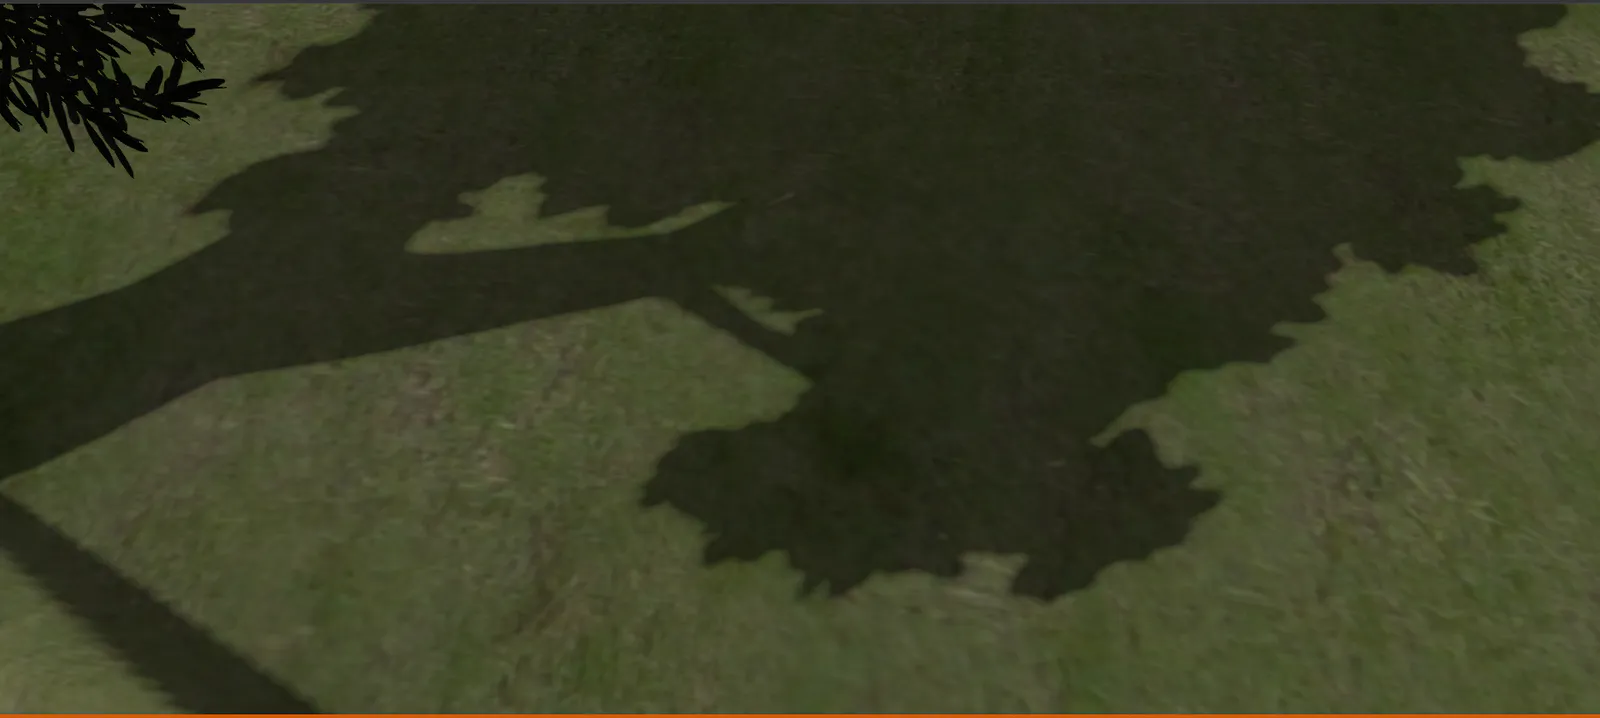
 Set the resolution of the shadow maps:
Height (4096 x 4096)
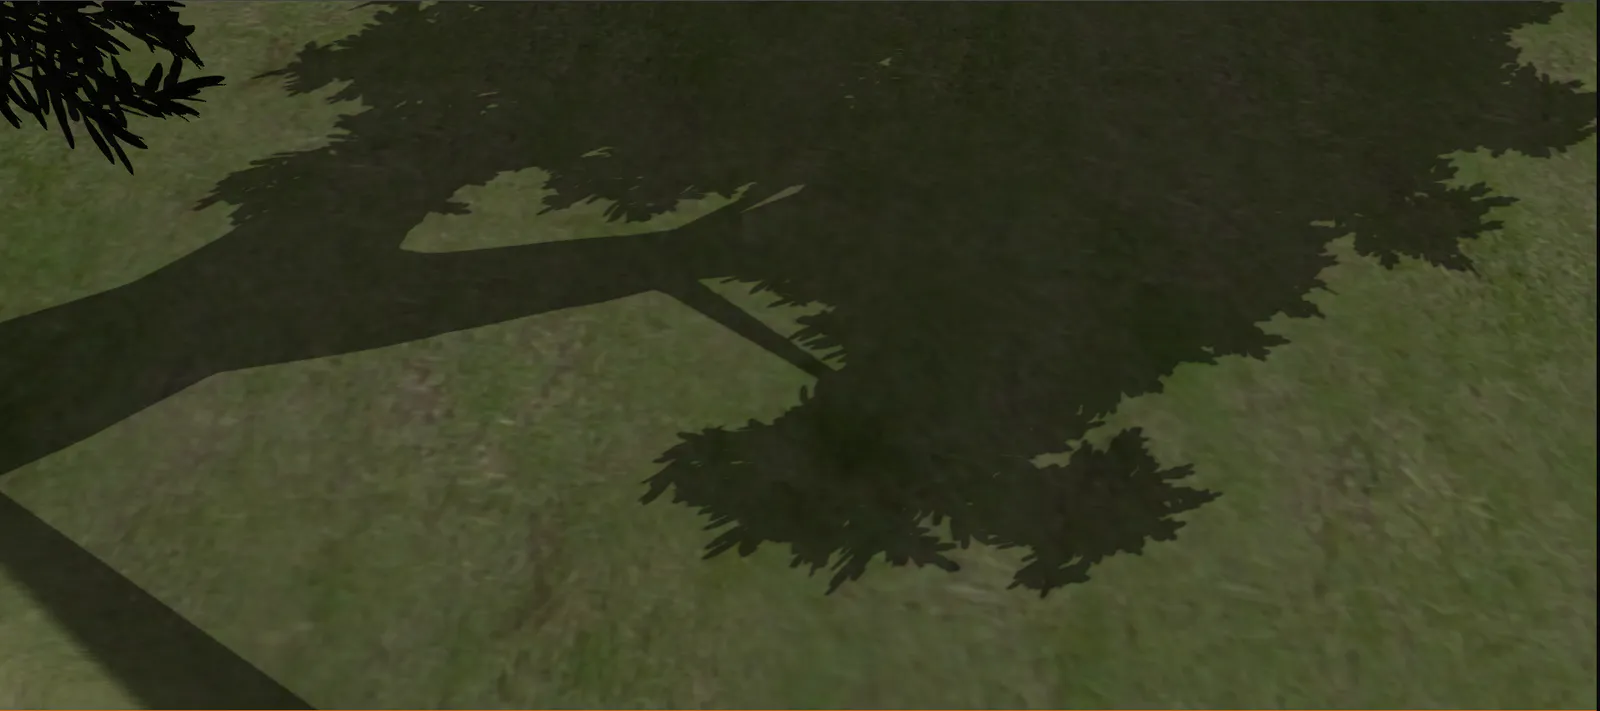
Medium (2048 x 2048)
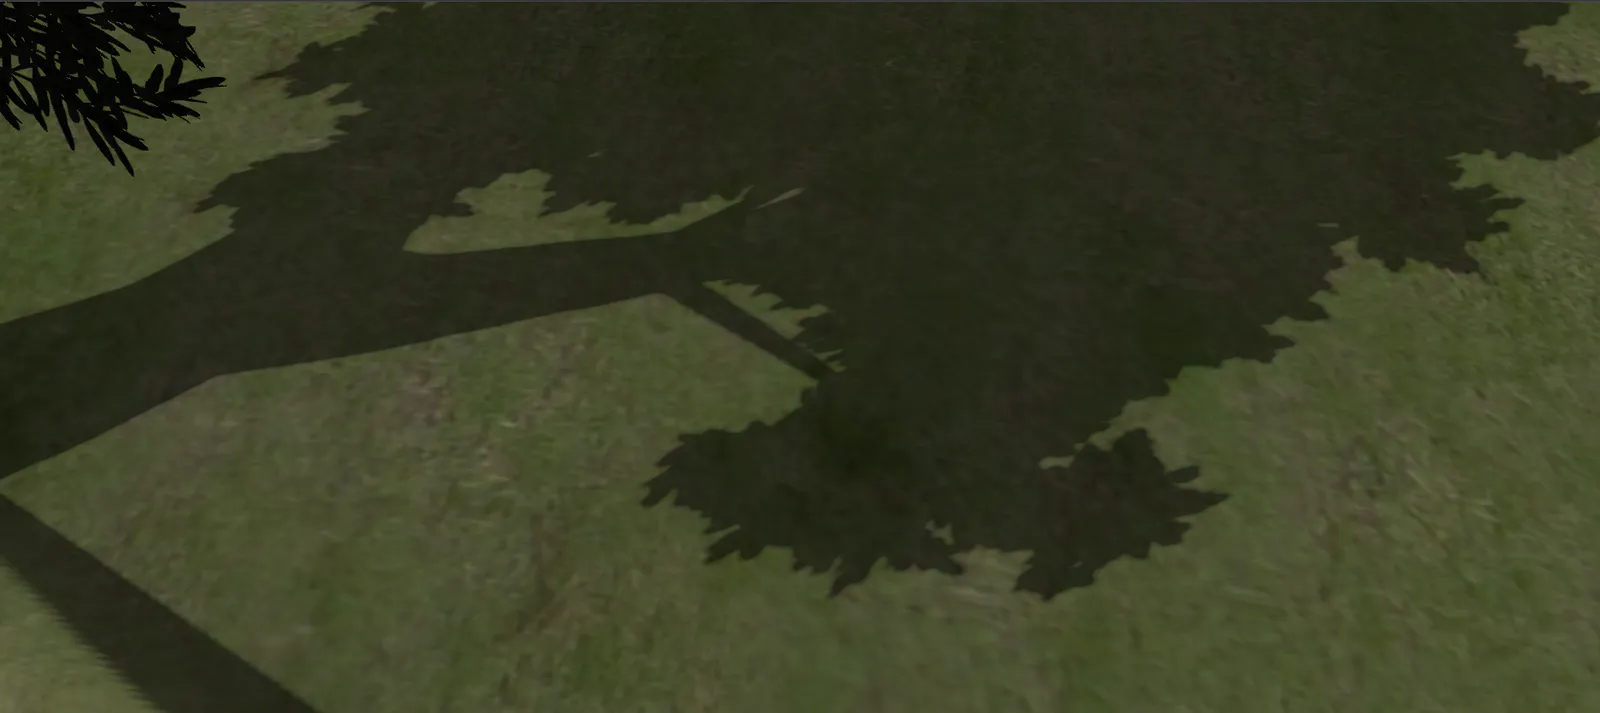
Low (1024 x 1024)
 Shadow intensity. At minimum there would be no shadows, at maximum the shadow parts would have only ambient light.
 Shadow Edge Smoothing Radius:
No smoothing
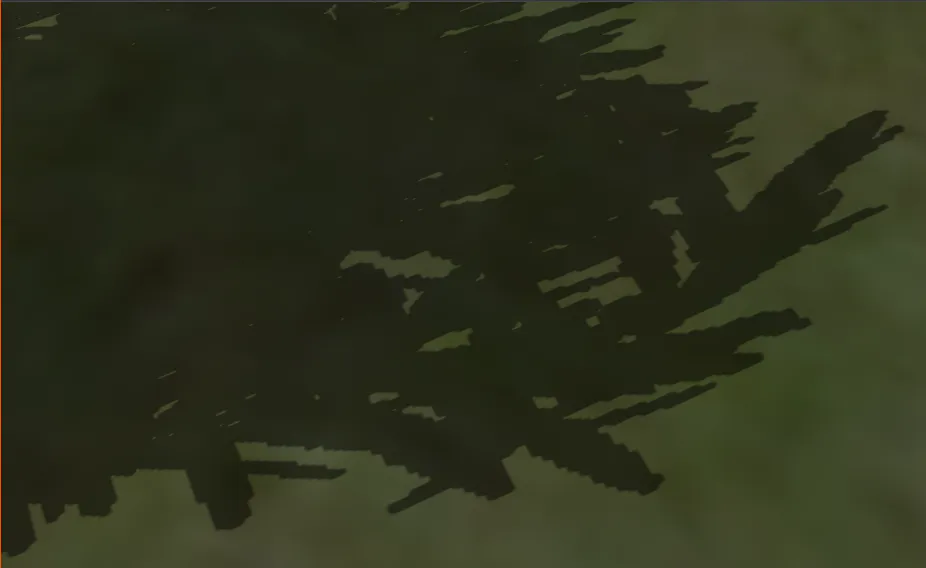
Softened 1 (default)
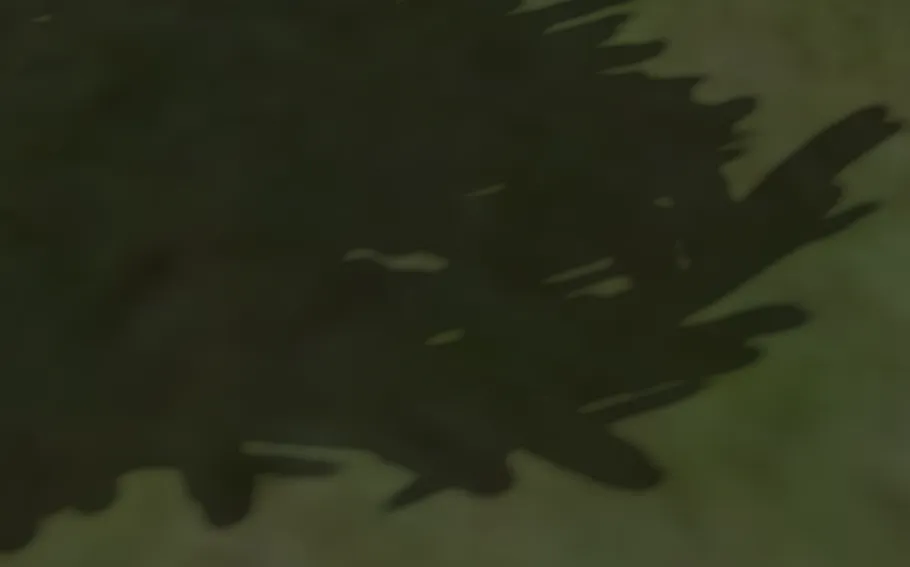
Softened 1.5
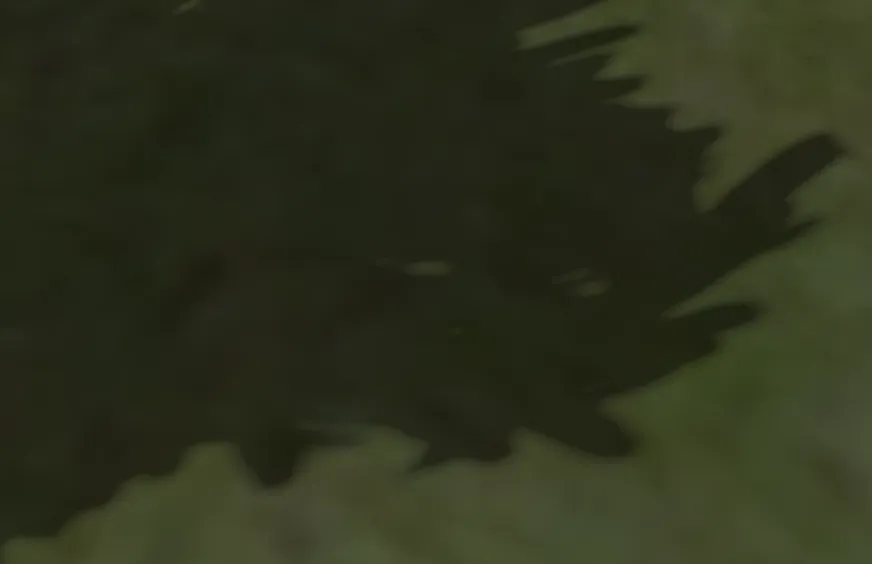
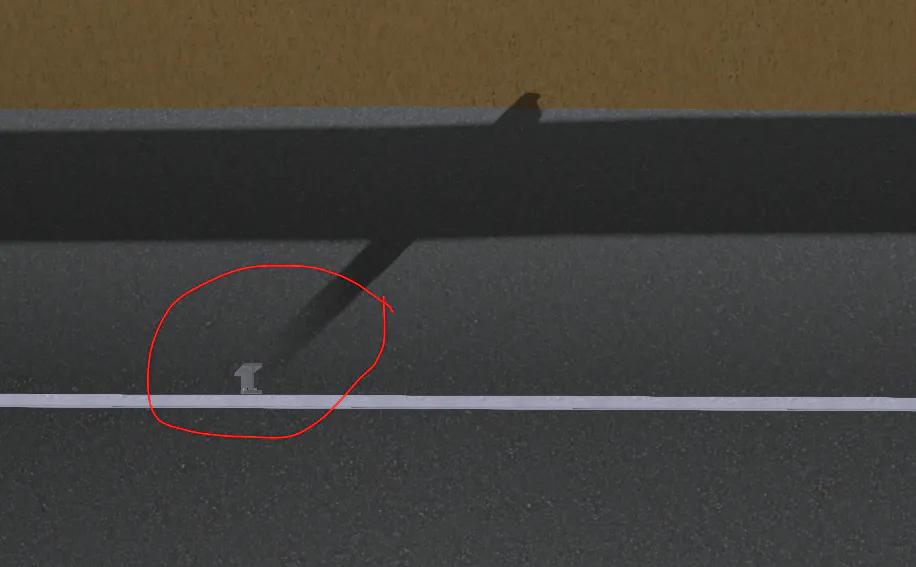
 Controls the reduction of "Light bleeding". This artifact can be seen at the point of contact of two elements, the shadow appears "detached" from the surface.
With "bleeding"
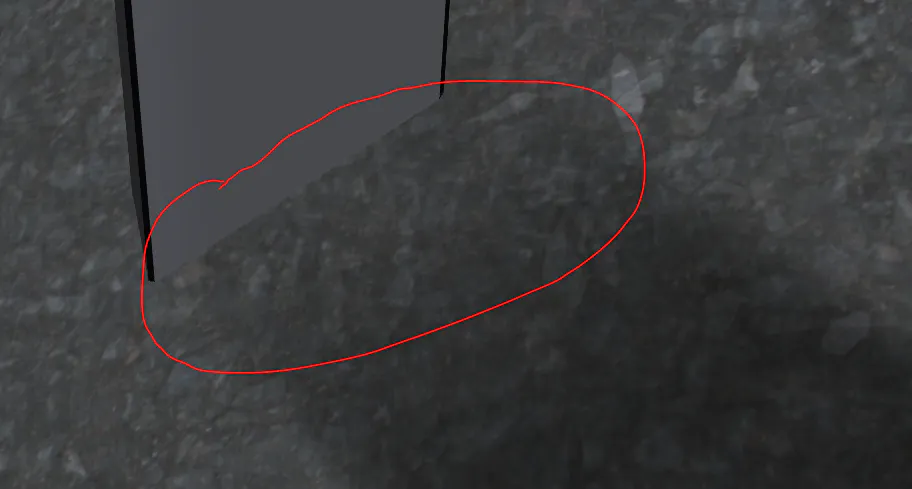
Without "bleeding"
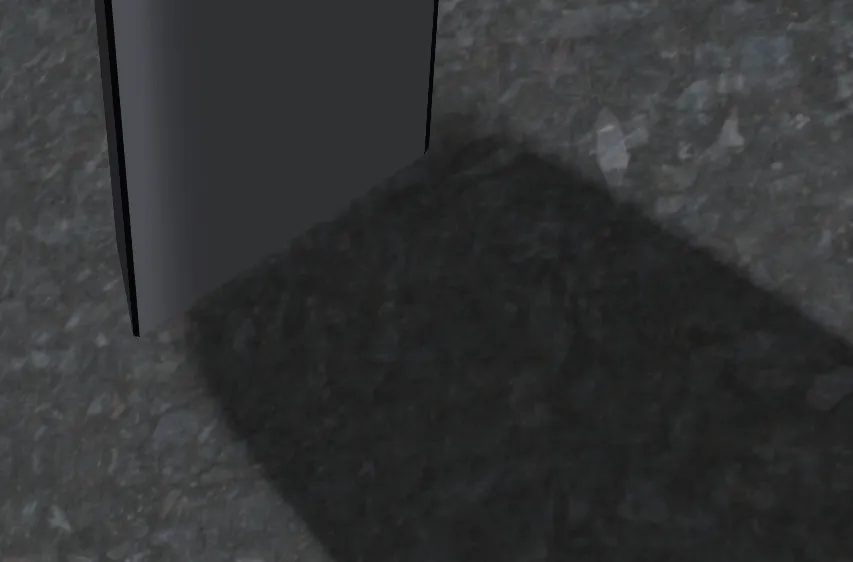
 From what value is it considered that there is a shadow. If it is too low, visual artifacts may appear. Too high makes bleeding worse.
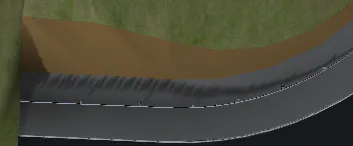
Threshold too low
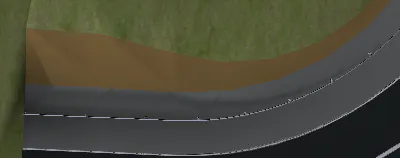
Suitable threshold
Threshold too high (bleeding gets worse)
 Resets shadow parameters to their default values.
Background Menu
Color
 3D viewer background color (shown only if Skybox is not activated)
Skybox
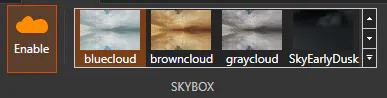
Activate/deactivate the use of skybox for the background and gallery of the skyboxes of the application. Clicking on any of them sets it as the current one.