
tcpMDT
3D Objects Model Importer - MDT26
3D Objects Model Importer
Once the obj/fbx file that we want to import has been selected, the model importer will be displayed with a view similar to the following:
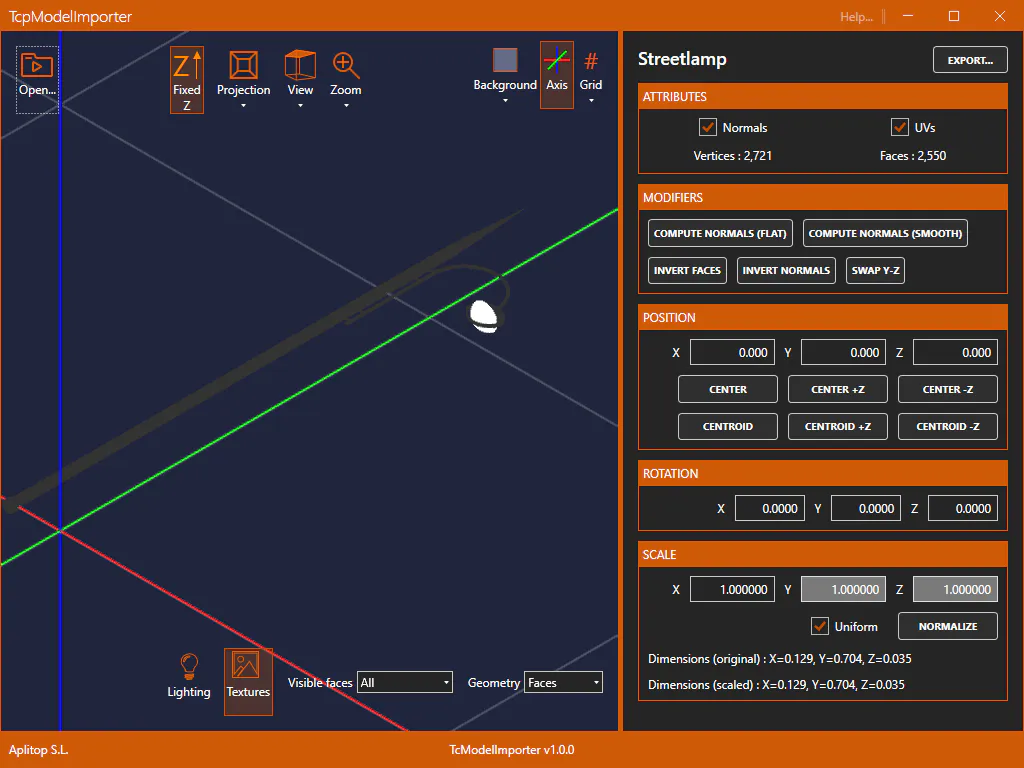
In general, 3D models have as their vertical axis the vector Y instead of the vector Z and are not usually modeled with the same scale (they may have been modeled in meters, centimeters, inches ...).
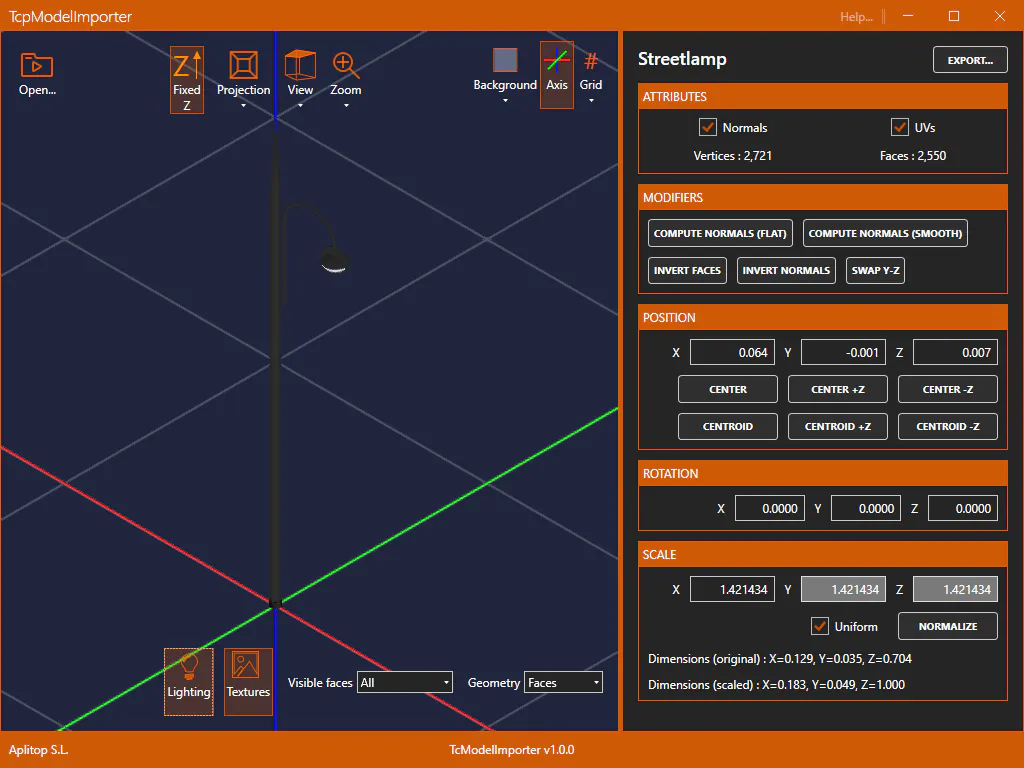
For the model to work correctly in MDT: The vector Z must be the vertical, the Right view must be the model seen from the front, the scale must be normalized (the maximum dimension must be 1) and the pivot point must match with the insertion point of the block in the drawing (for example, in the case of this street lamp it should be the center of the base of the pole).
In the example shown, the corrected model would look like this:
We will see below the different tools provided by the application to adjust the model correctly:
Camera Controls
Left click: While pressed, when moving the mouse, the camera orbits around the pivot point (you can also perform this movement with the keyboard cursors).
Right click: While pressed, when moving the mouse, the camera zooms in/out of the pivot point (it can also be done with PageUp/PageDown keys).
Mouse wheel: If held down, moving the mouse controls the horizontal/vertical position of the camera, "panning" (It can also be done with the cursors of the numeric pad: 8,4,6,2). The movement of the wheel increases/decreases the zoom level.
Double-click: Sets the clicked coordinates as the camera pivot (there must be something other than the background at the designated point).
Top Toolbar

These tools allow you to control the camera, the background, the grid and select files of 3D objects to import.

Allows you to select an FBX/OBJ file to process.

If active, rotating the camera keeps the Z vertical. This allows you to rotate around the target point on a sphere.
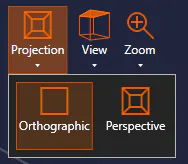
Allows you to set the projection of the camera: orthographic or perspective.
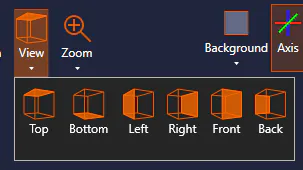
Sets an orthogonal view (in order for it to be used correctly as an MDT 3D object, the right view must show the front of the object)
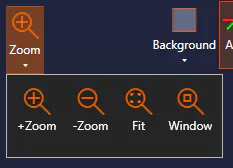
Tools to control the zoom level:
+Zoom: Increase zoom level
-Zoom: Reduce zoom level
Extension: Adjust zoom level so that all elements are visible
Window: Define a window and center the view on the defined region.

Set the background color

Show or hide the lines of the X,Y,Z axes.
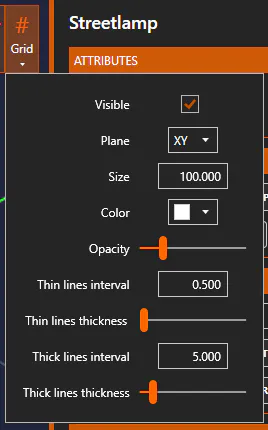
Grid configuration:
Visible: Show or hide the grid
Plane: In which orthogonal plane to show the grid: XY, XZ, YZ
Size : Total grid size
Color: Grid color
Opacity: Grid opacity
Thin lines interval: Every few units a fine line of the grid should appear. Modifying this value will automatically modify the range of thick lines to maintain the relationship between them.
Thin lines thickness: Defines the thickness of the thin lines of the grid
Thick lines interval: Every few units should appear a thick line of the grid
Thick lines thickness: Defines the thickness of the thick lines of the grid
Bottom Toolbar
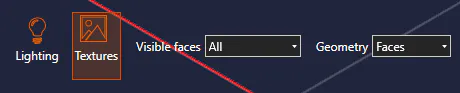
These tools control the visualization of the 3D model itself. They are useful for validating the model.

Enable/Disable lighting. When activated, the camera will become the light source. This will allow us to validate the information of normals of the model.

Enable/Disable model textures. If it is deactivated, the model will be seen in white and unlitted. It can be useful to check if it lights up correctly.
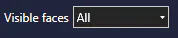
It allows to cull the front/back faces of the model. The options are:
All
Back: Show the faces that are looking in the opposite direction to the camera
Front: Show the faces that are looking in the direction of the camera
For the model to be correctly defined, when using the All and Front option there must be no difference. In another case, there may be faces that are incorrectly defined. If the entire model is reversed by displaying the front faces, the Invert Faces modifier should solve the problem. Otherwise, it would be necessary to correct the model in a 3D modeling software.
Allows you to select the geometry of the model to display. The options are:
Faces: Display the Solid Model
Edges: Display the edges of the faces
Vertices: Display only the vertices of the model
Attributes
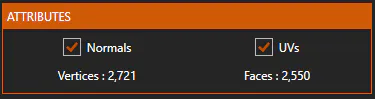
It shows the information obtained from the 3D model file: if it has normals, if it has texture coordinates (UVs), the number of vertices and faces. For the lighting to be correct, the model should have normals. They can be calculated with a modifier.
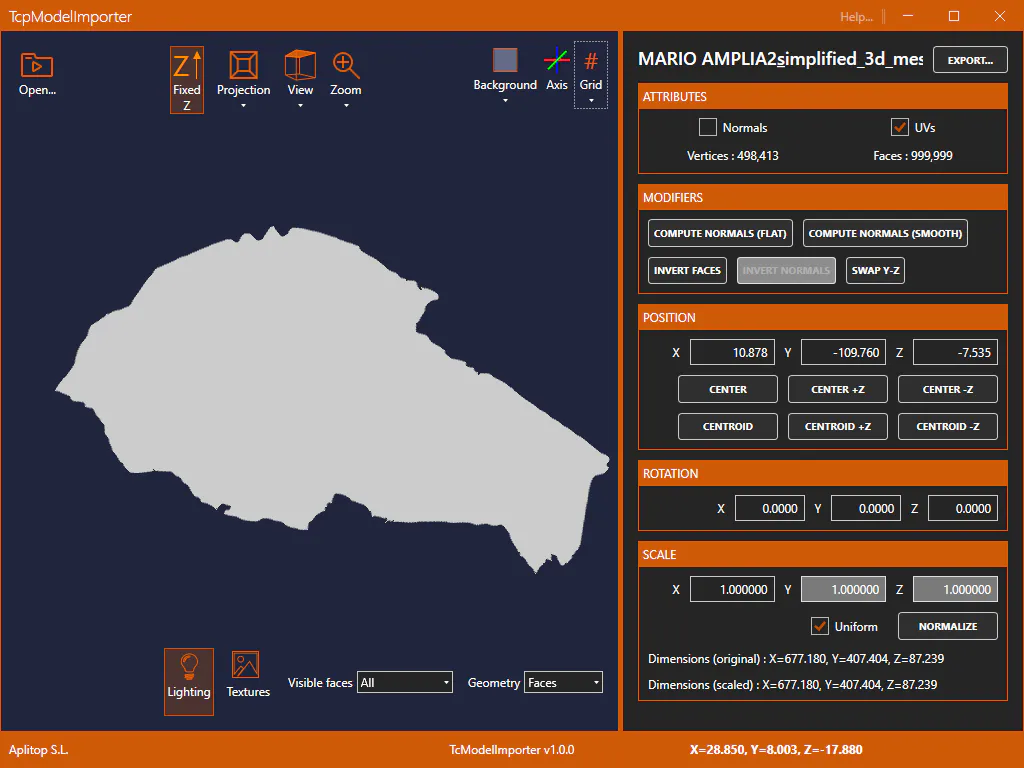
Model without normals: The lighting is totally flat.
Modifiers
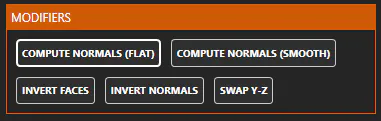
These tools allow us to make corrections in the 3D model so that it is displayed correctly.
Calculate normals (flat): Calculates the model normals per face. The lighting is not soft and the "cut" between the triangles is appreciated.
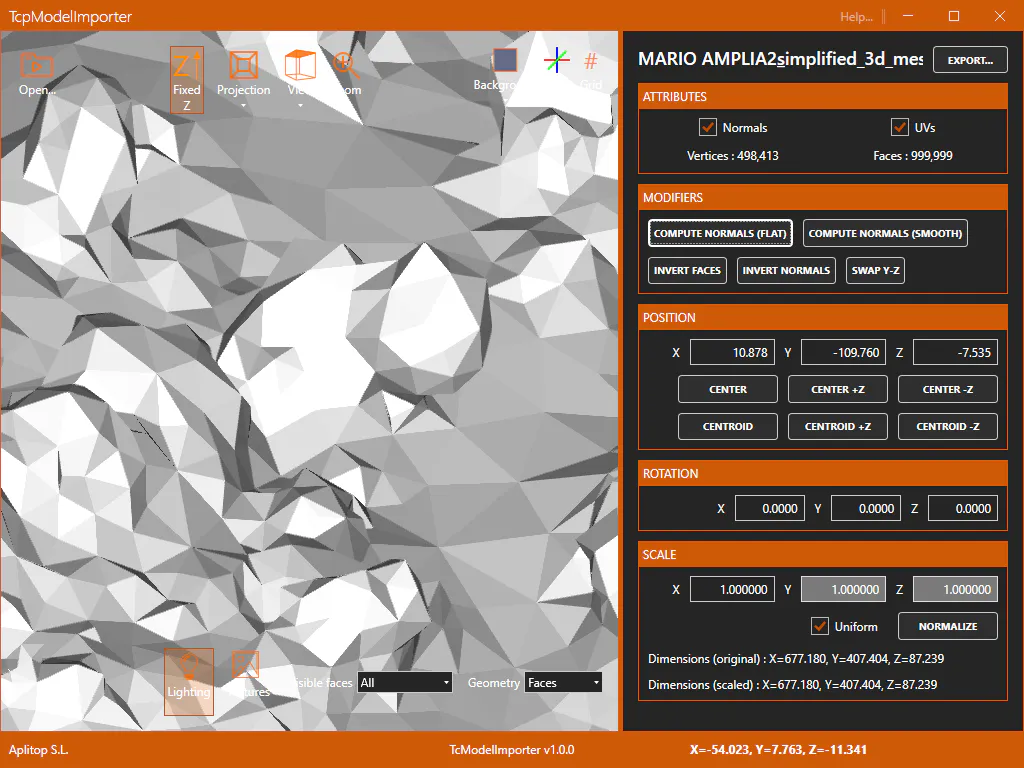
Calculate normals (smooth): Calculates normals per vertex. The lighting is soft and the "cuts" of the faces are not appreciated. For this to work properly, the model must not duplicate the geometry and make the faces share the same vertices.
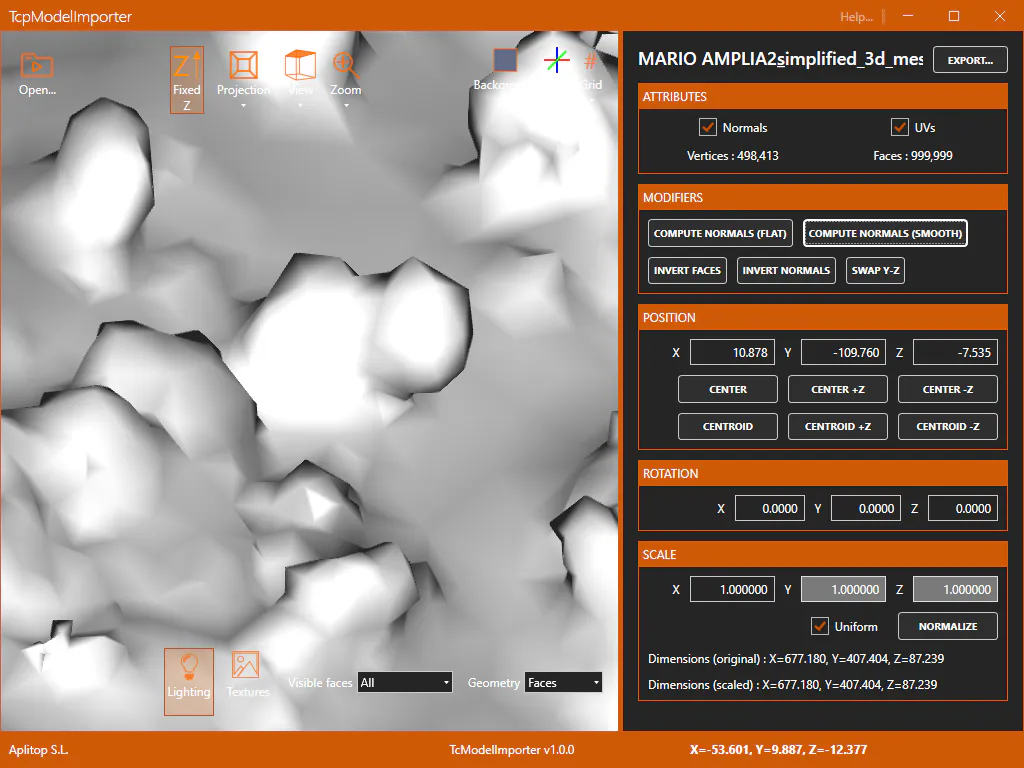
If when checking the model, some faces that should be illuminated are not and there is information of normal, it may be because the normal is inverted. If it is only on some faces, the model should be corrected in a 3D modeling software.
Invert faces: Reverses the order of the vertices of the faces, turning the back faces into front and vice versa.
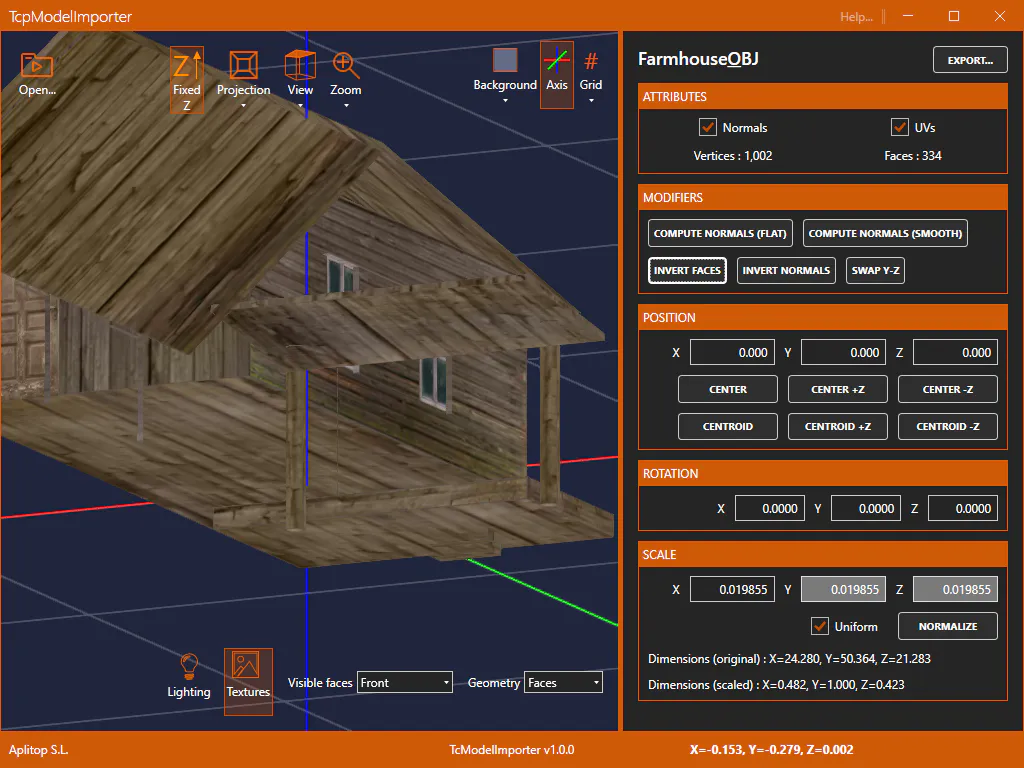
Model with inverted faces. By showing the front, faces that should be seen are hidden.
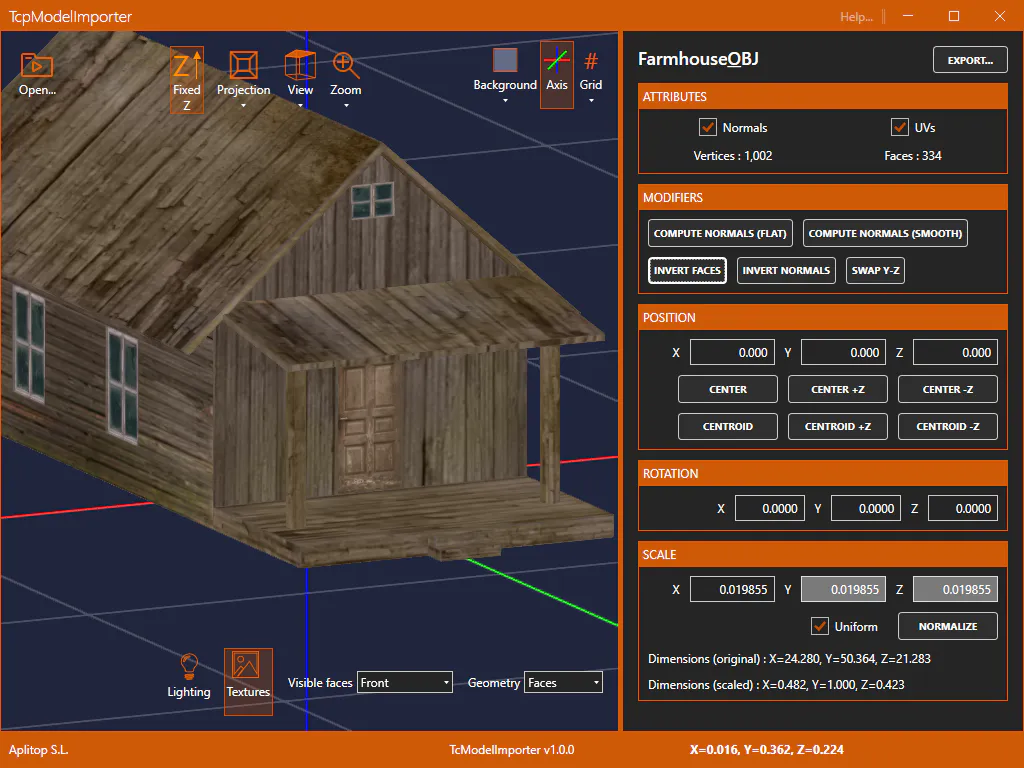
After applying the invert faces switch.
Reverse normals: Reverses the direction of the model's normals, correcting possible lighting problems.
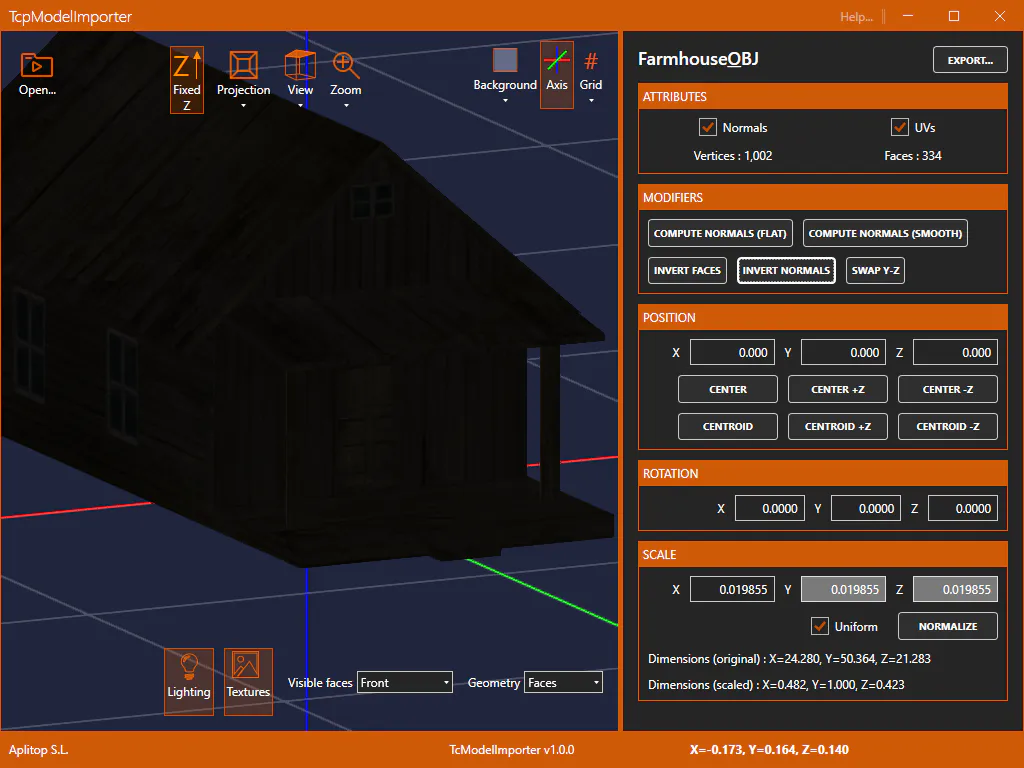
Model with inverted normals. It doesn\'t light up.
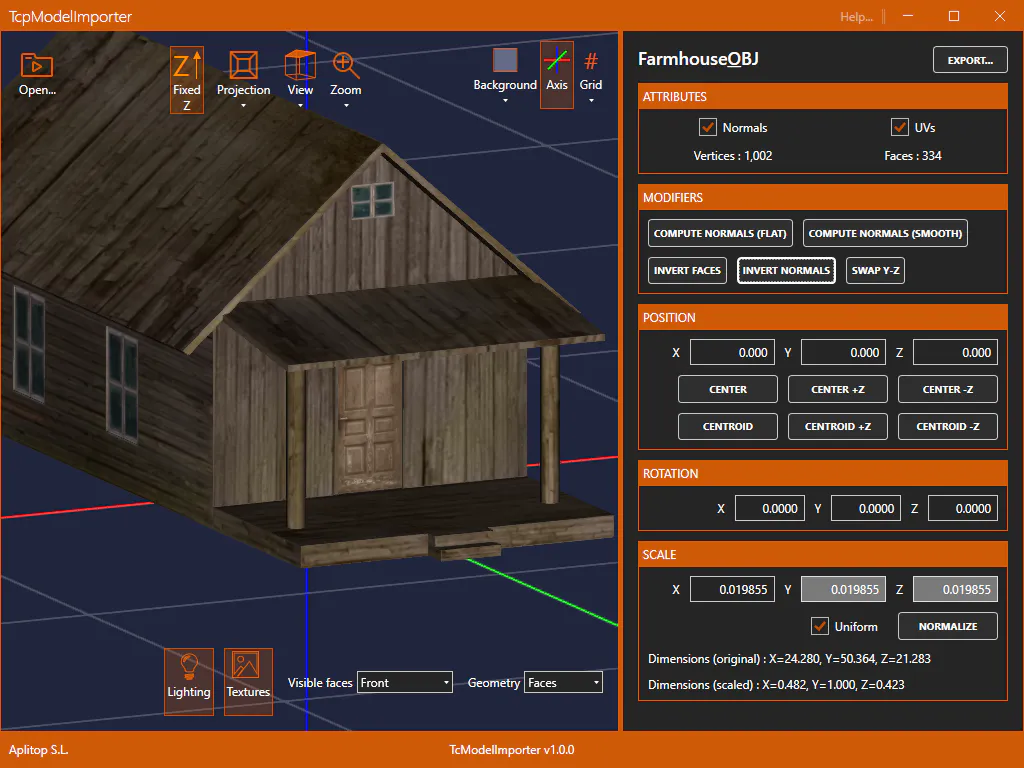
After reversing the normals.
Swap Y-Z: Many 3D applications consider the vertical vector, up, to be the vector Y rather than the vector Z. This modifier swaps the Y for the Z correcting this, since in MDT the up vector is the Z.
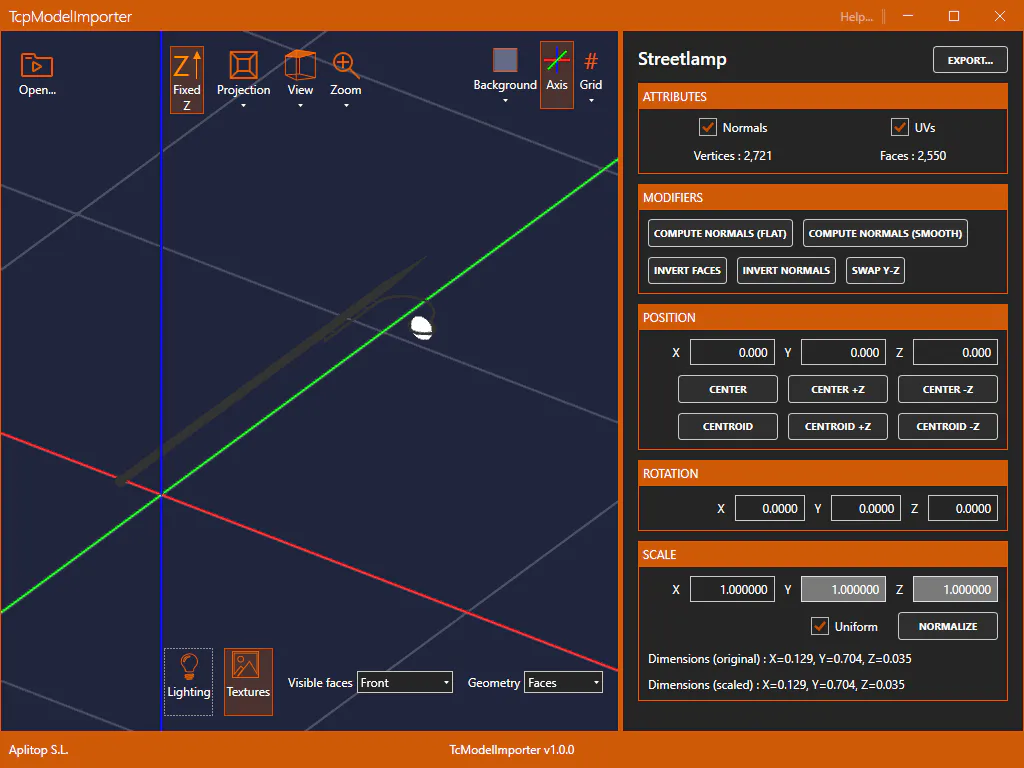
Model with the vertical in the vector Y
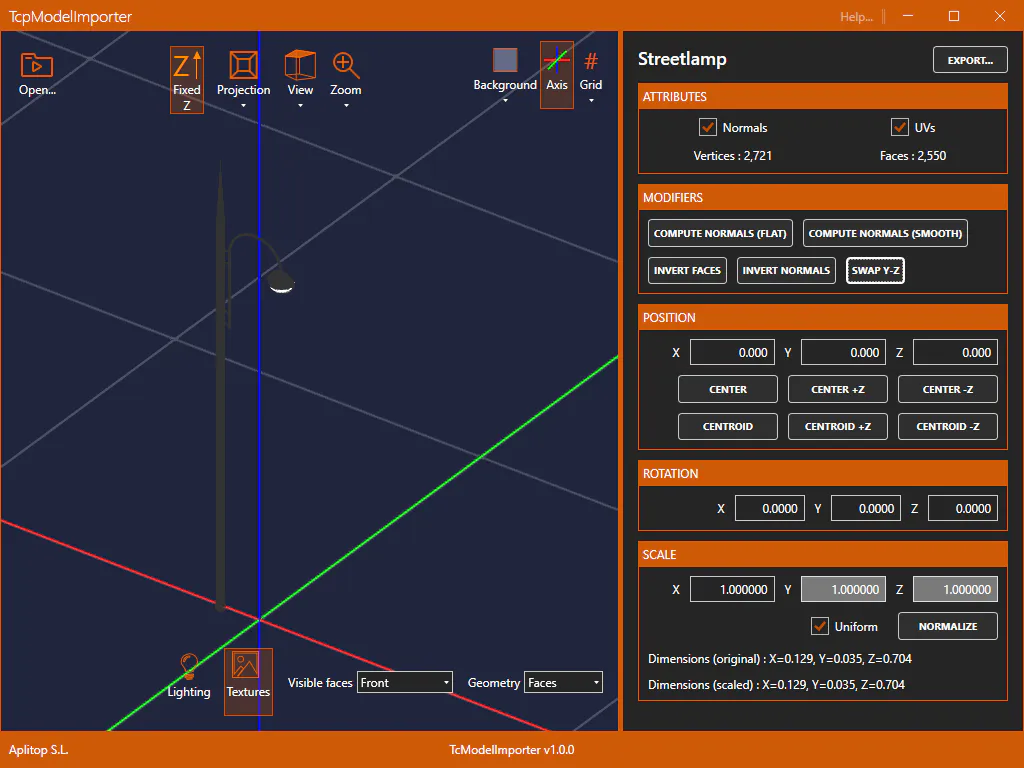
After swapping Y-Z
Position
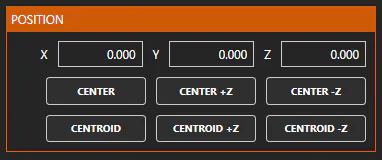
Adjusts the position of the model. The insertion point in MDT is point 0,0,0 of the importer (where the lines of the three axes intersect). In order for the block to be inserted correctly, the model must be positioned so that at 0,0,0 is the insertion point that interests us as a pivot.
With the X,Y,Z controls we can numerically set the position. With the buttons under these controls we can make an automatic adjustment:
Center: Positions the object so that at 0,0,0 is its geometric center.
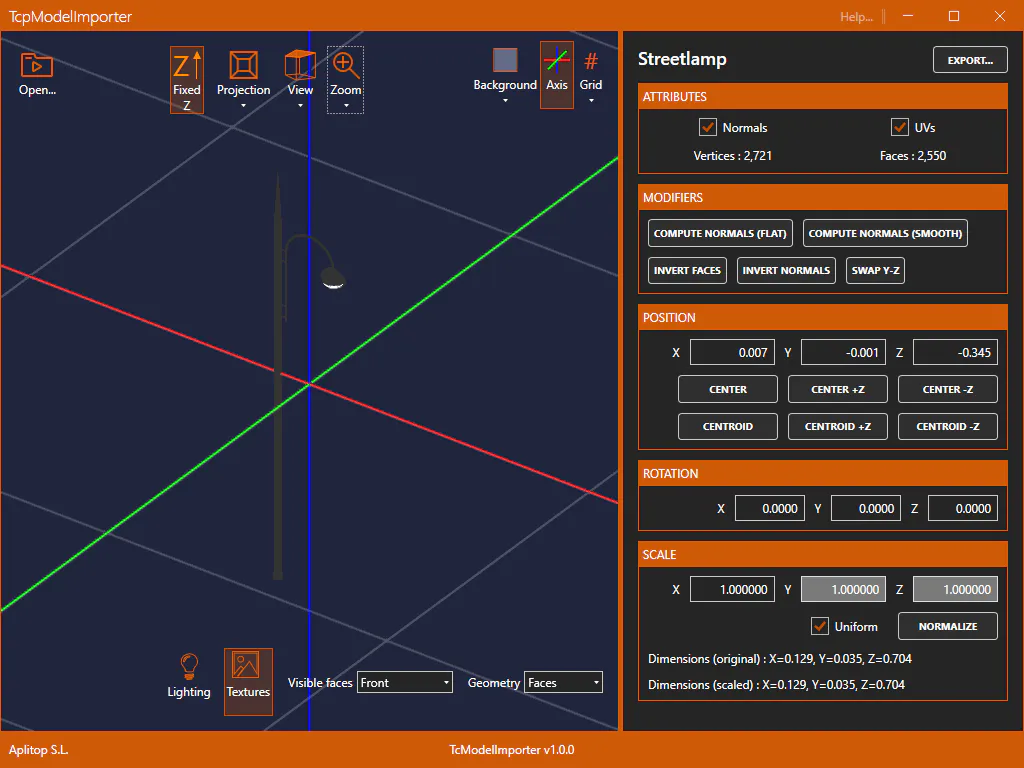
Centered model.
Center +Z: Positions the model so that at 0,0,0 is the geometric center of the model but at its maximum elevation.
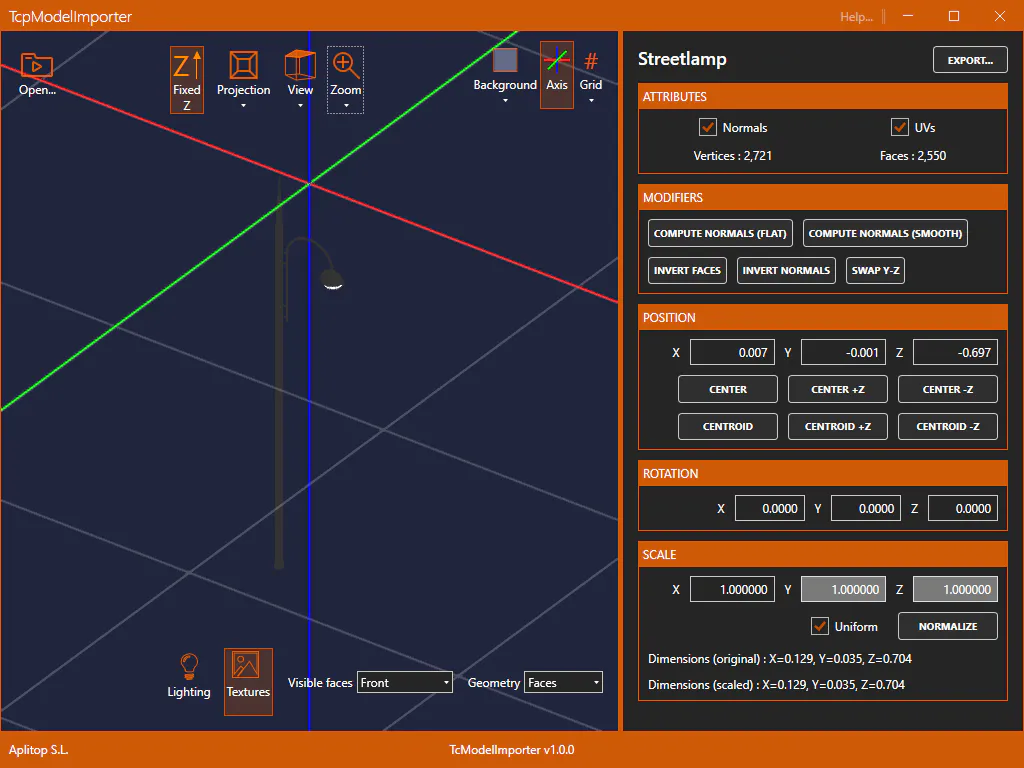
Model centered at maximum elevation
Center -Z: Positions the model so that at 0,0,0 the geometric center of the model is but at its minimum elevation.
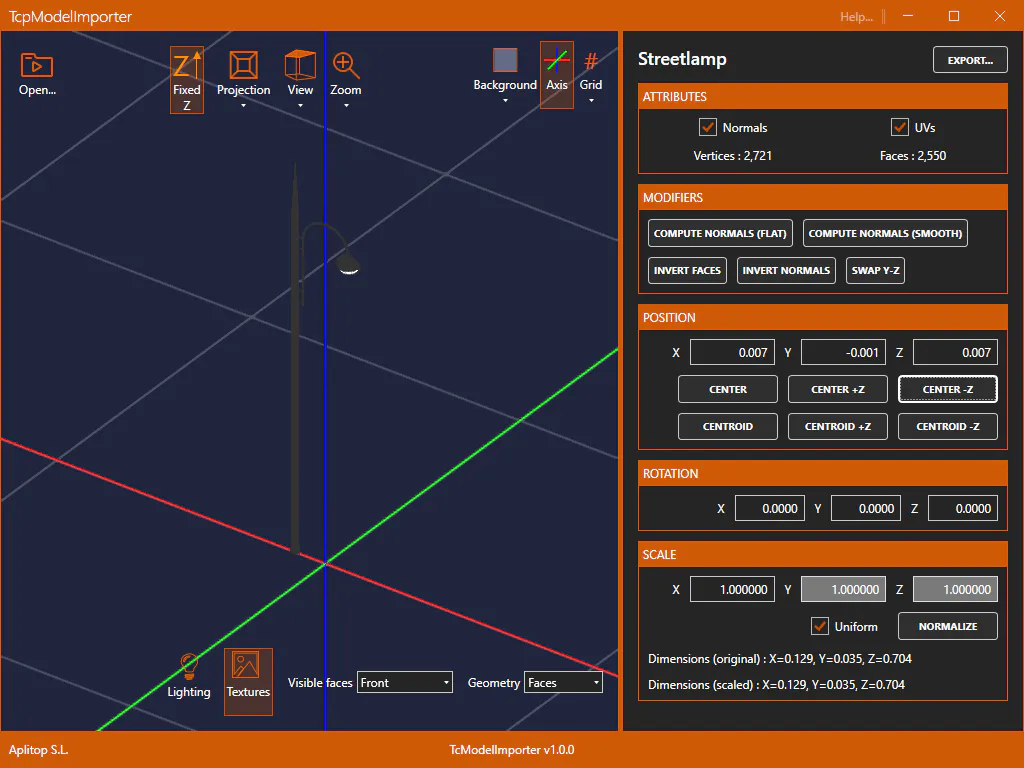
Model centered at minimum elevation
Centroid: Sets the position of the model so that 0,0,0 is the centroid of the model.
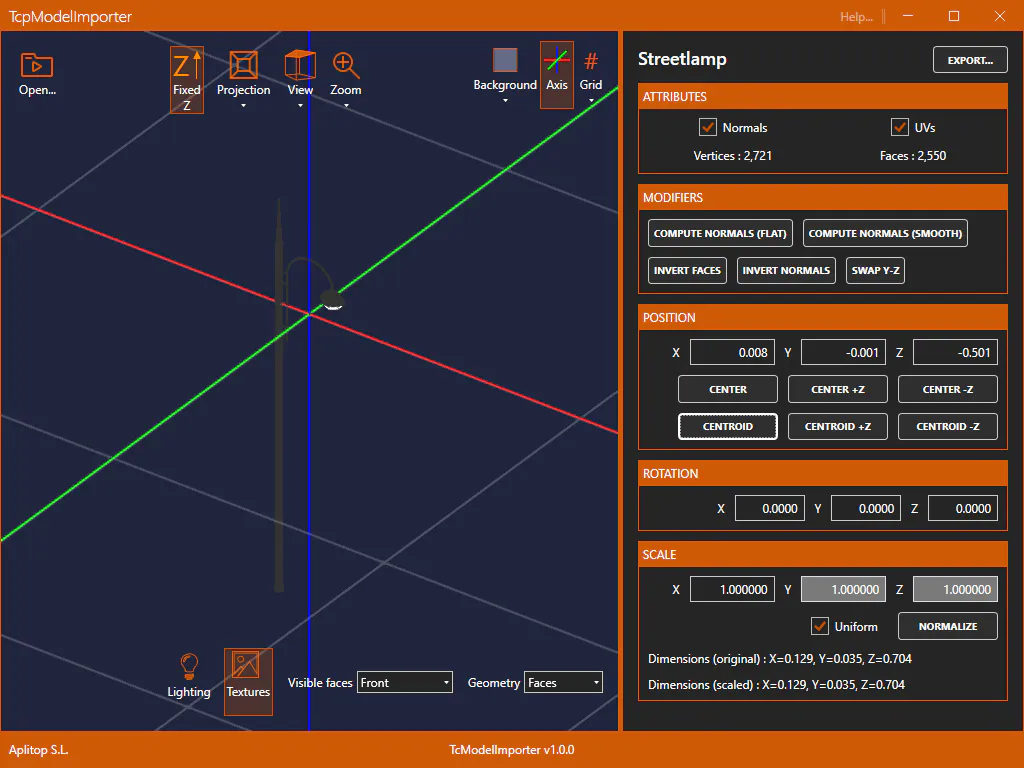
Model positioned with the centroid
Centroid +Z: Sets the position of the model so that 0,0,0 iz the centroid of the model, considering only the vertices that are at the maximum elevation.
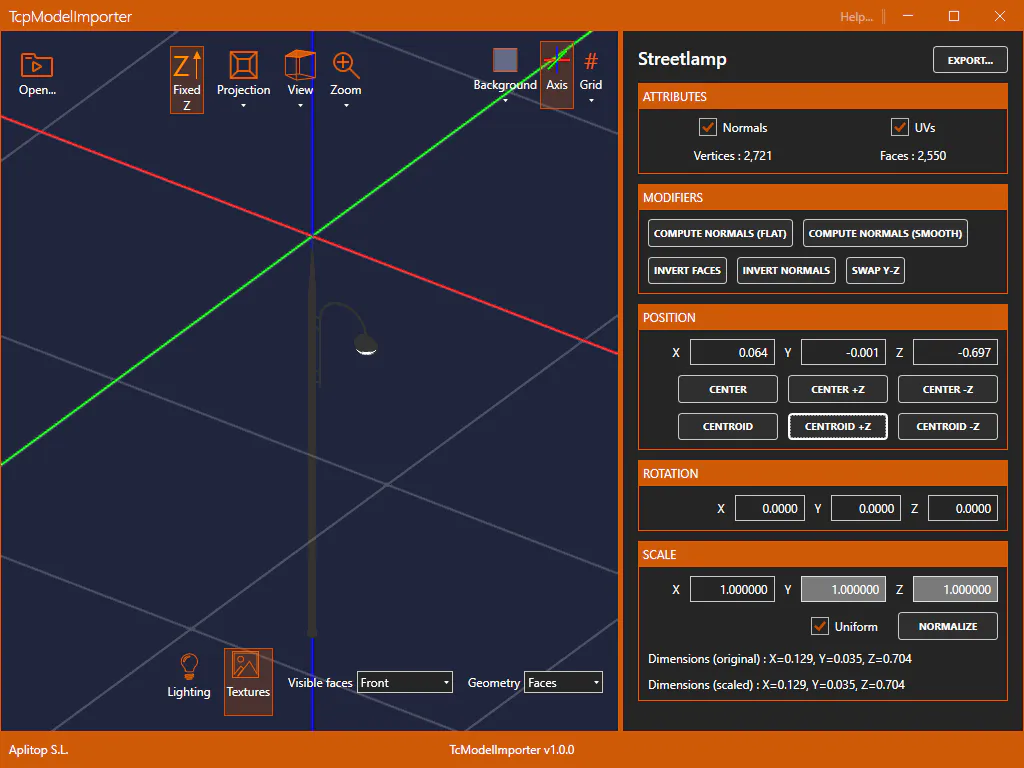
Model positioned in centroid at maximum elevation
Centroid -Z: Establishes the position of the model so that at 0,0,0 is the centroid of the model, considering only the vertices that are at the minimum elevation.
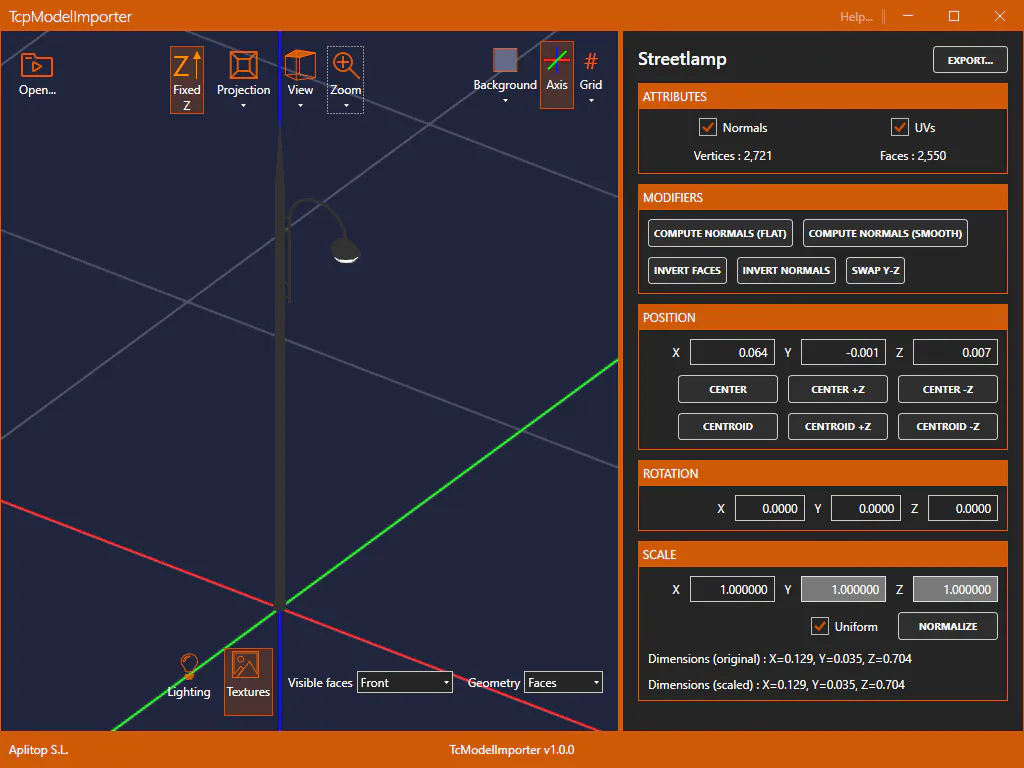
Model positioned in centroid at minimum elevation
In the example shown, the street lamp, the ideal position would be calculated with Centroid -Z since when inserting the block the insertion point would correspond to the center of the base of the post.
Rotation
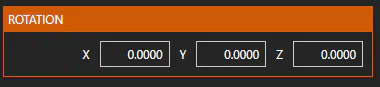
It allows you to rotate the model numerically, in sexagesimal degrees. For the orientation to be correct, from the right view you must see the front of the model.
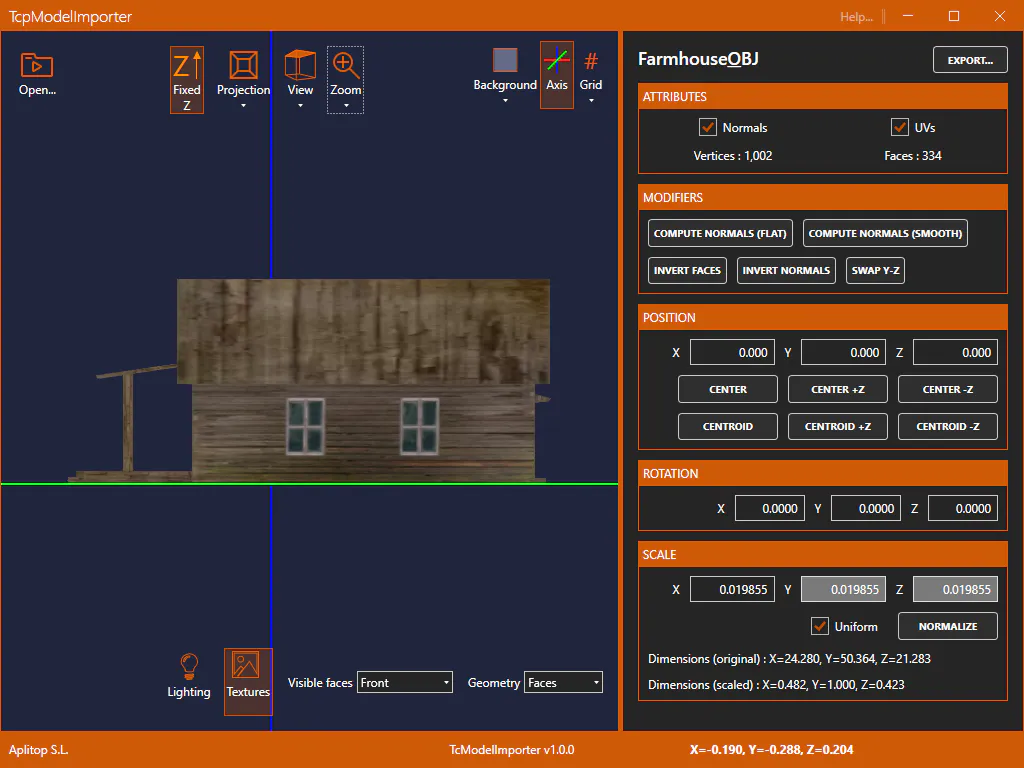
Model with incorrect orientation. Right view shows the profile.
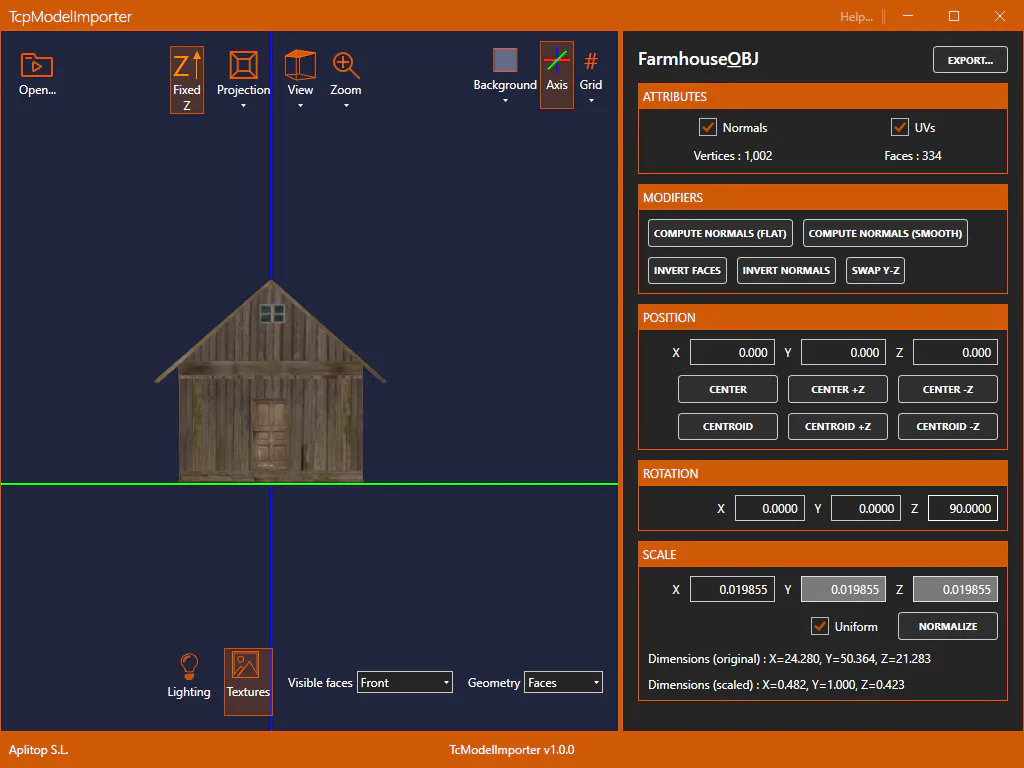
Model with correct orientation, rotating 90º in Z. Right view shows the front.
Scale
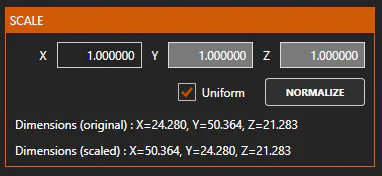
Allows you to modify the scale of the model, numerically. For it to be correct, the maximum dimension should be one. Otherwise, when manipulating the scale of the object, during block's insertion, the size would not match the scale and it would be very complicated to give the right size to the 3D object.
If Uniform is enabled, the same scale factor is applied in all three dimensions.
The Normalize button automatically adjusts the scale so that the maximum dimension is one.
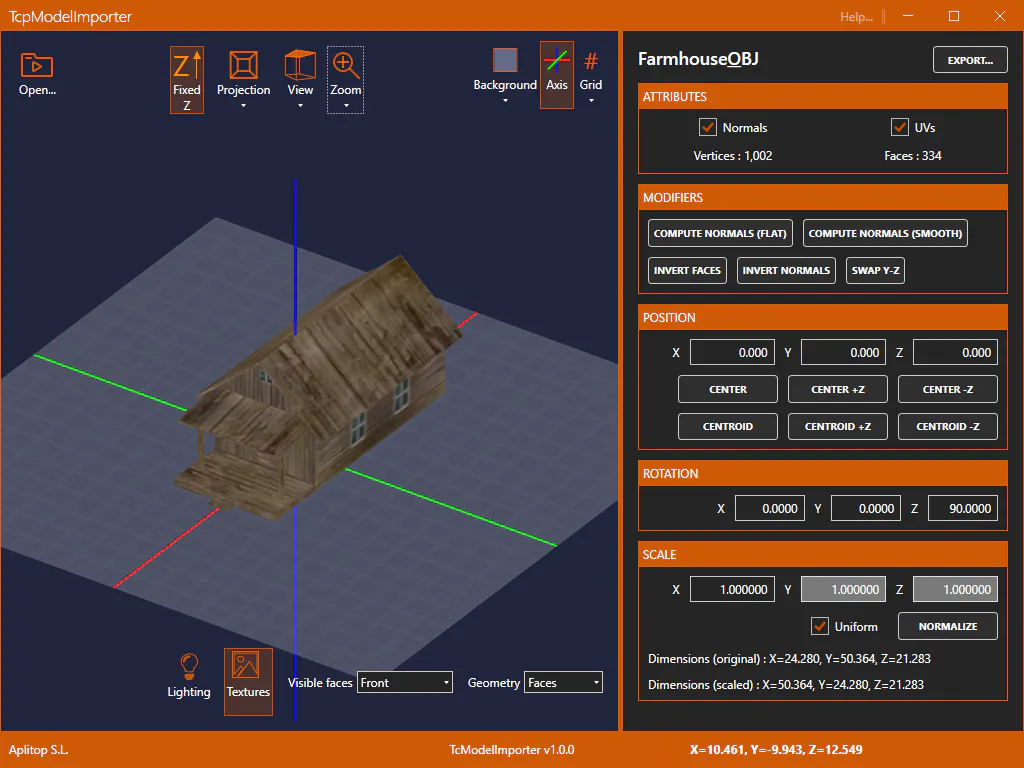
Not normalized model. When inserting the block, the 3D object would measure fifty meters at scale one.
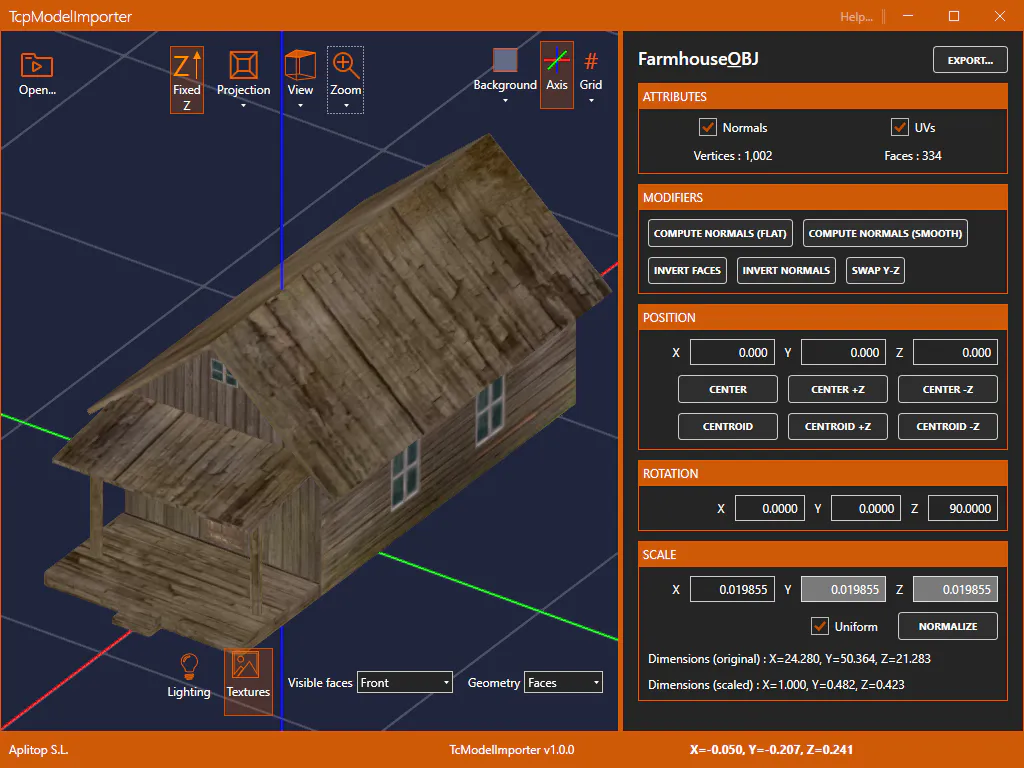
Normalized model. By inserting the block, the 3D object would measure what the scale says, being able to control the size at our discretion.
Export
Once the model is set correctly, to incorporate it into the 3D object library we must export the modified object. To do this we click on the button in the upper right corner that says:

The following dialog will appear:
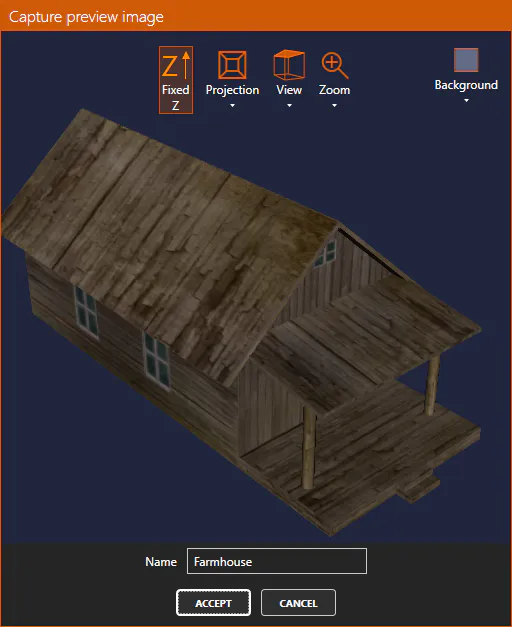
In the 3D view, we can adjust the camera, background, etc. analogously to the main view. What appears in this 3D view will be what is displayed in the preview image of the 3D block from MDT.
We set the name that the 3D object will have and once accepted it will be exported to the path of the MDT user 3D objects applying the pertinent modifications to the model.